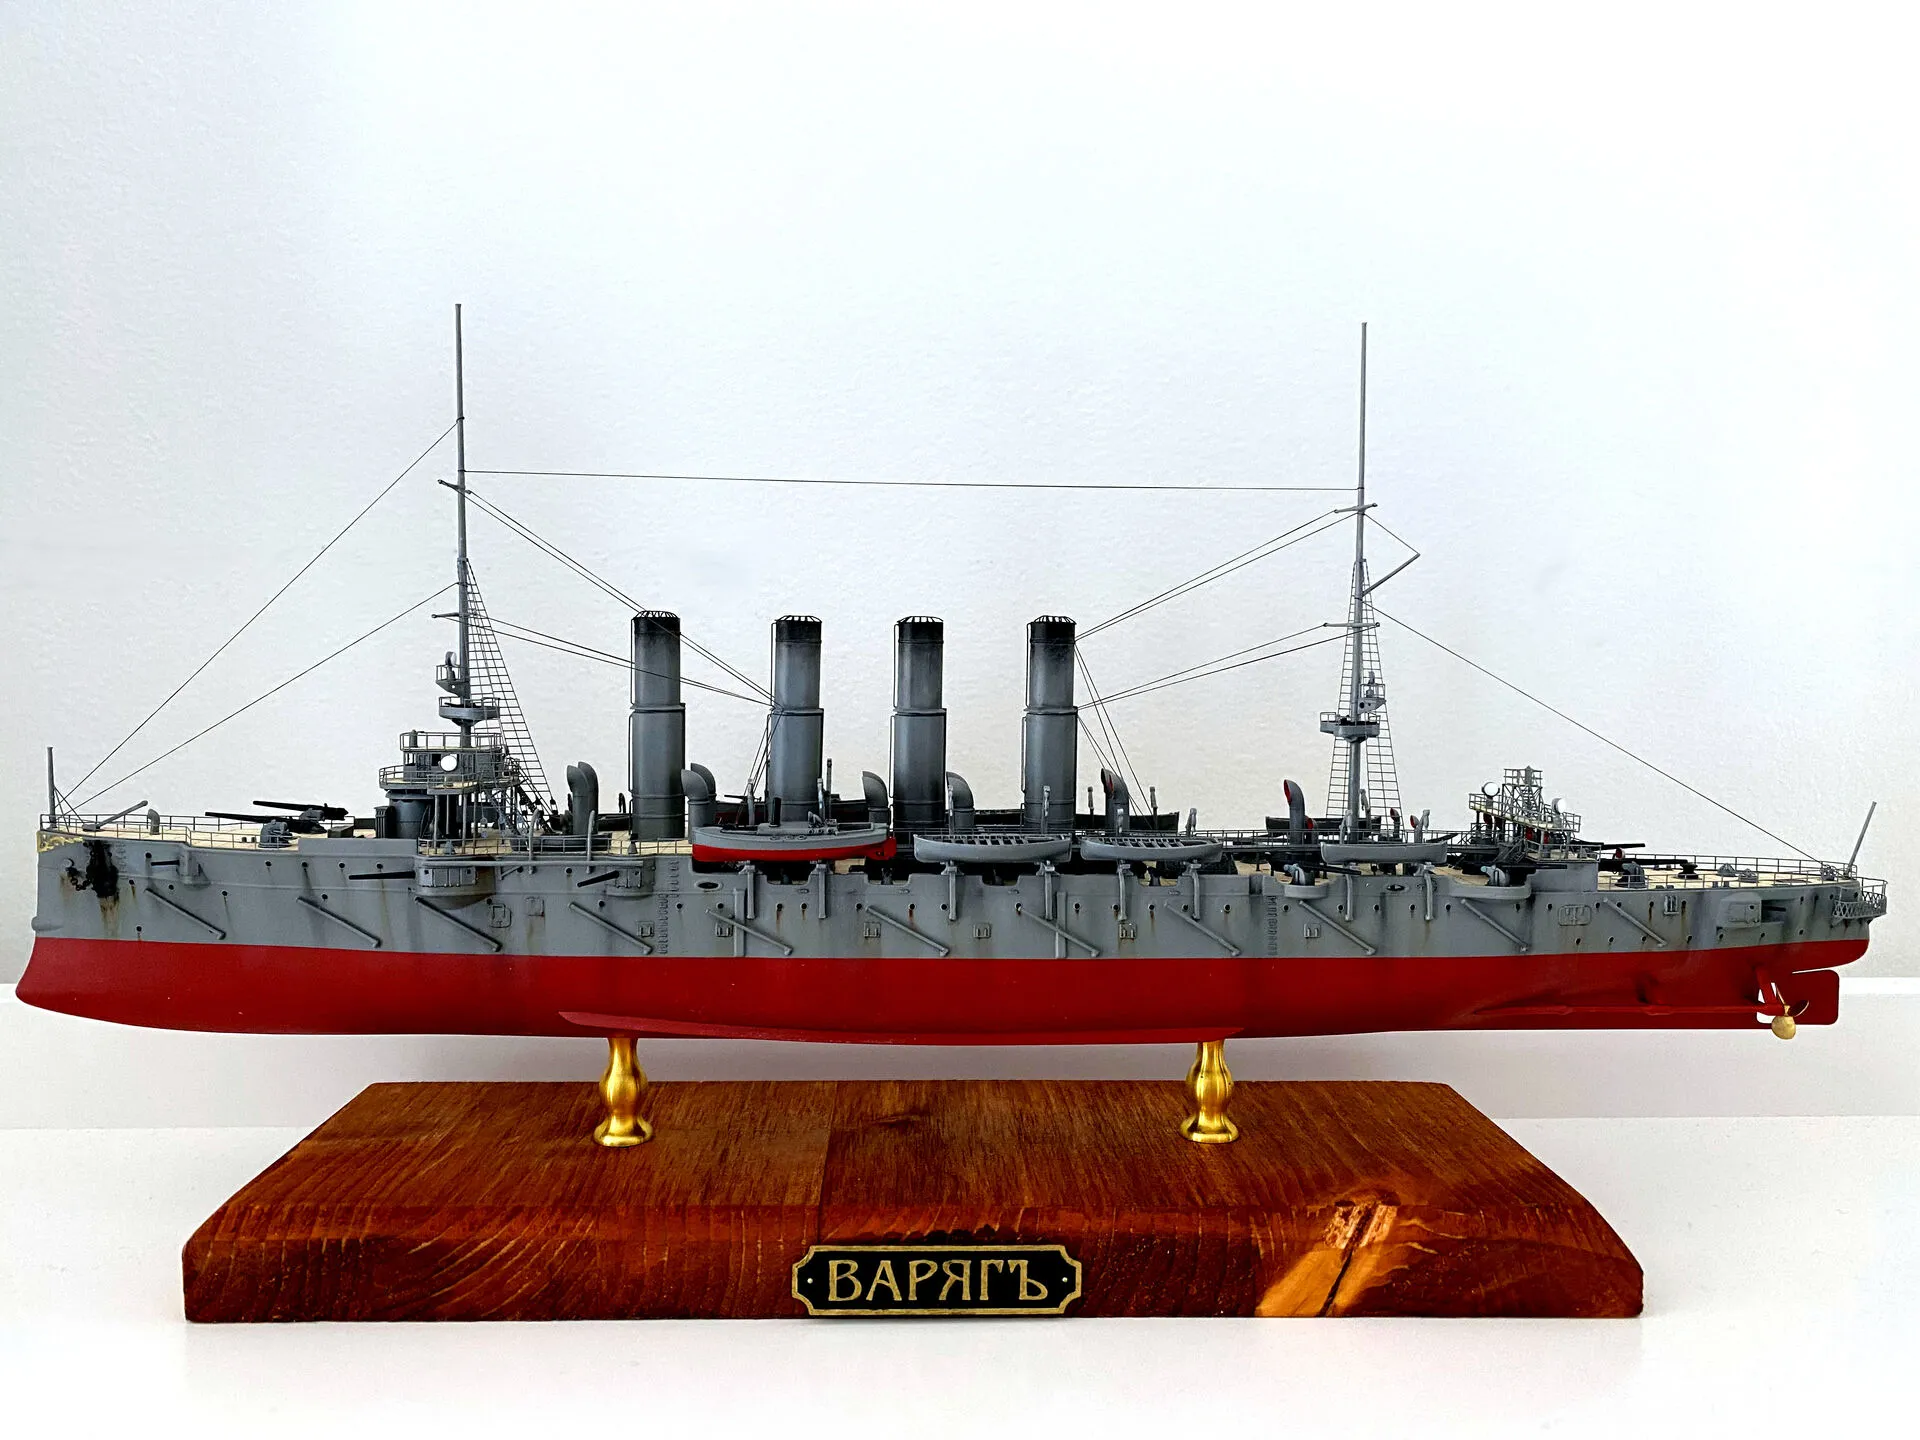
Protected Cruiser Varyag
Built in USA in 1899 for the Imperial Russian Navy, Varyag became very famous in Russia after the Battle of Chemulpo Bay. In that battle, she got trapped in the bay and tried to break out by fighting against Japanese squadron. Sadly she scored no hits on the enemy, lost 31 men dead and 191 injured, returned back to the bay and got scuttled.
The Russian government took the opportunity to turn this very unsuccessful battle into a publicity stunt. The crew was decorated for their bravery, and the whole thing widely covered in papers. Such publicity inspired a song to be written about it, which still remains popular in Russia.
Model quality
Typical modern Zvezda kit. Good details, almost no flash, ok-ish instructions.
I used PhotoEtch kit by Eduard, and wooden deck by Hunter - both are absolutely excellent.
Build notes
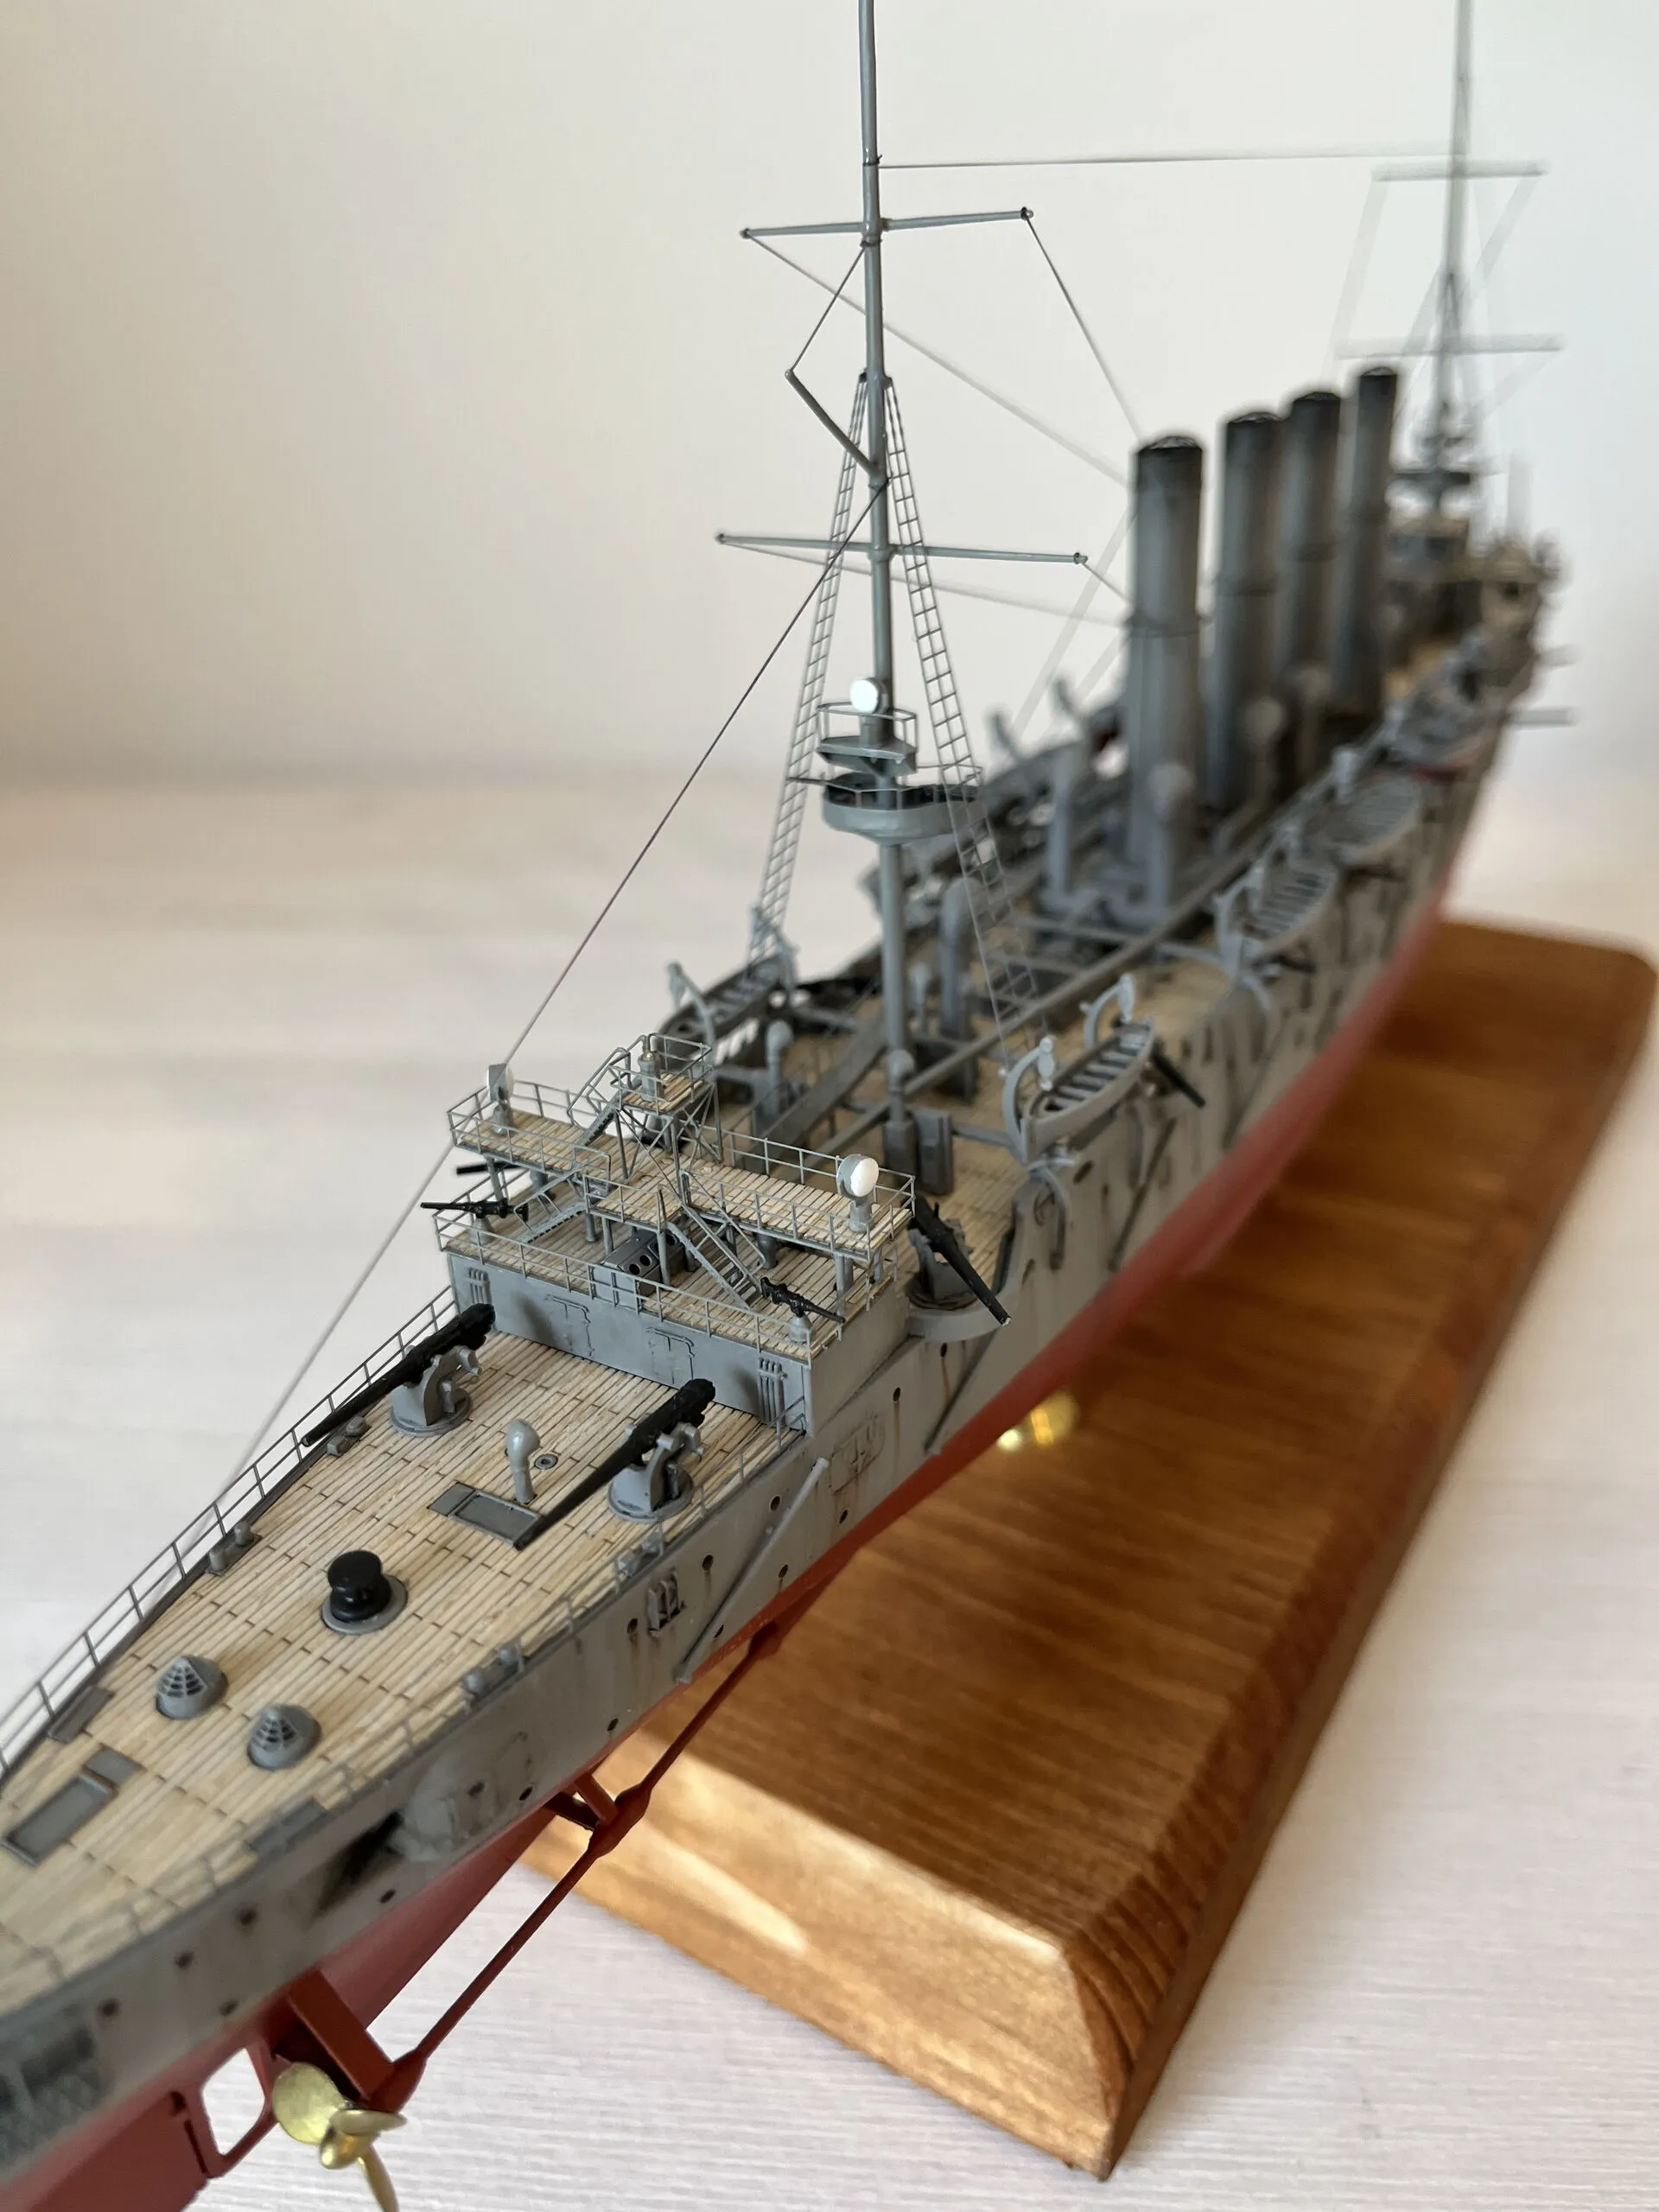
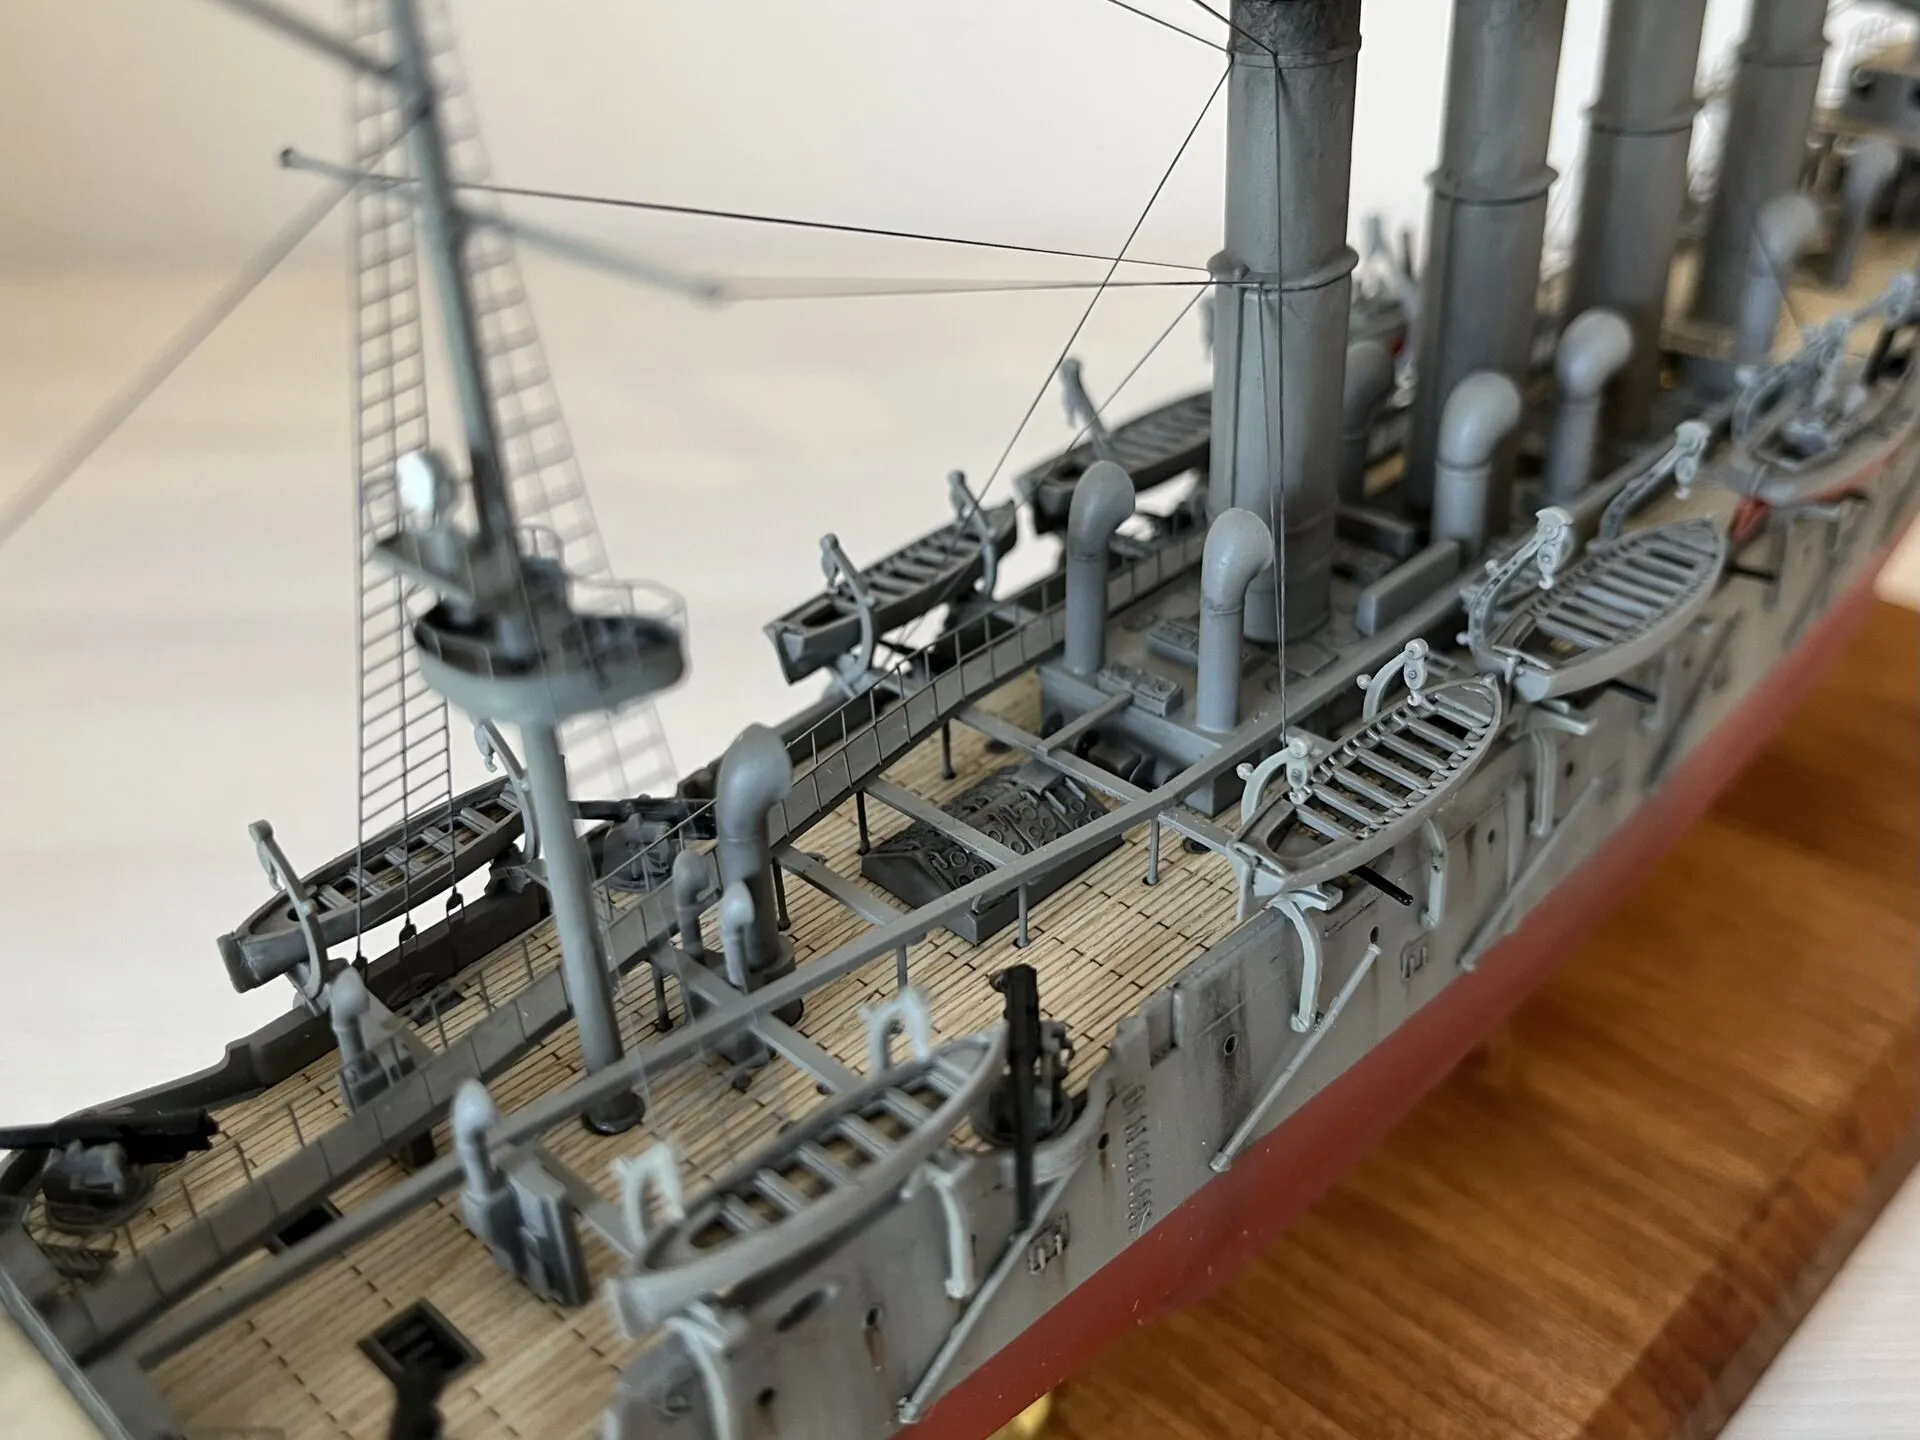
It’s the first time I’m using a wooden veneer deck. Needless to say, it completely transforms the look of the model, but adds a lot of complications to the build.
Not only it requires the removal of some of the plastic details (nothing new to me, as most of the PhotoEtch details sets require similar modifications), it also significantly changes the build order. It’s very hard to remove paint from it, so I’m not risking any overspray and thus not masking it - instead I’m painting all the related parts and surroundings before the deck application.
And of course using PhotoEtch details adds even more complexity. I’m evaluating all the replacements, and in many cases the result is not worth the effort, while some of the added details are simply too fiddly for me. Nevertheless, Eduard’s set is an excellent addition.
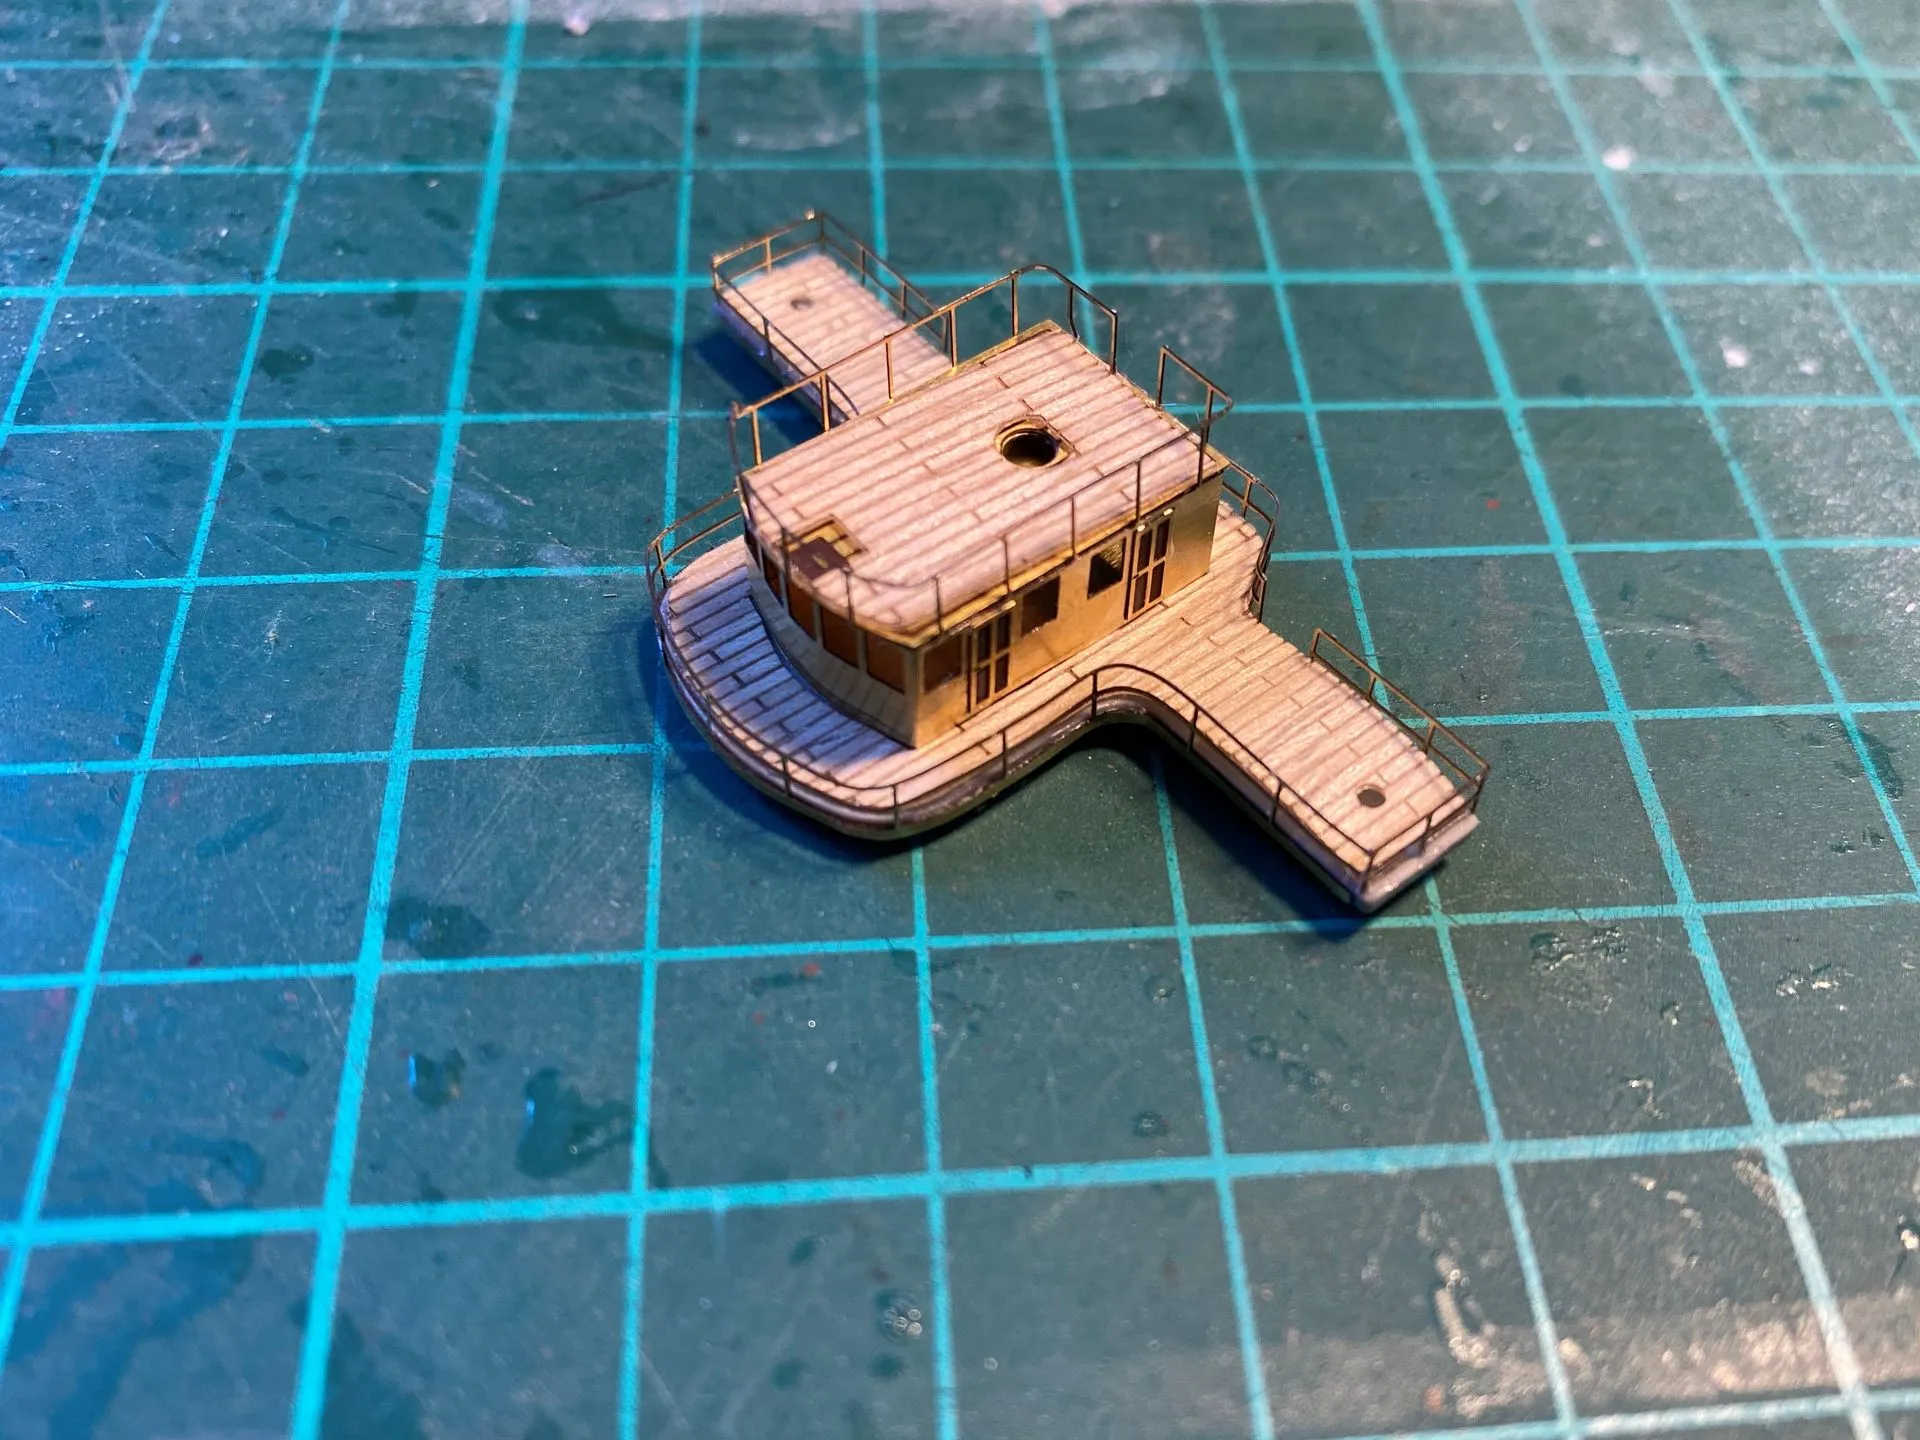
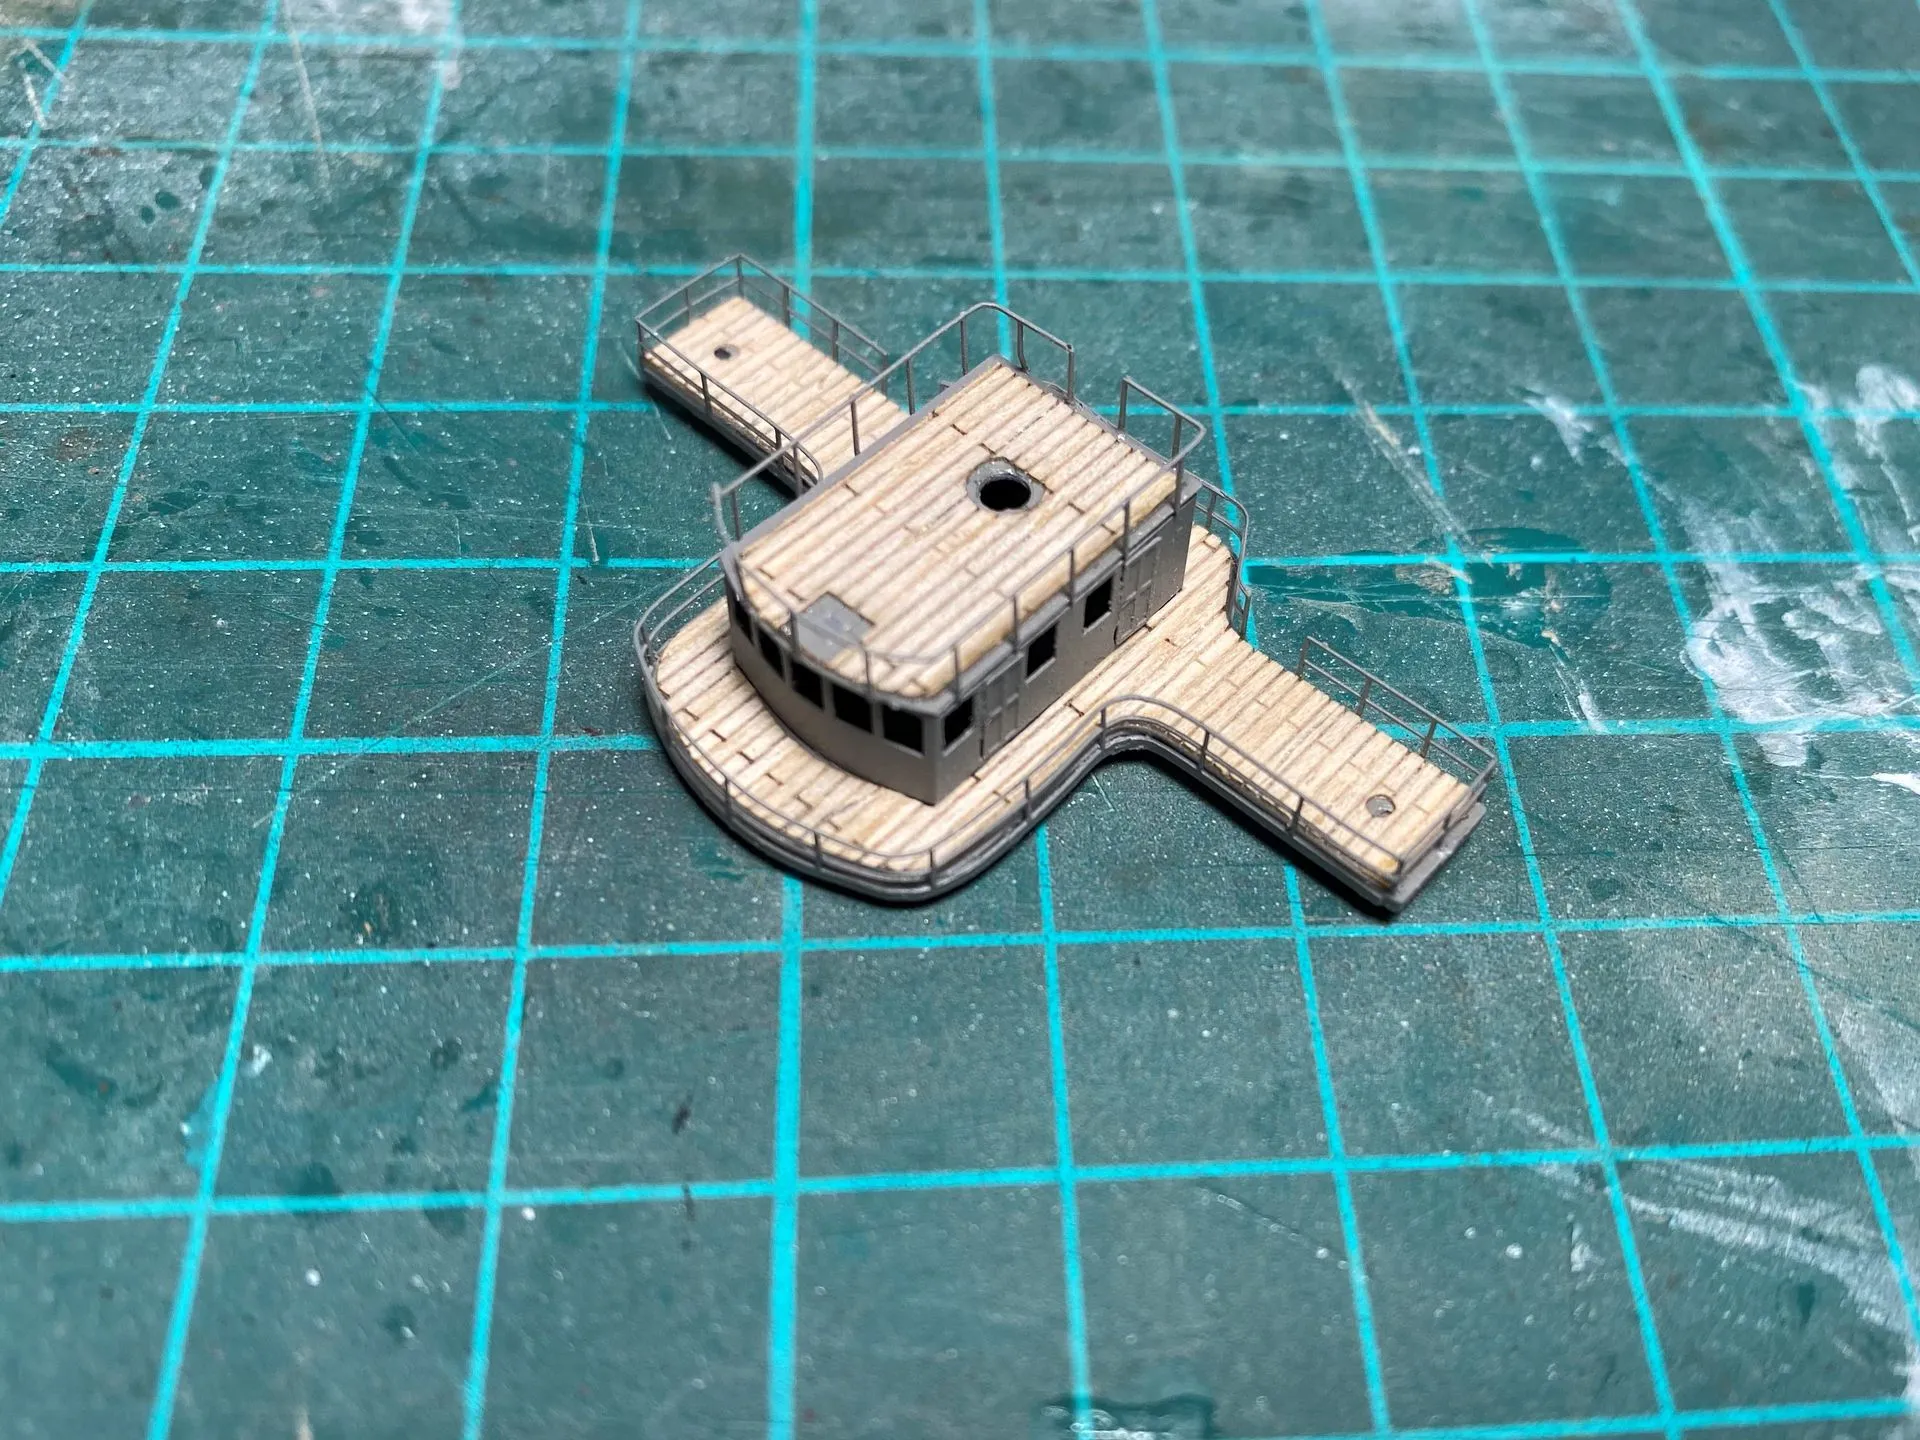
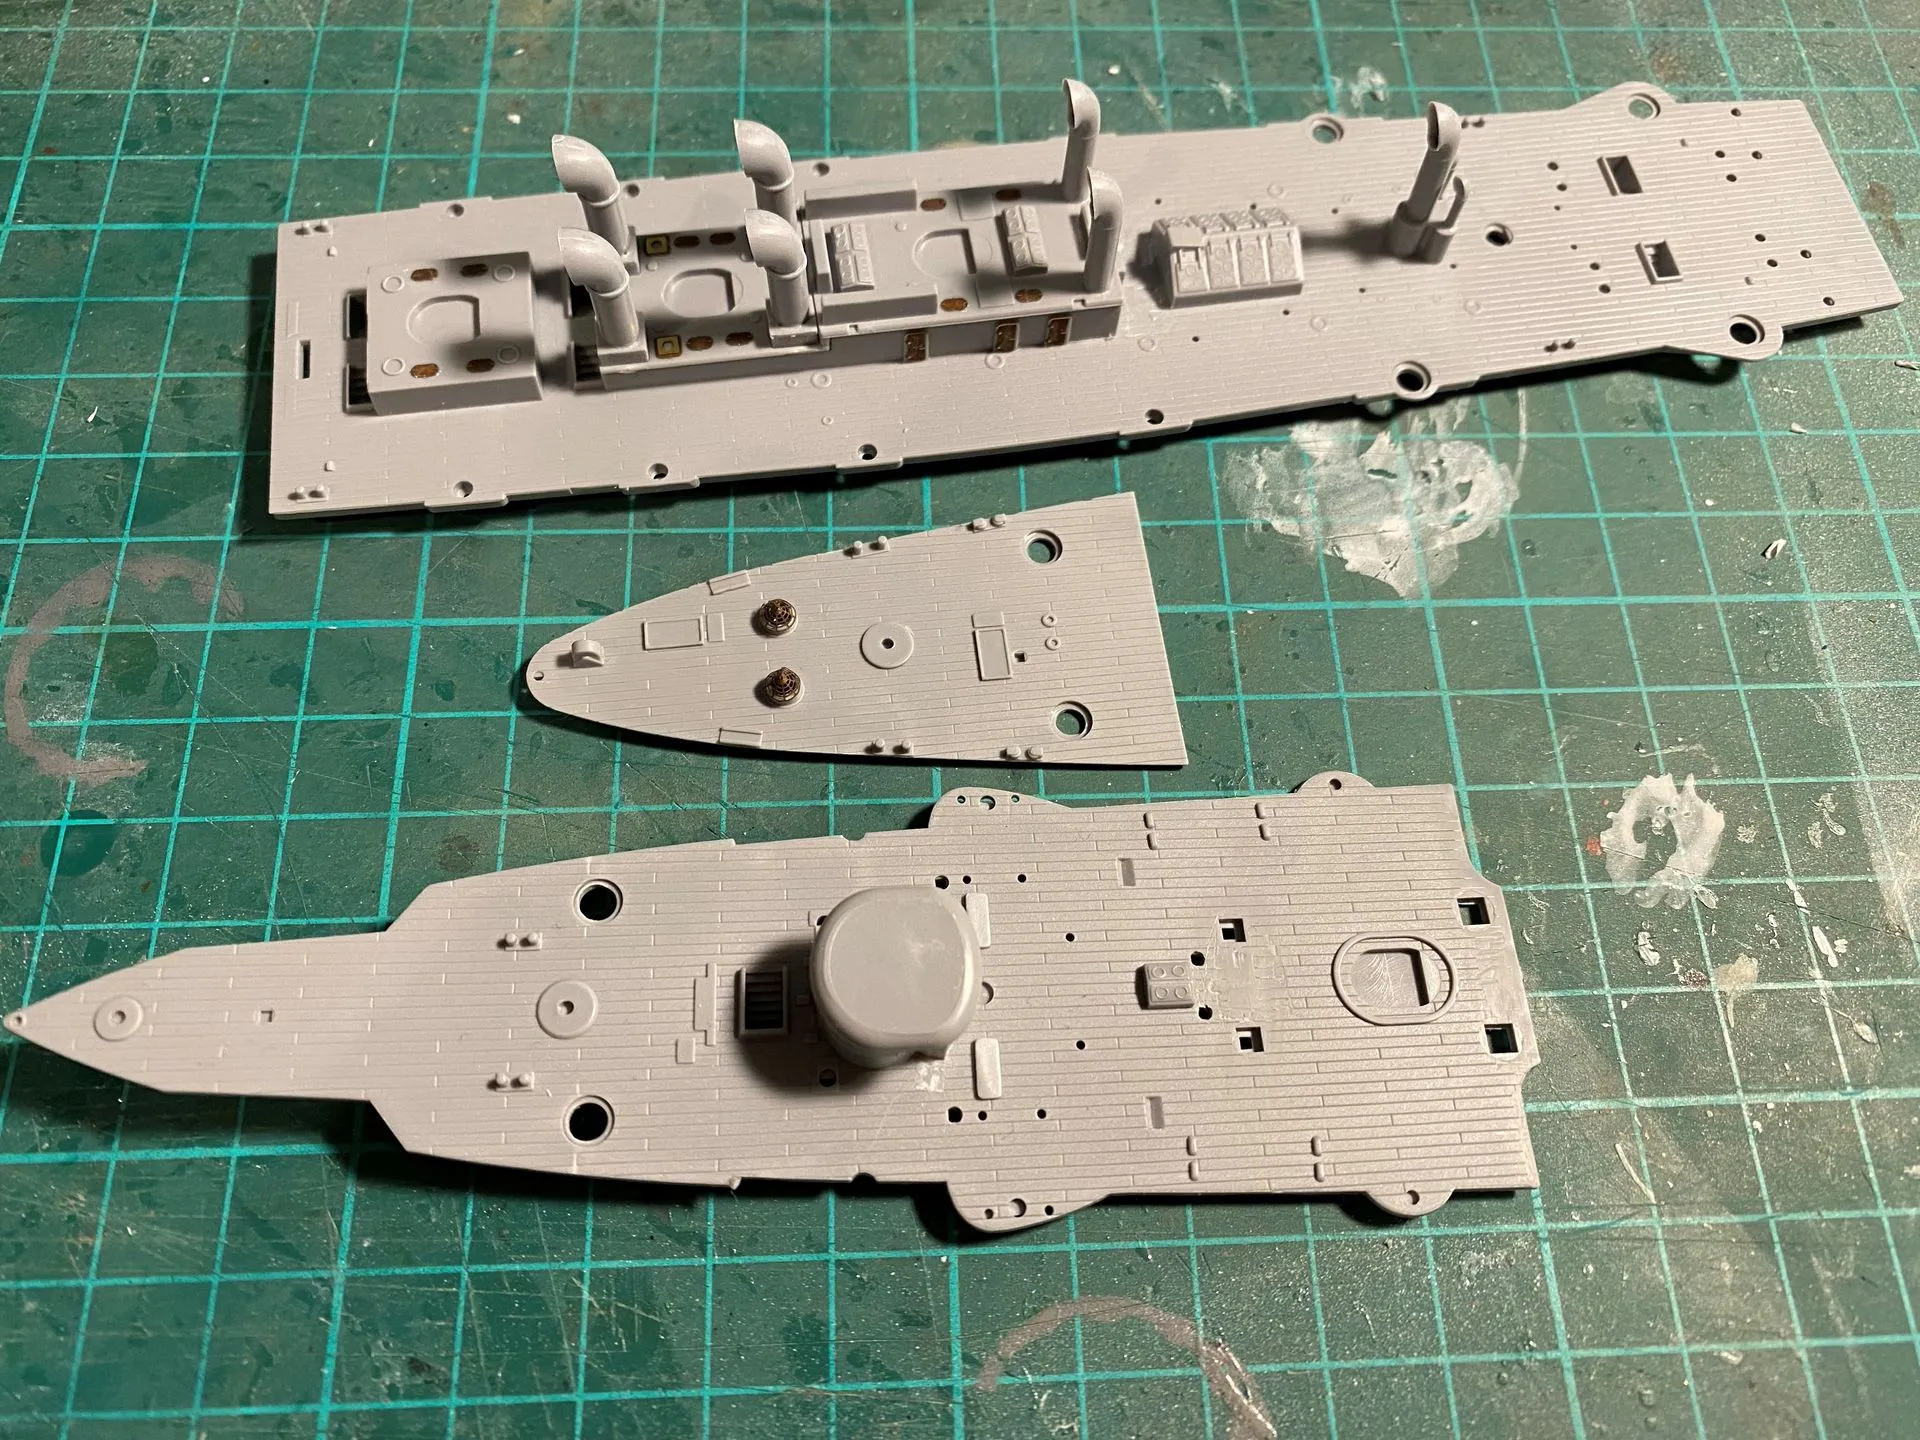
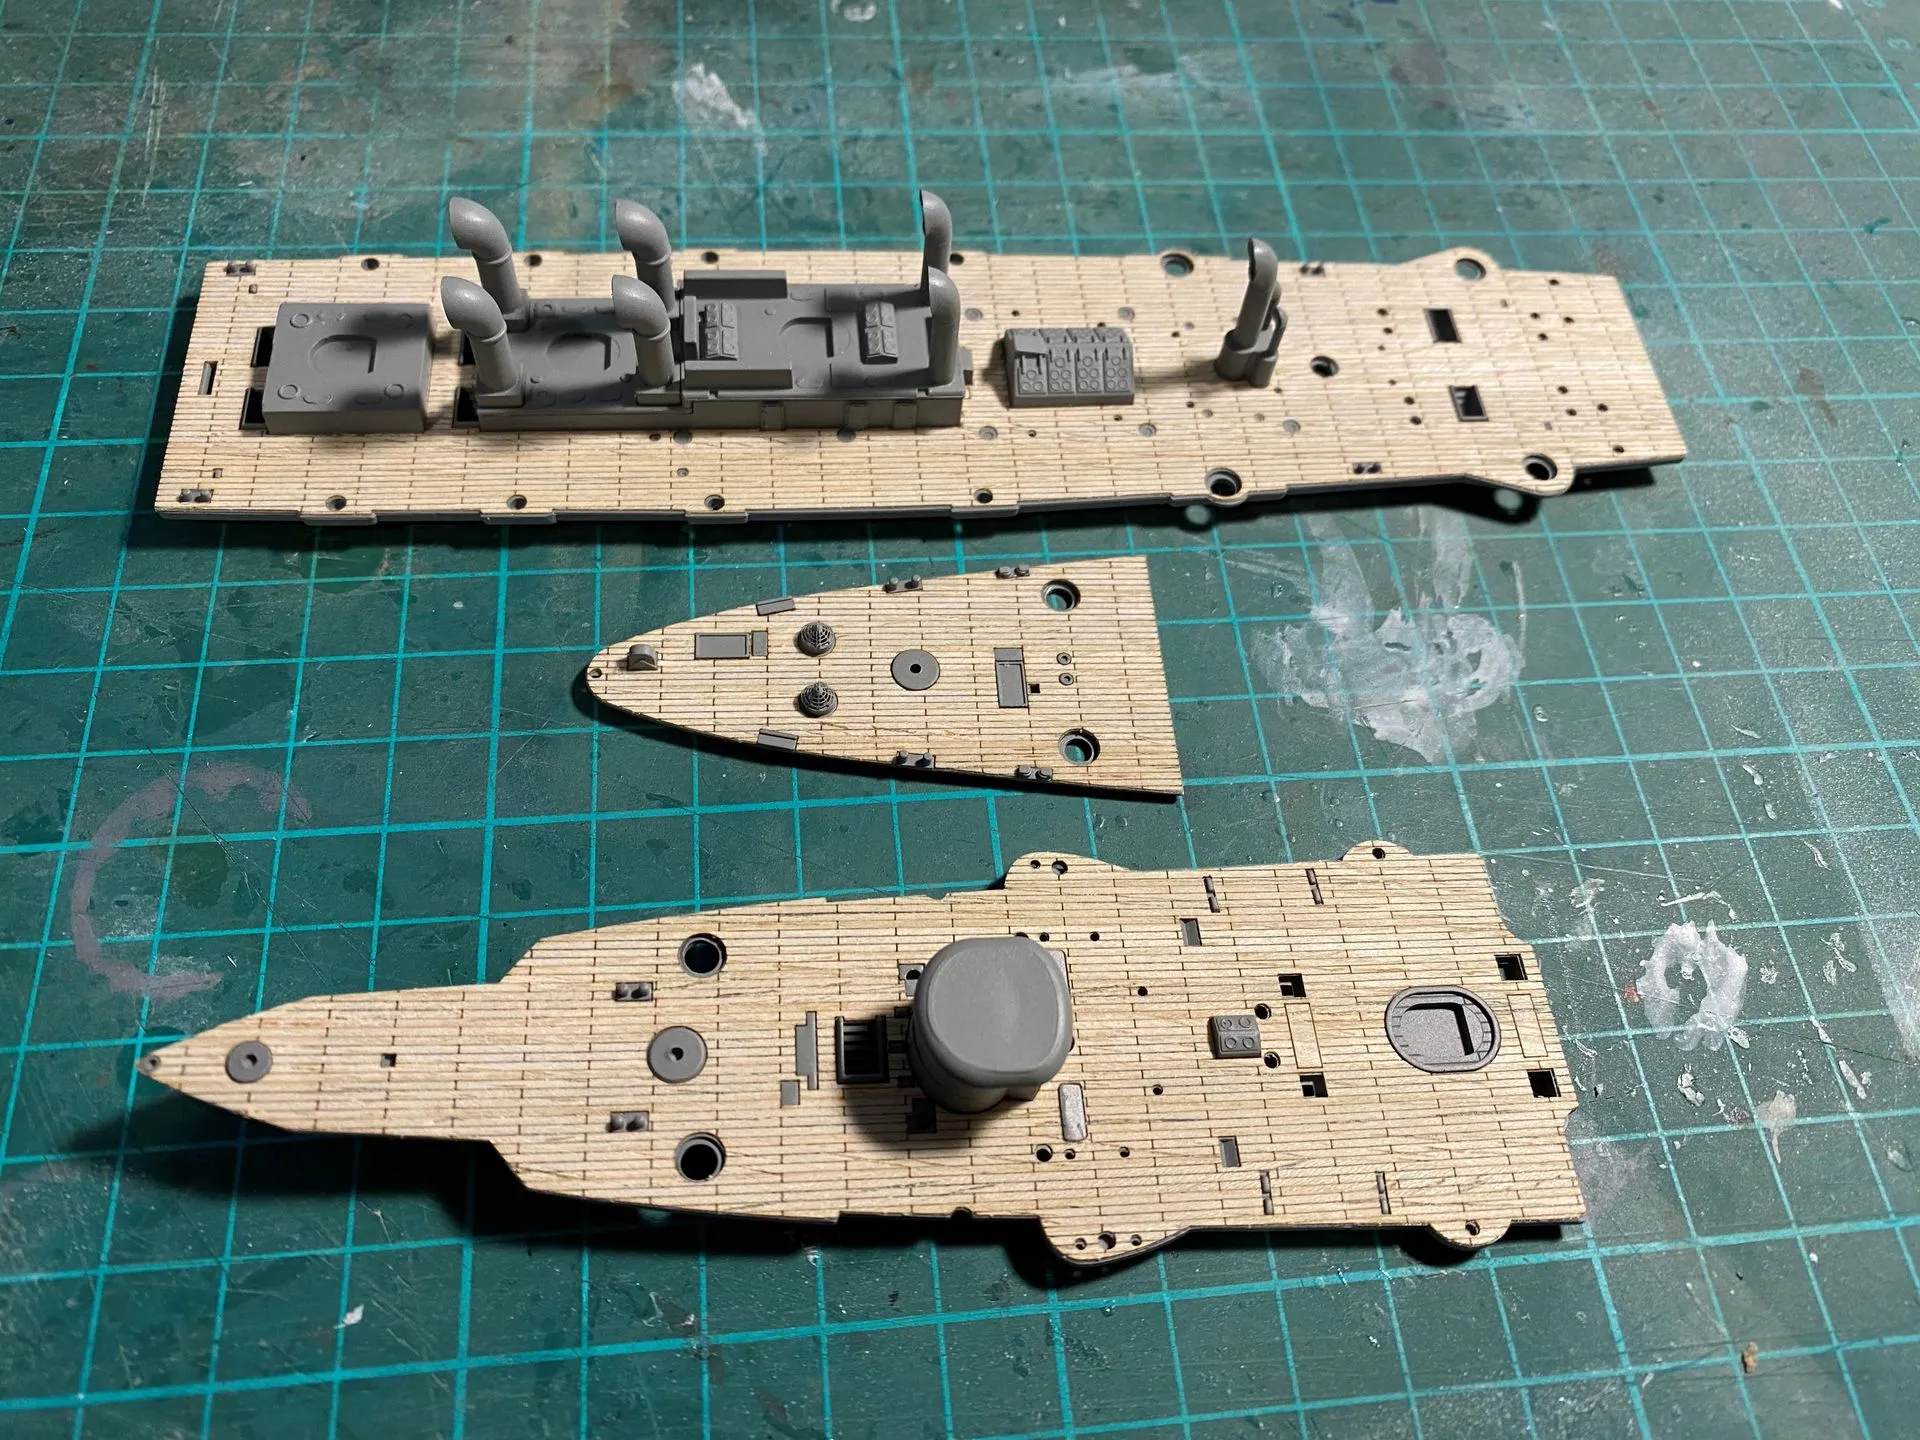
Here is the part of the superstructure before and after painting. Deck is dry fitted on the first photo. Plastic bridge was removed, and a more detailed PhotoEtch replacement was installed.
Here is the deck parts, before and after painting and glueing the wooden deck on top of the plastic one. The difference is massive, and I could have never achieved the same look with paint alone.
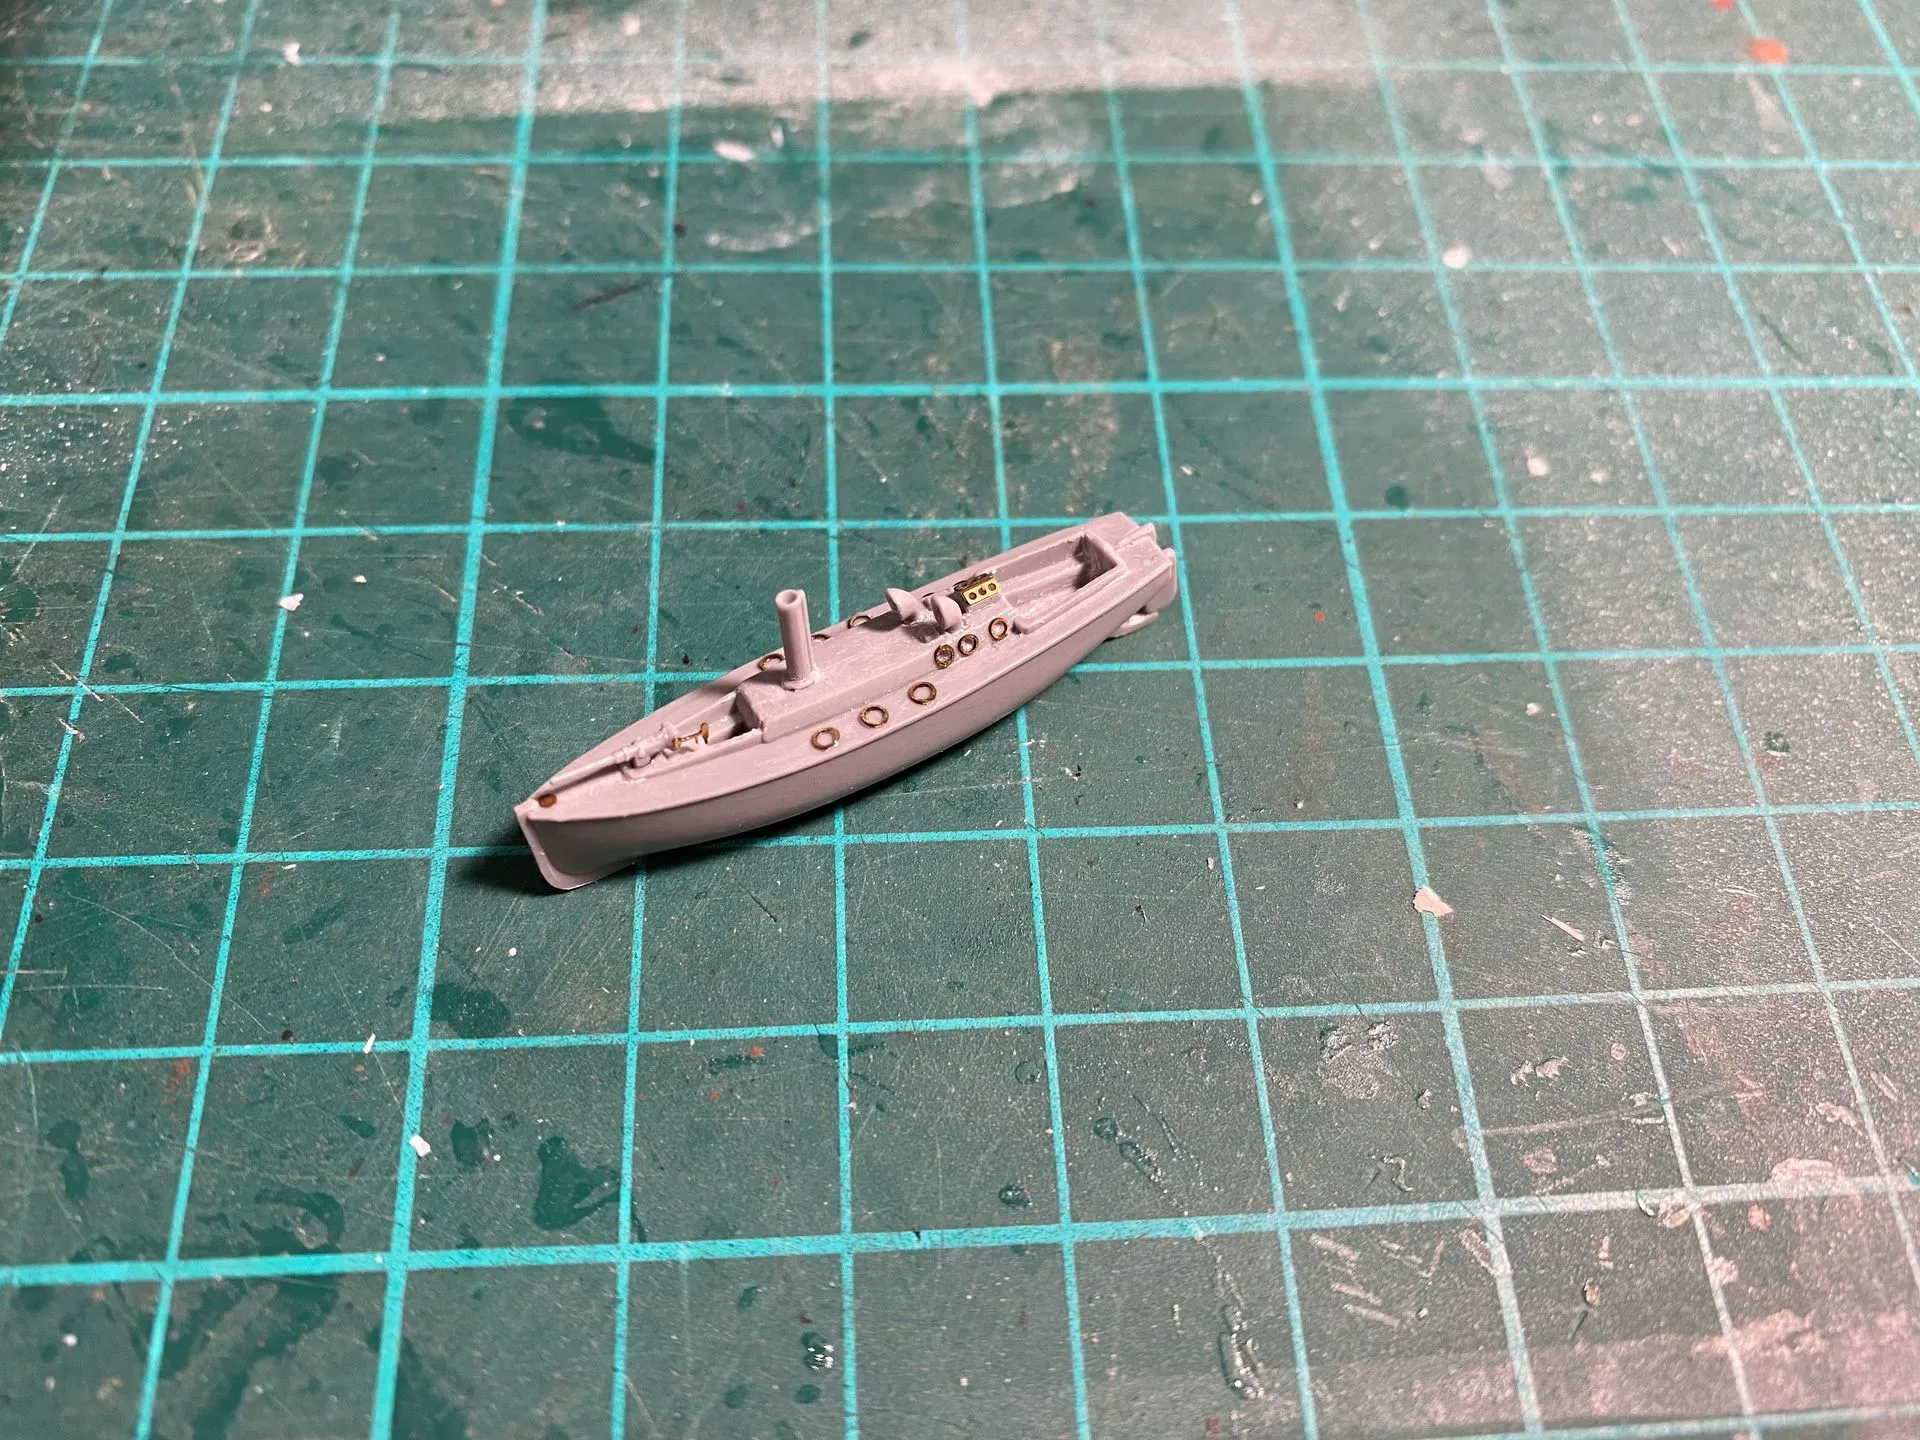
And finally a steam launch with all the PE details and drilled out funnel. I always drill out the gun barrels and funnels, it’s easy and it adds a lot to the look of the model.
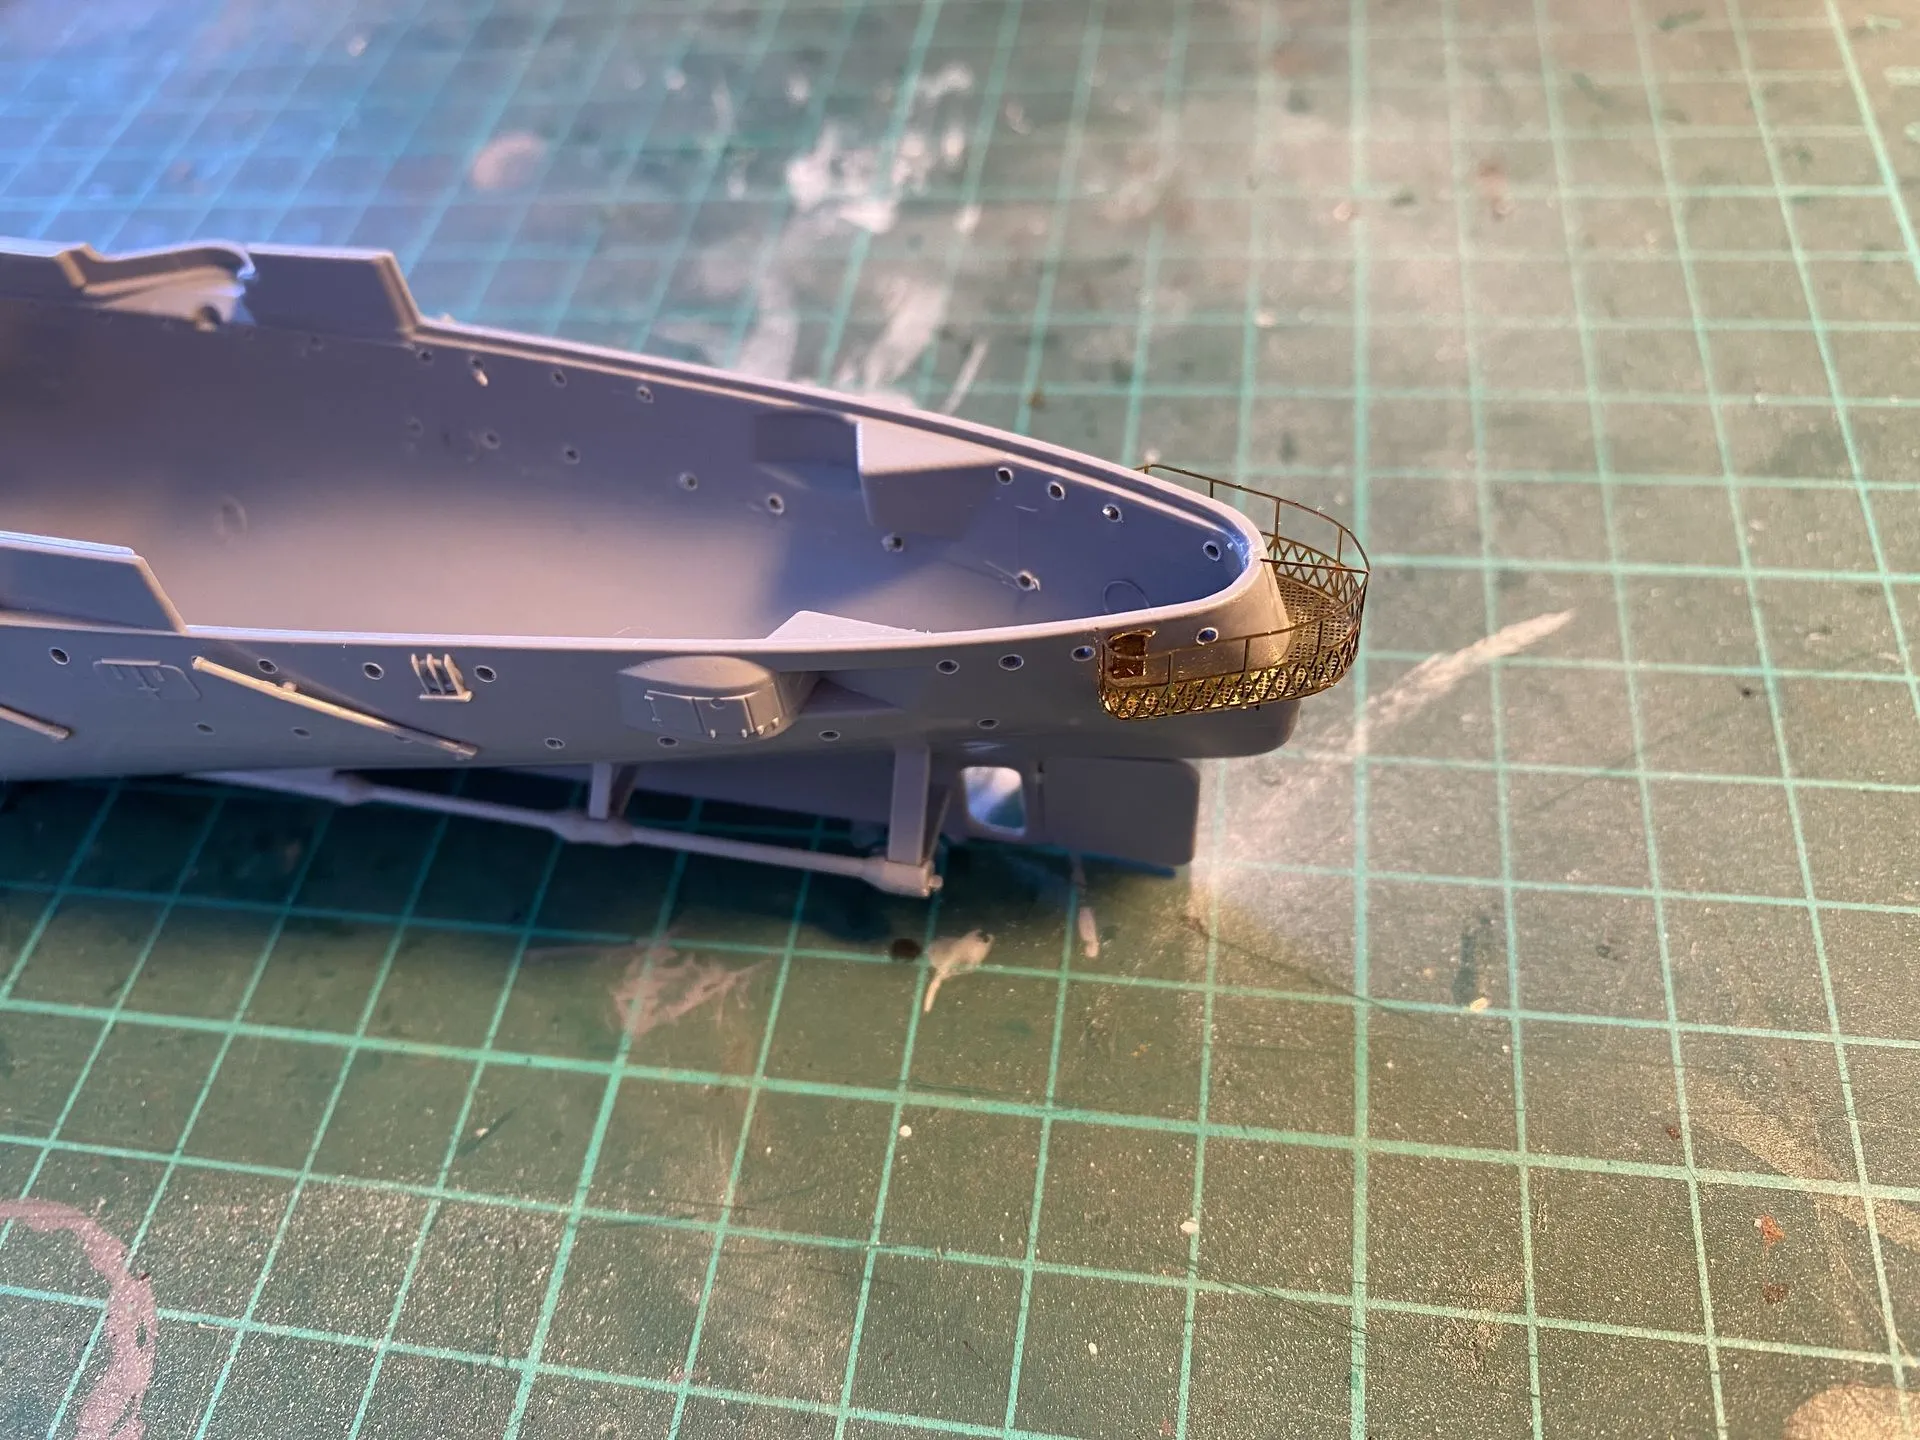
One of the most challenging bits was adding the stern gallery. It’s quite flimsy, made of very fine PE, and I even had to remove some of the most fragile parts as there was no way they would survive anyway.
Also at this point I drilled all the portholes, and made two big mounting holes in the bottom of the hull. I then glued in the nuts for the display base bolts with CA glue.
I greatly appreciated the replacement parts with railings already attached, this made building the model more enjoyable. And if someone builds the model without a wooden deck - just look at the nice plank details that come with PE parts!

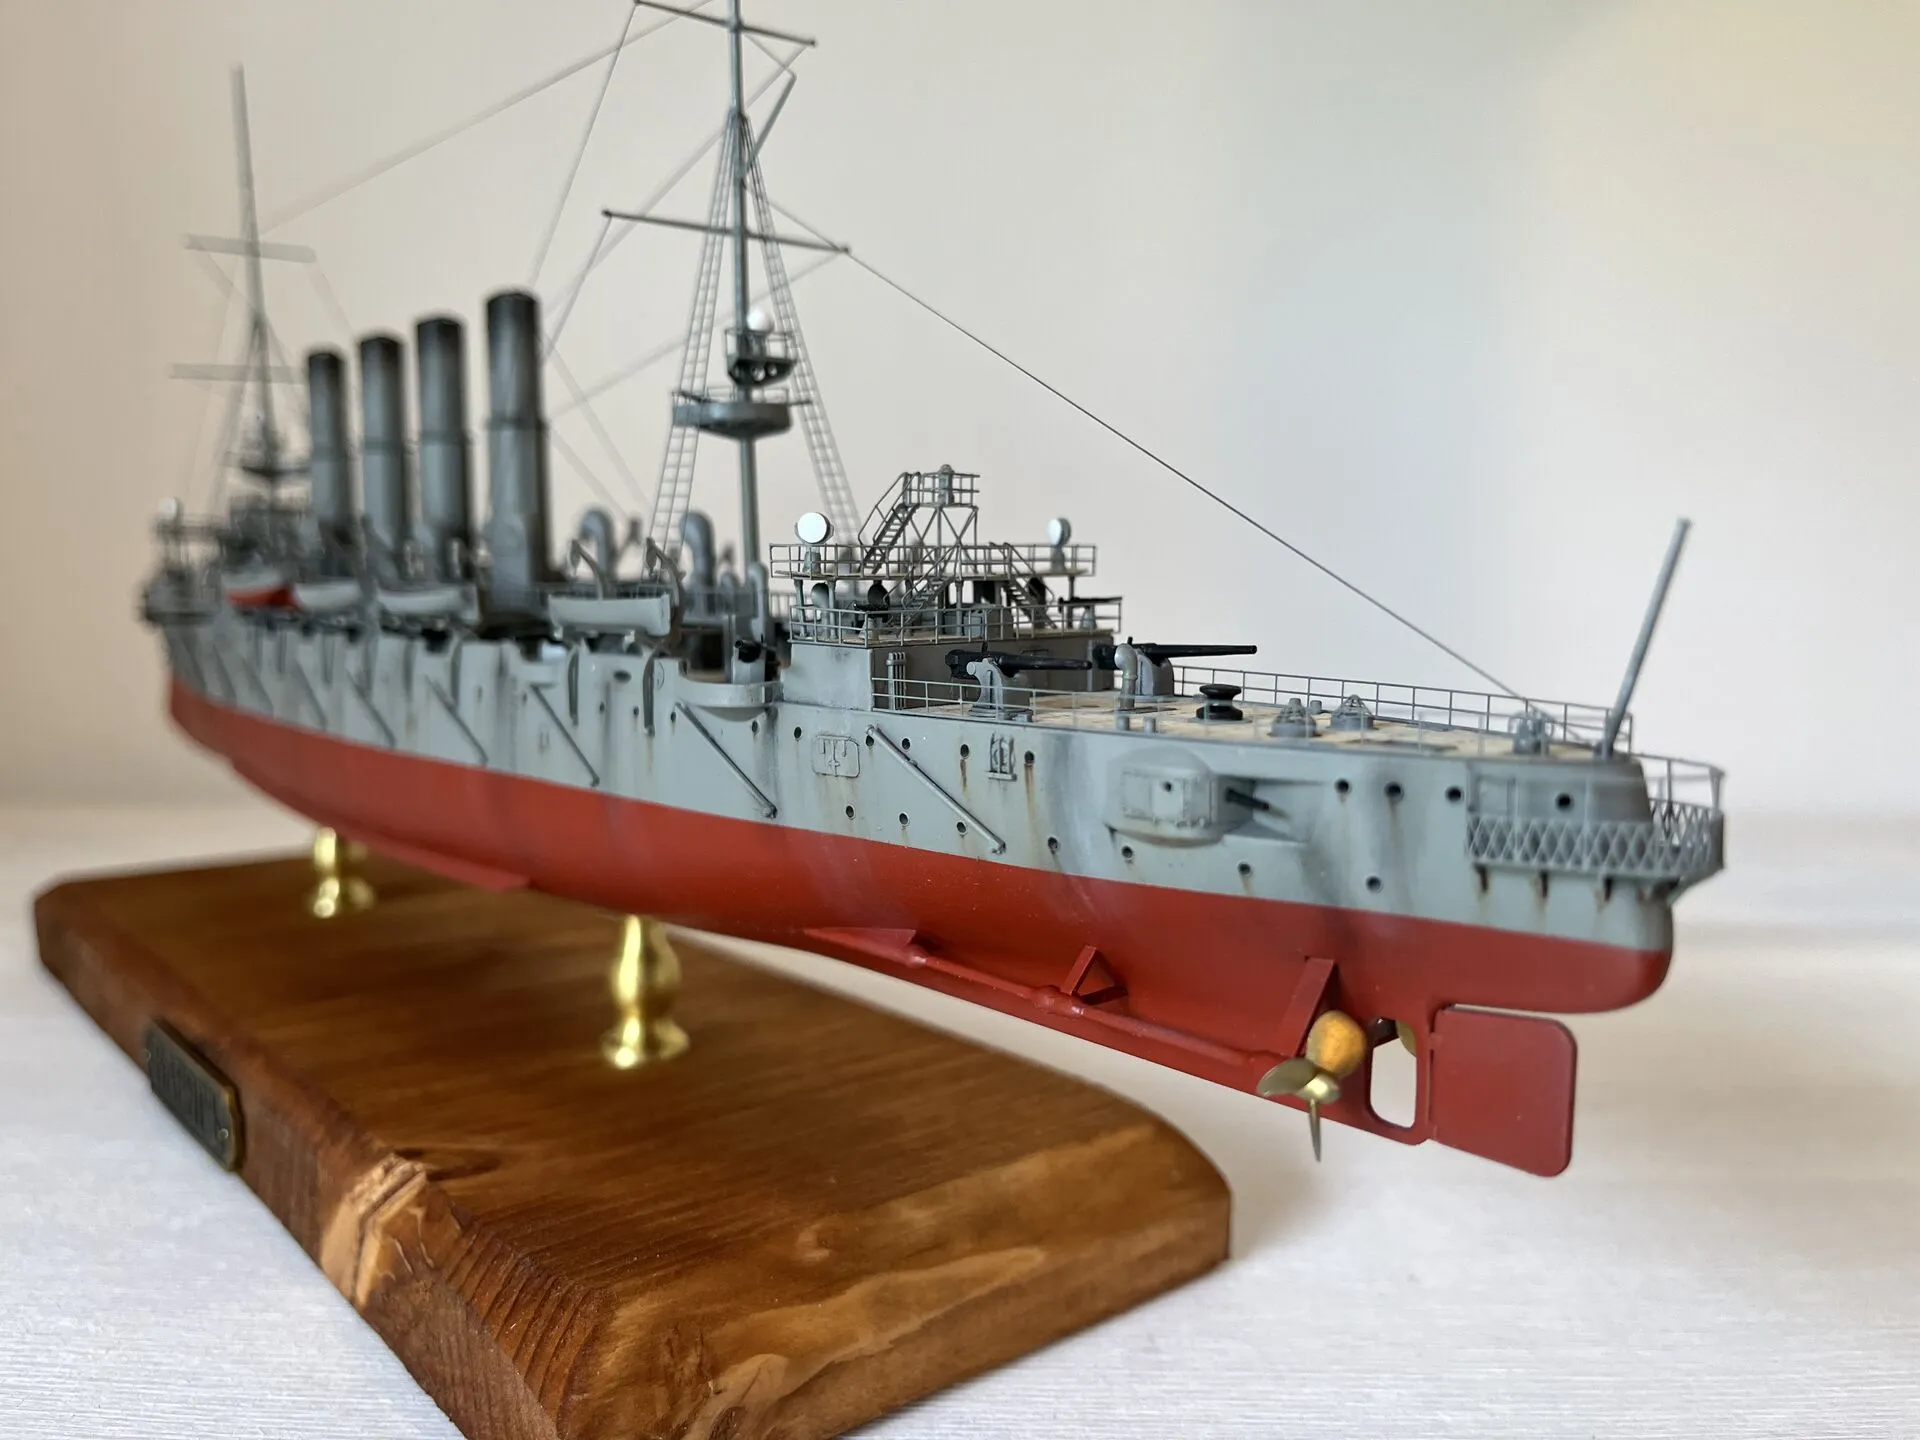
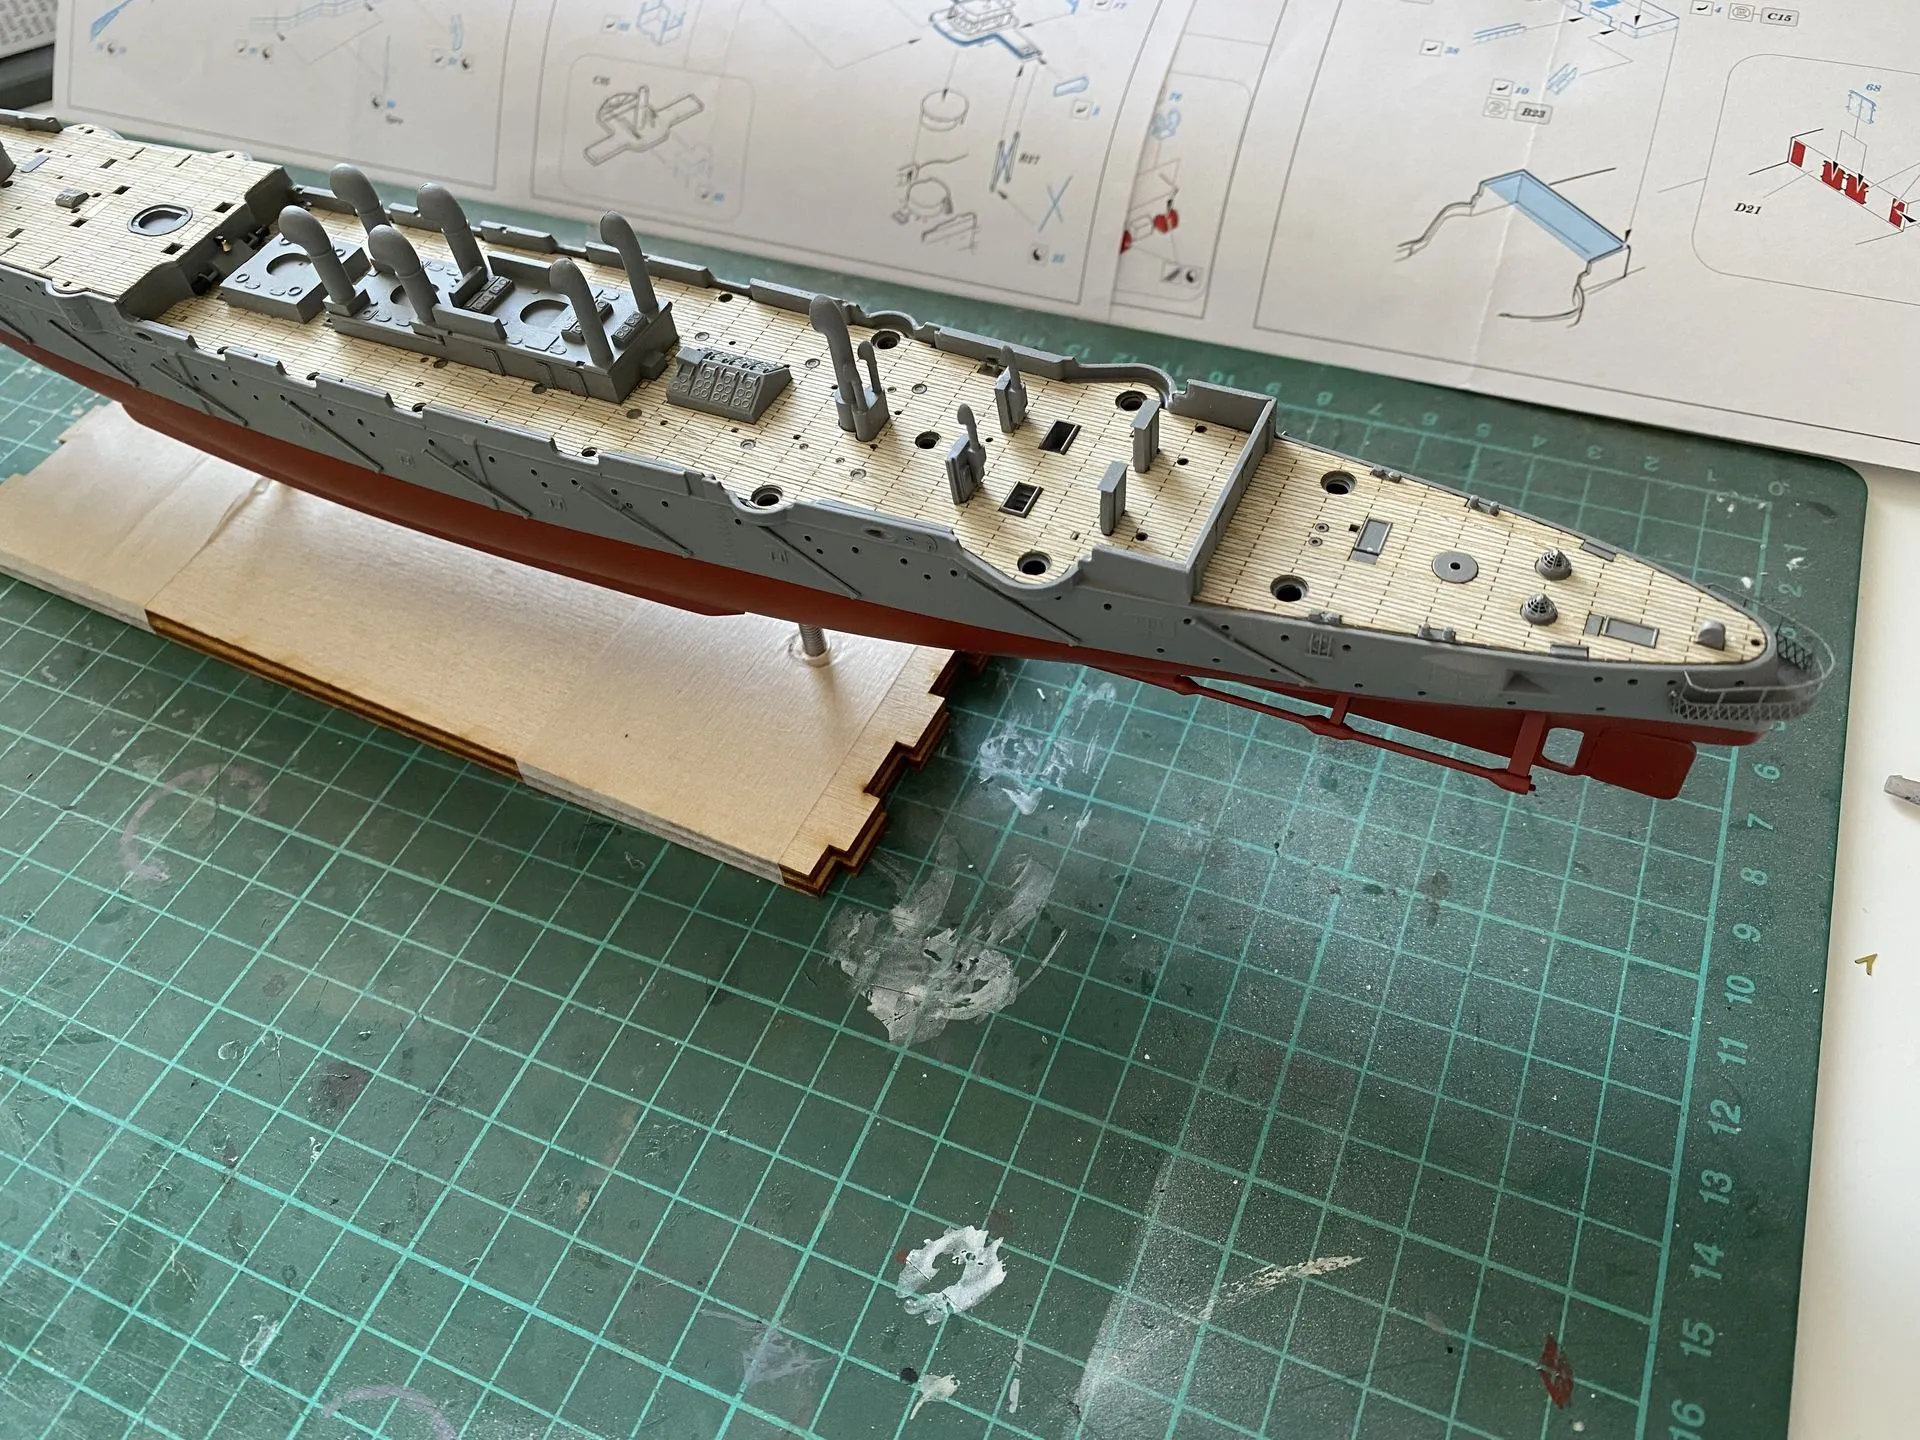
Here you can see hull painted, and three deck parts glued in. I didn’t want to pain the ship white with yellow funnels (which was a real paint scheme for her for some time).
While it looks glorious, I simply hate dealing with white paint - it takes too many coats to have good coverage, it’s a pain to dry (at least with Tamiya), and I had no idea how to weather such model.
So instead I went with realistic AK Interactive Neutral Haze Gray and Hull Red. The book I have about this ship suggests greenish-grey above and red below the waterline as a paint scheme for 1904.
I was eager to install the decks, as I had tons of parts prepared for them, just waiting to be glued on. Things like funnels, smoke stacks, guns - all was cleaned, assembled and painted separately.
The ‘stand’ you see is obviously temporary - at this point I didn’t yet have real piece of wood to use for the base, but already had the screws and brass columns.
I learned that having the model securely mounted on the display base early on is extremely helpful and convenient. It allows to easy handling and safe storage since early stages of the build.
I’m happy to report that thanks to this base I didn’t knock off any of the parts, nor did I left any paint fingerprints on the hull!
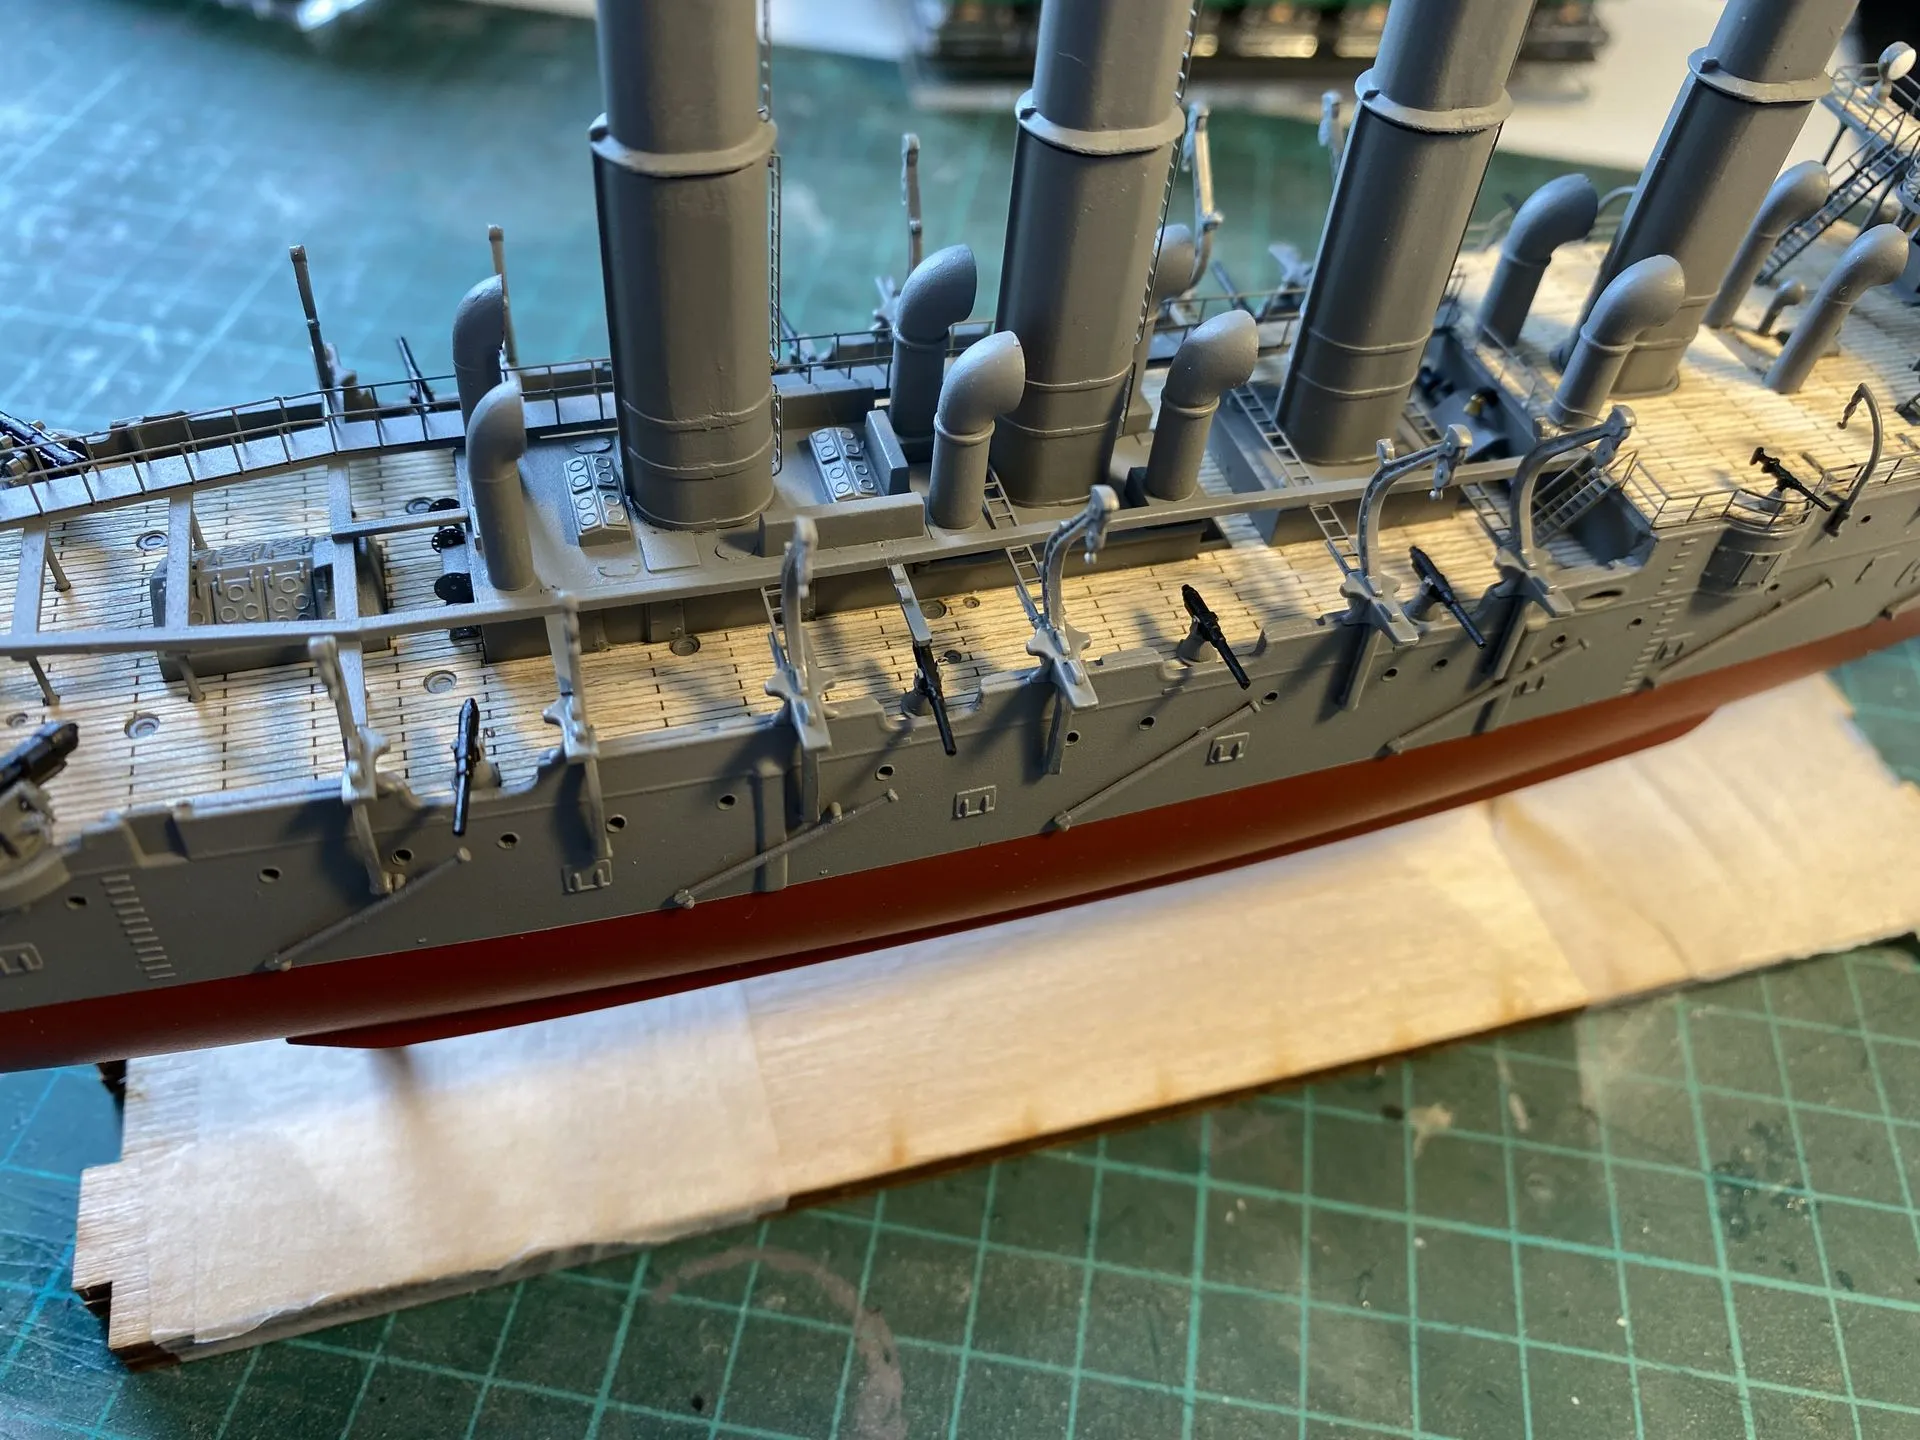
So once I had the decks installed it was relatively fast to get to the almost final look, as I had all of the parts ready to be attached.
Here you can see the ship with most of the details done (only the ship boats are left out for now), and no weathering done.
Dealing with PE railings and ladders was not too bad - Eduard’s PE is excellent, most of the stuff fit right in.
After the detailing, it was time for weathering.
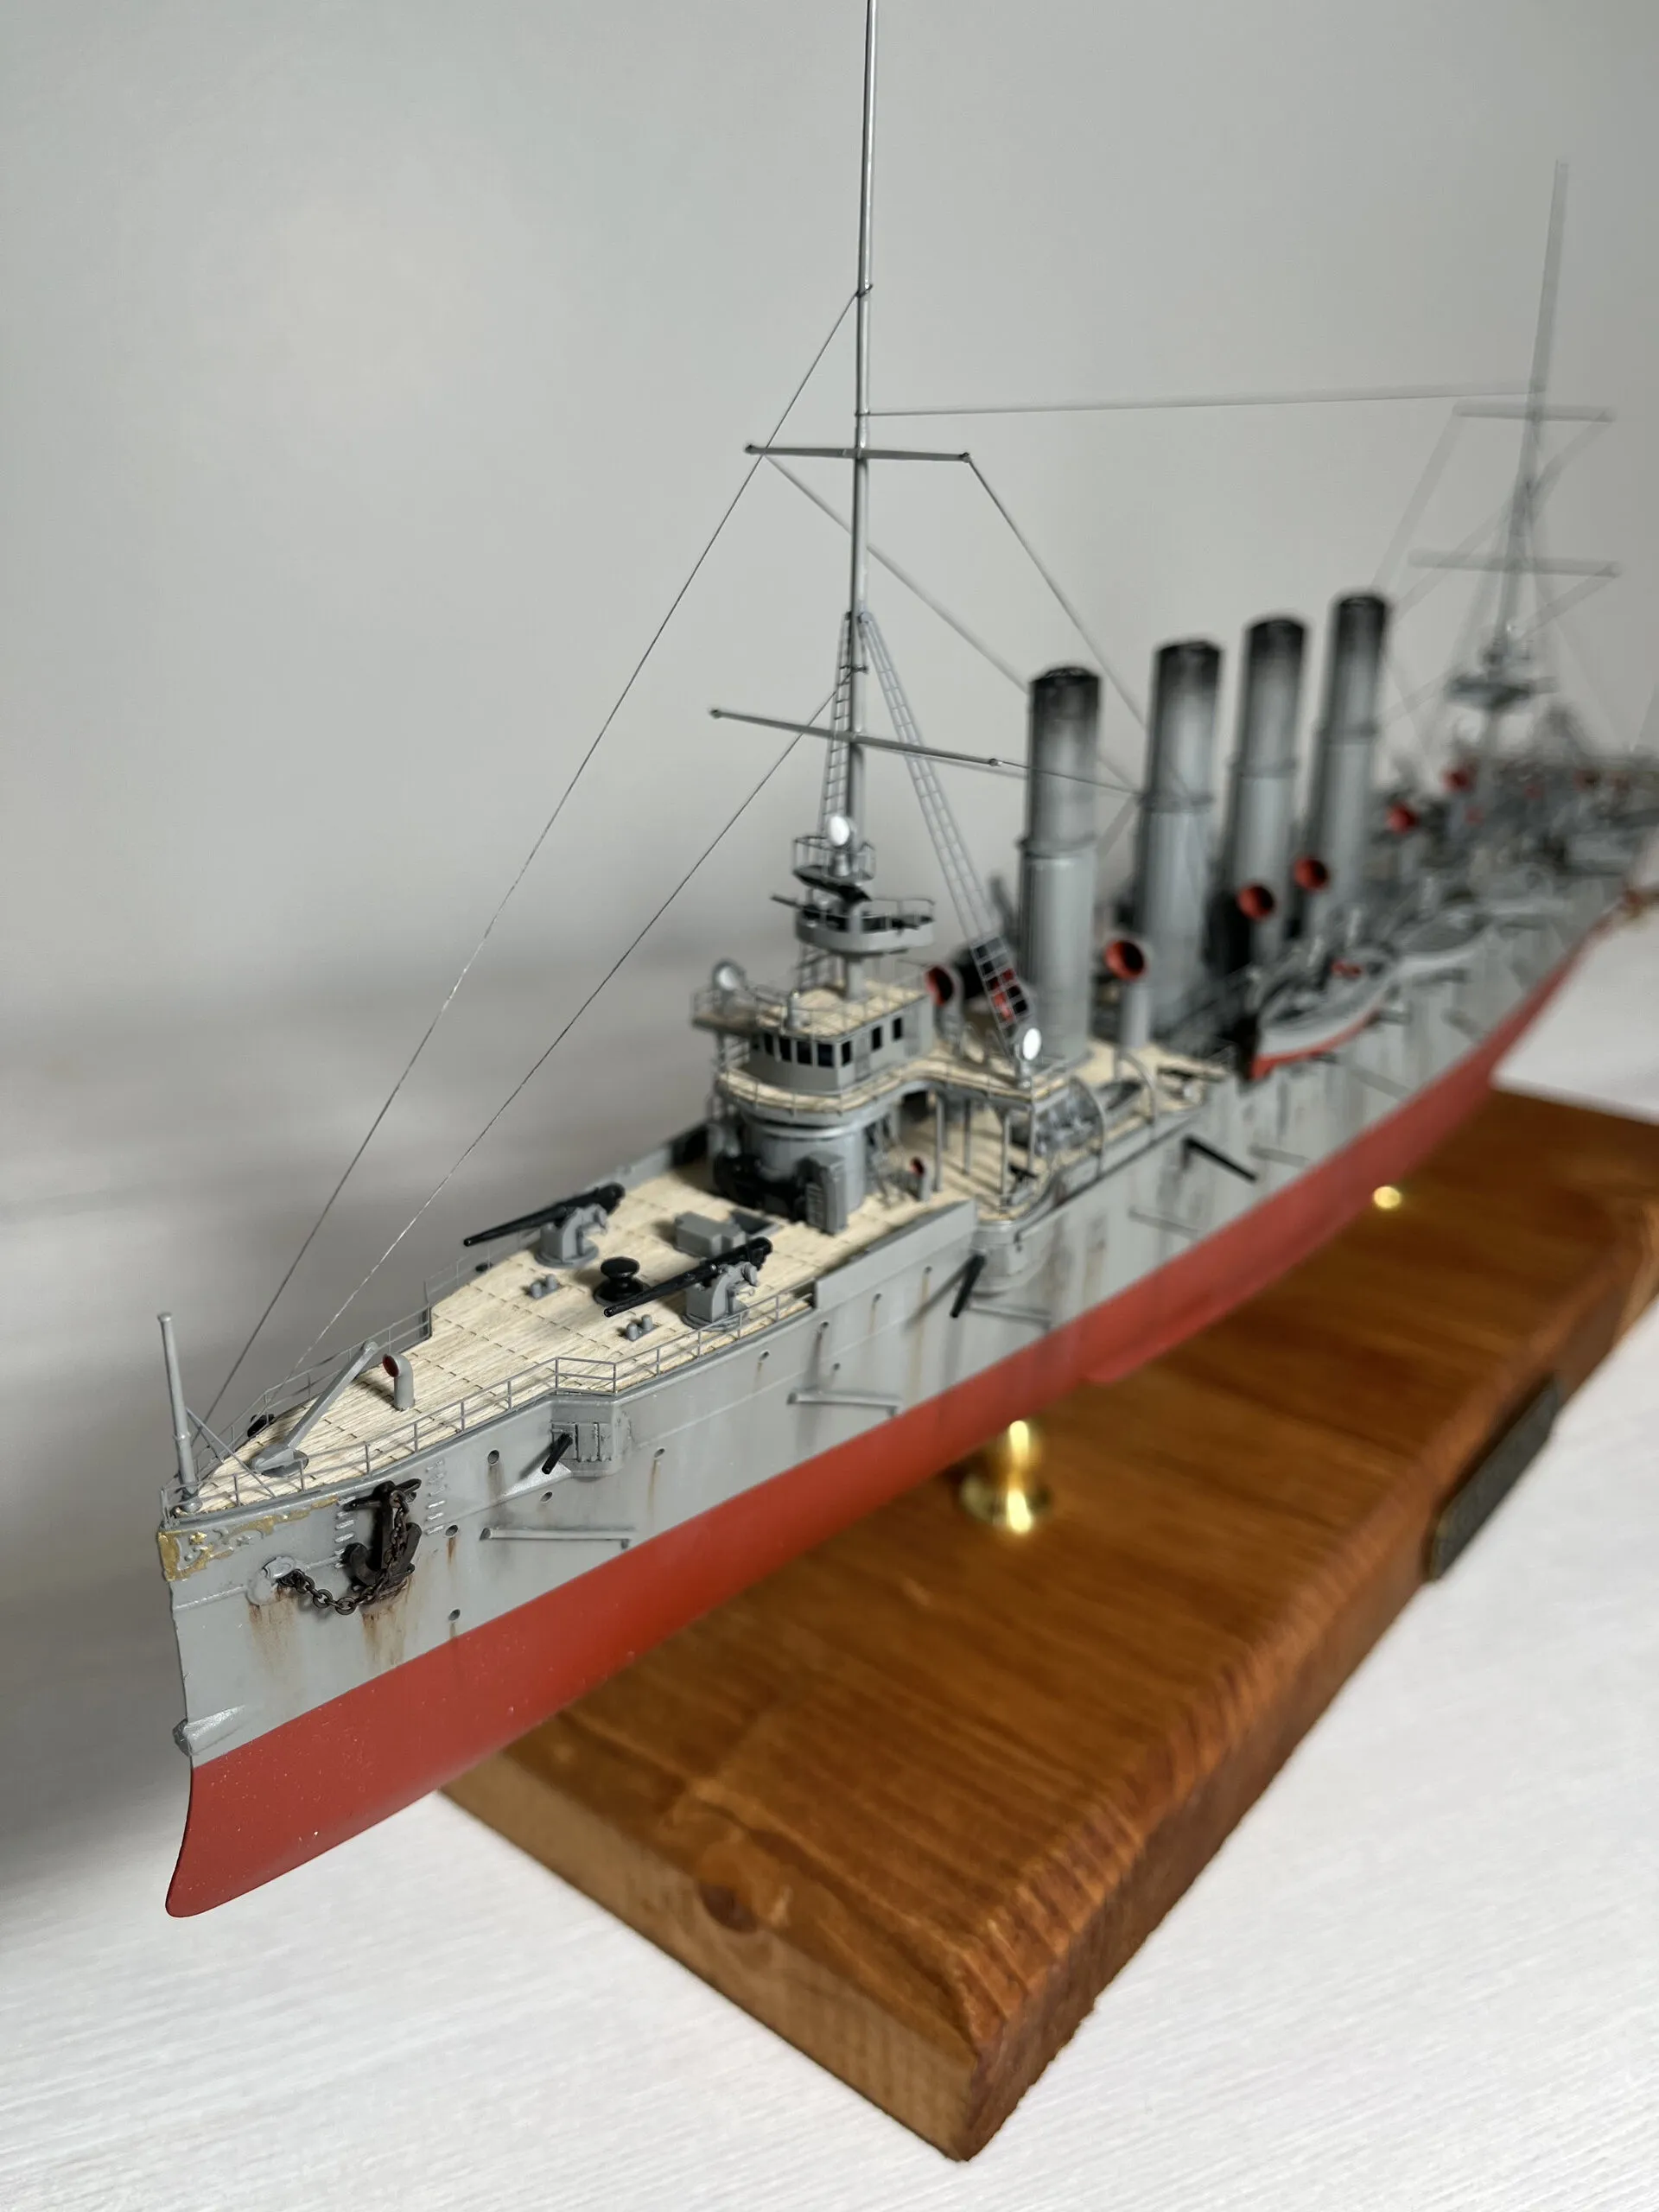
As always, I used oil paint by Windsor&Newton. I think rust streaks turned out very nicely, and black-ish grime just as well. White salt deposits are quite subtle, but add nice variation.
None of the weathering (except for white) is visible on the lower (red-brown) part of the hull, but I was expecting this and thus was not disappointed.
Once the weathering was done, I reluctantly proceeded with rigging. In this scale it’s very far from my favorite part of the build, but without it the ship looked unfinished. It didn’t help that instructions are extremely basic in regards of rigging, and are pretty much useless.
With the help of some photos from the internet and reference books, I was able to make something relatively legitimate looking with a great product called EZ-line.
At this point the model was complete, but I still needed a base for it.
Recently I stated to pay more attention to the way the models are displayed, not only in a sense of using protective acrylic display cases.
I’ve noticed that proper display stand adds a lot to the look of the finished model, and with the amount of effort (wooden deck, tons of PE) that went into Varyag I wanted it to look as good as possible.
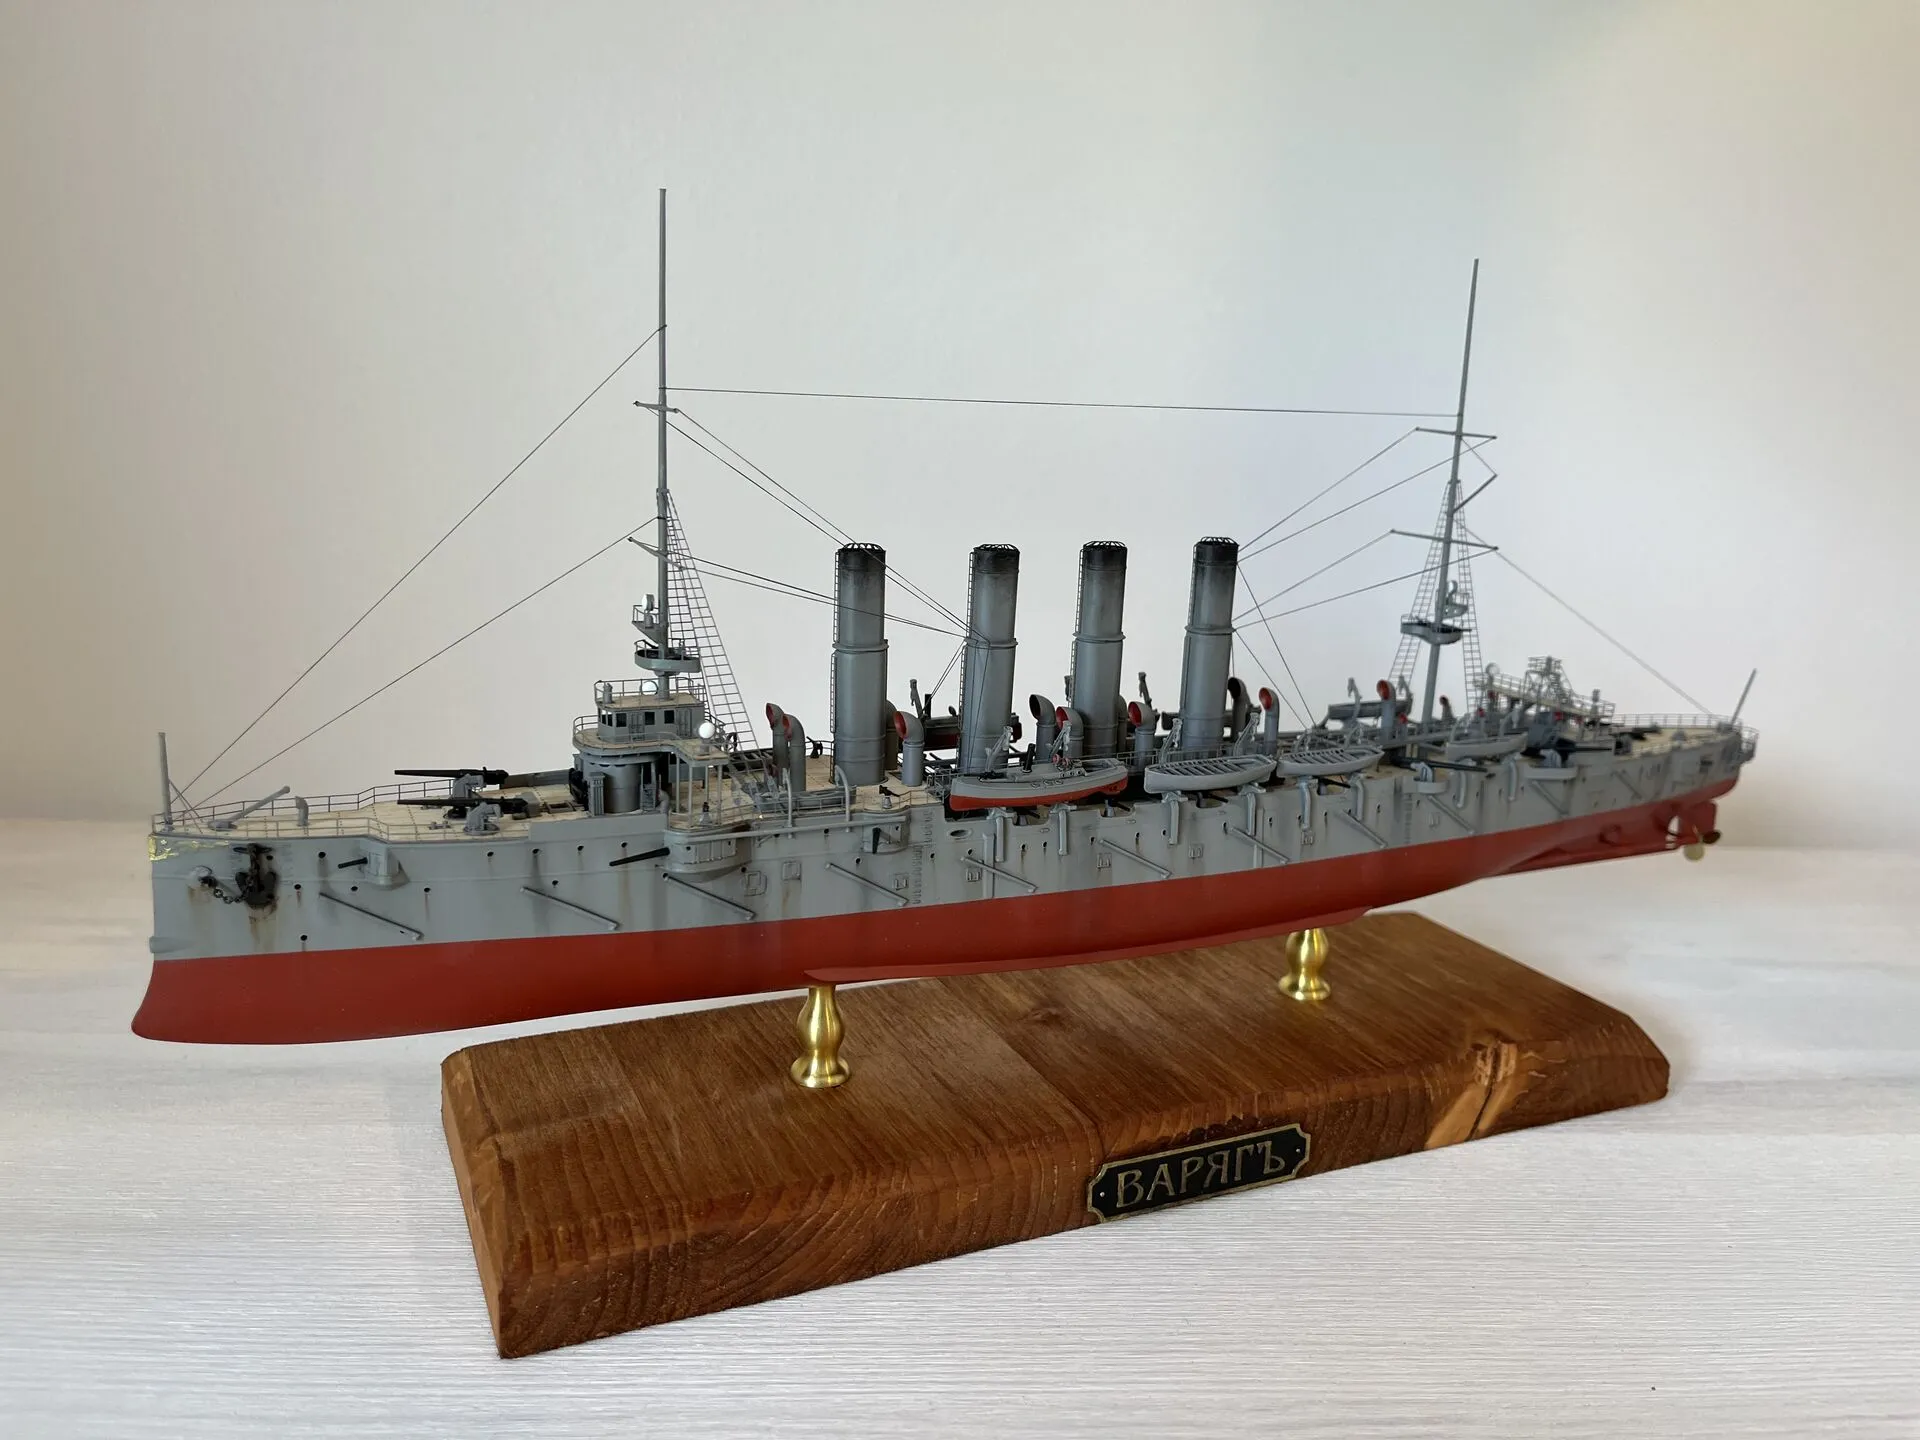
After searching the internet for the example pictures and showing them to my wife, it was agreed that wooden base with brass pedestals is the only way to go.
I went to the nearest Woodies to look at laminated floors, as it seems like the easiest option to source flat piece of good looking wood. Instead, I found a better, more natural looking thing - ‘pine board’, which I promptly bought.
Finally, hand saw and hand plane were used to shape it, and wooden dye to tone it. Brass pedestals came from eBay.
I absolutely love the result, natural wooden base really adds to the look of the model.
Conclusion
Not a bad model to start with, really improved by the wooden deck and PhotoEtch. I enjoyed the build, and how it didn’t take years to finish (looking at my wooden ships builds…).
I already was sure that PE railings are a must for any plastic ship build, now I’m also convinced that wooden deck is mandatory. It’s not terribly expensive, relatively easy to use, and makes the model look much more interesting. With my lack of artistic talent, I simply cannot achieve anything comparable with the paint job.
Gallery