With this small and simple kit I wanted to get a break from rigging HMS Terror I’ve been building for over a year now.
Providence Whaleboat
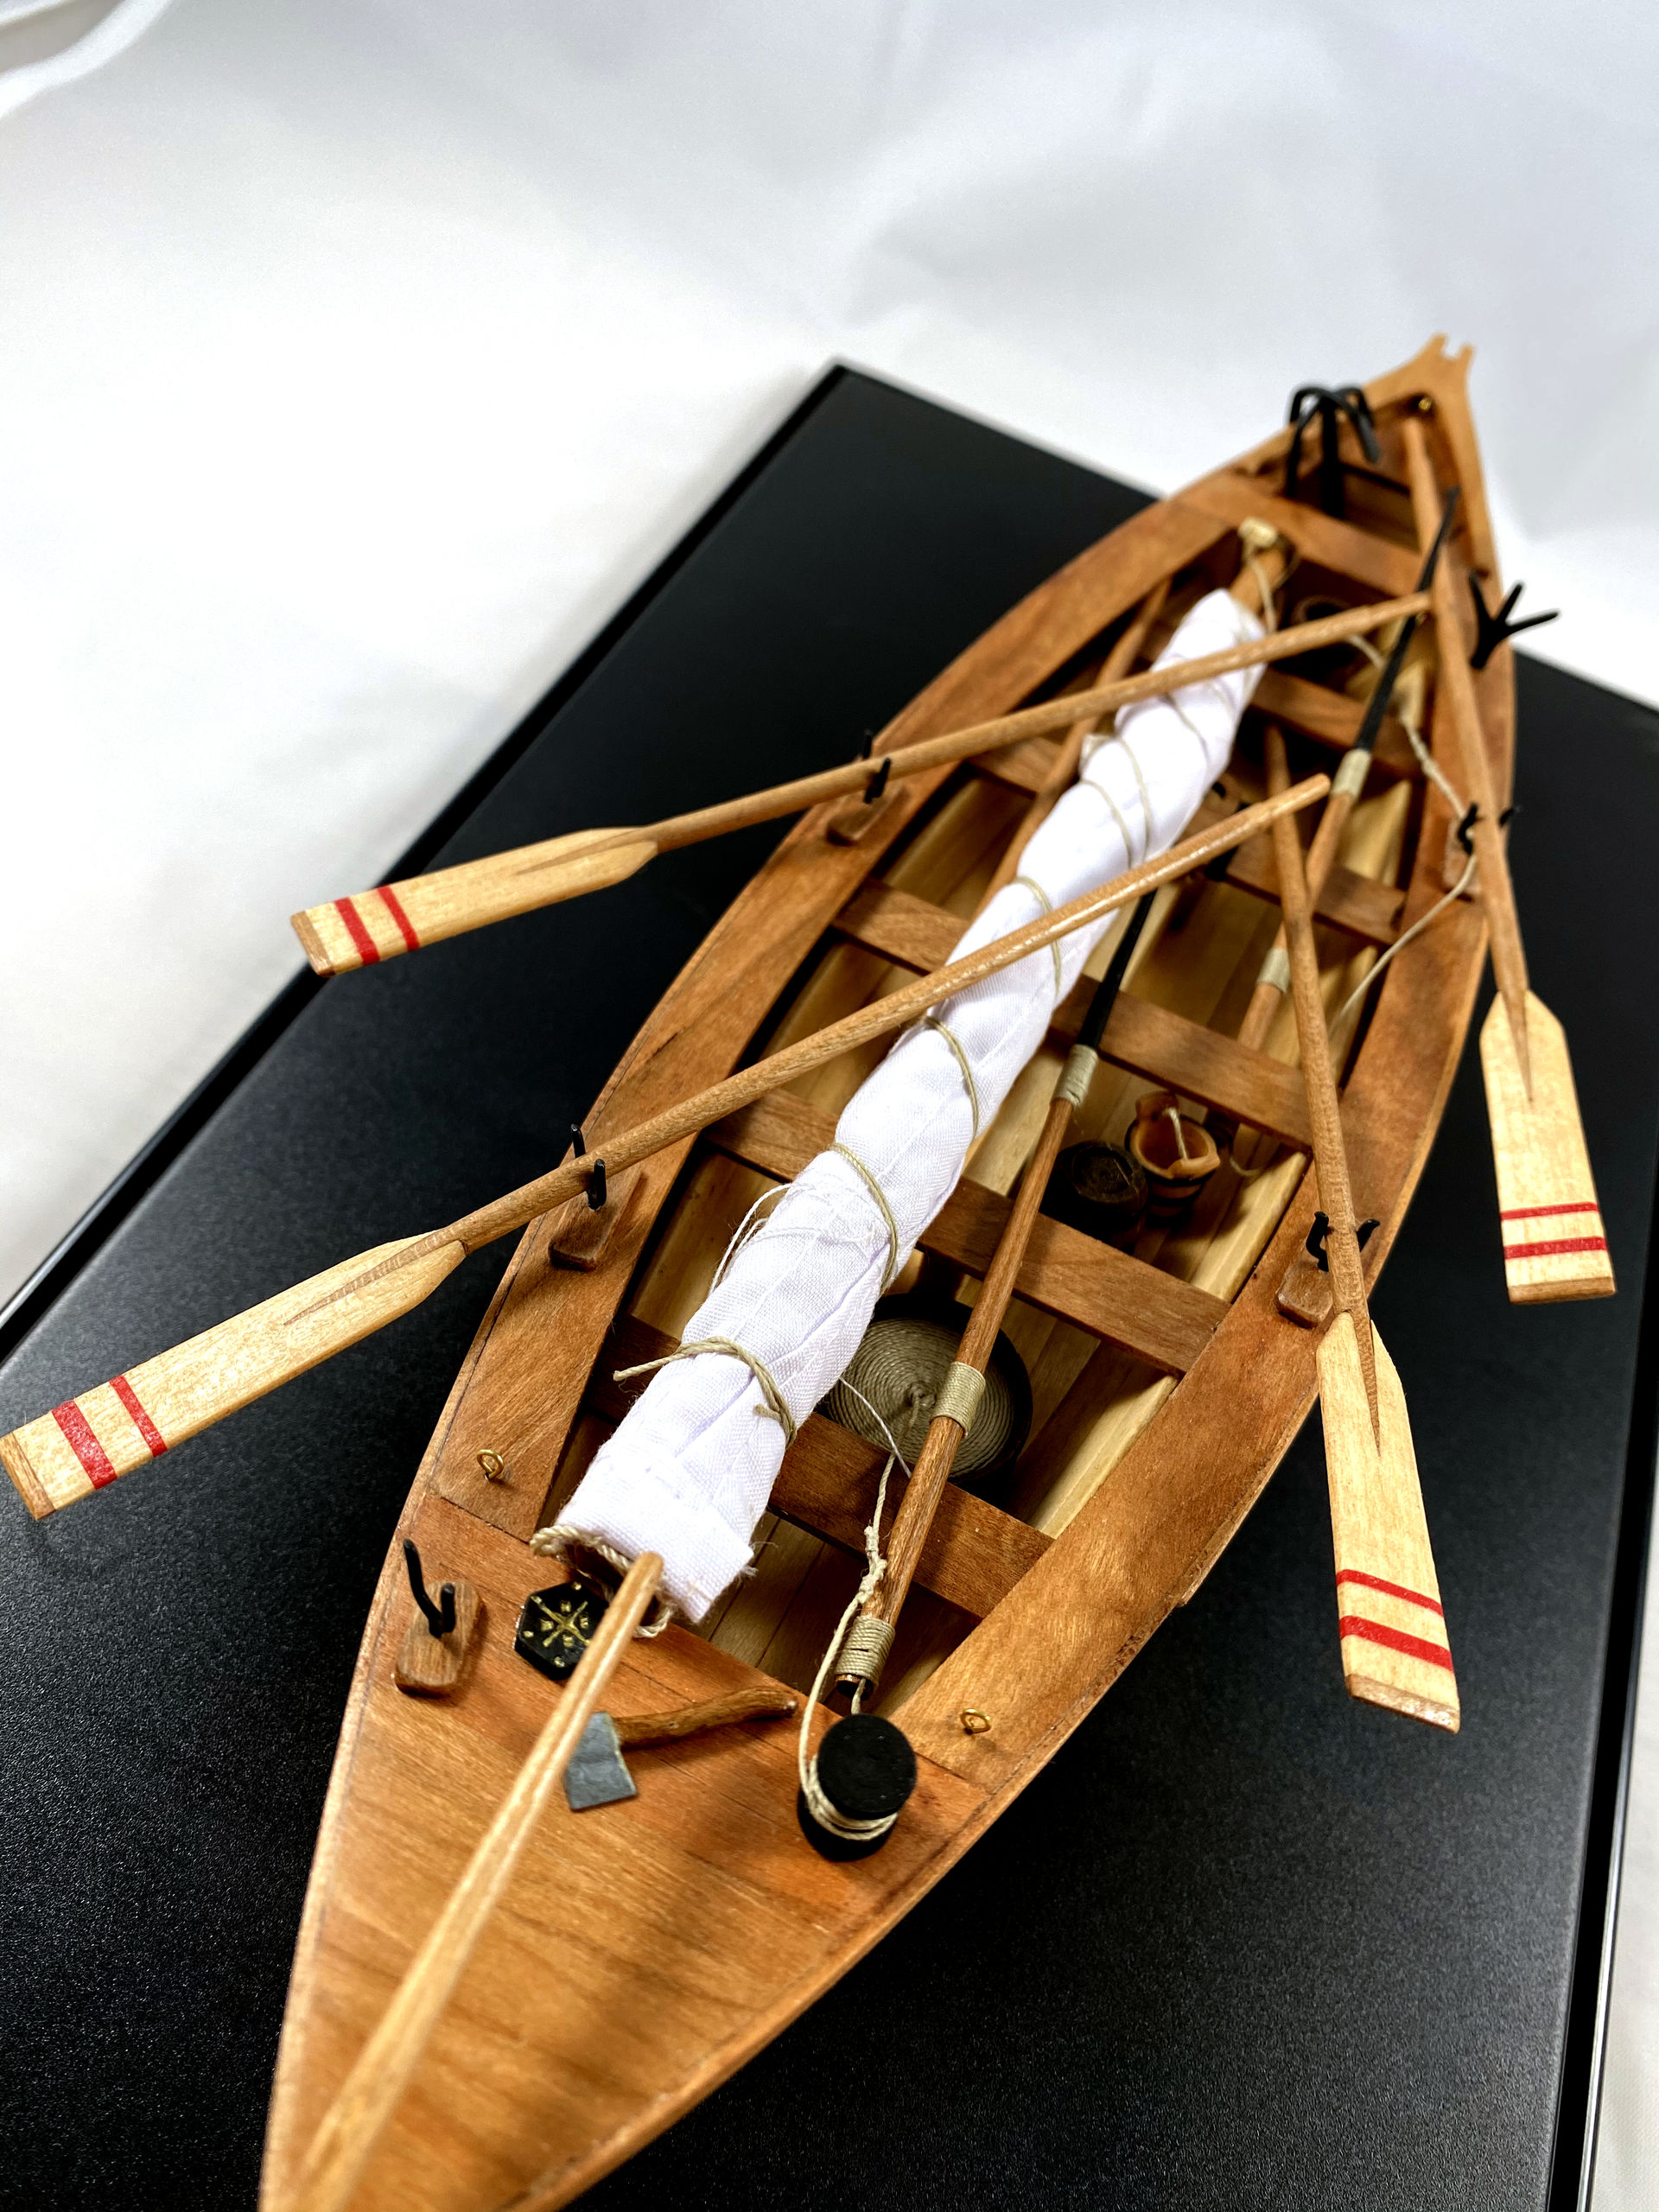
Typical whaleboat used for whaling during the 19th century in New England. Such boats were carried on board of whaling ships and used to hunt and harpoon whales.
While I definitely disapprove whaling as a practice, the whaleboat itself is quite a beautiful subject.
Model quality
I’m rather disappointed with this kit, and hopefully the build log will show why.
The build process looks straightforward from the first glance at the instructions, but as I was progressing it was more and more obvious that there are lots of very unclear moments that instructions don’t show. And what really baffles me - there are no plans of the boat included, you have to kinda guess part placement and some dimensions based on few small photos.
Build notes
The build is straightforward, and would be even more so if there were plans or better instructions.
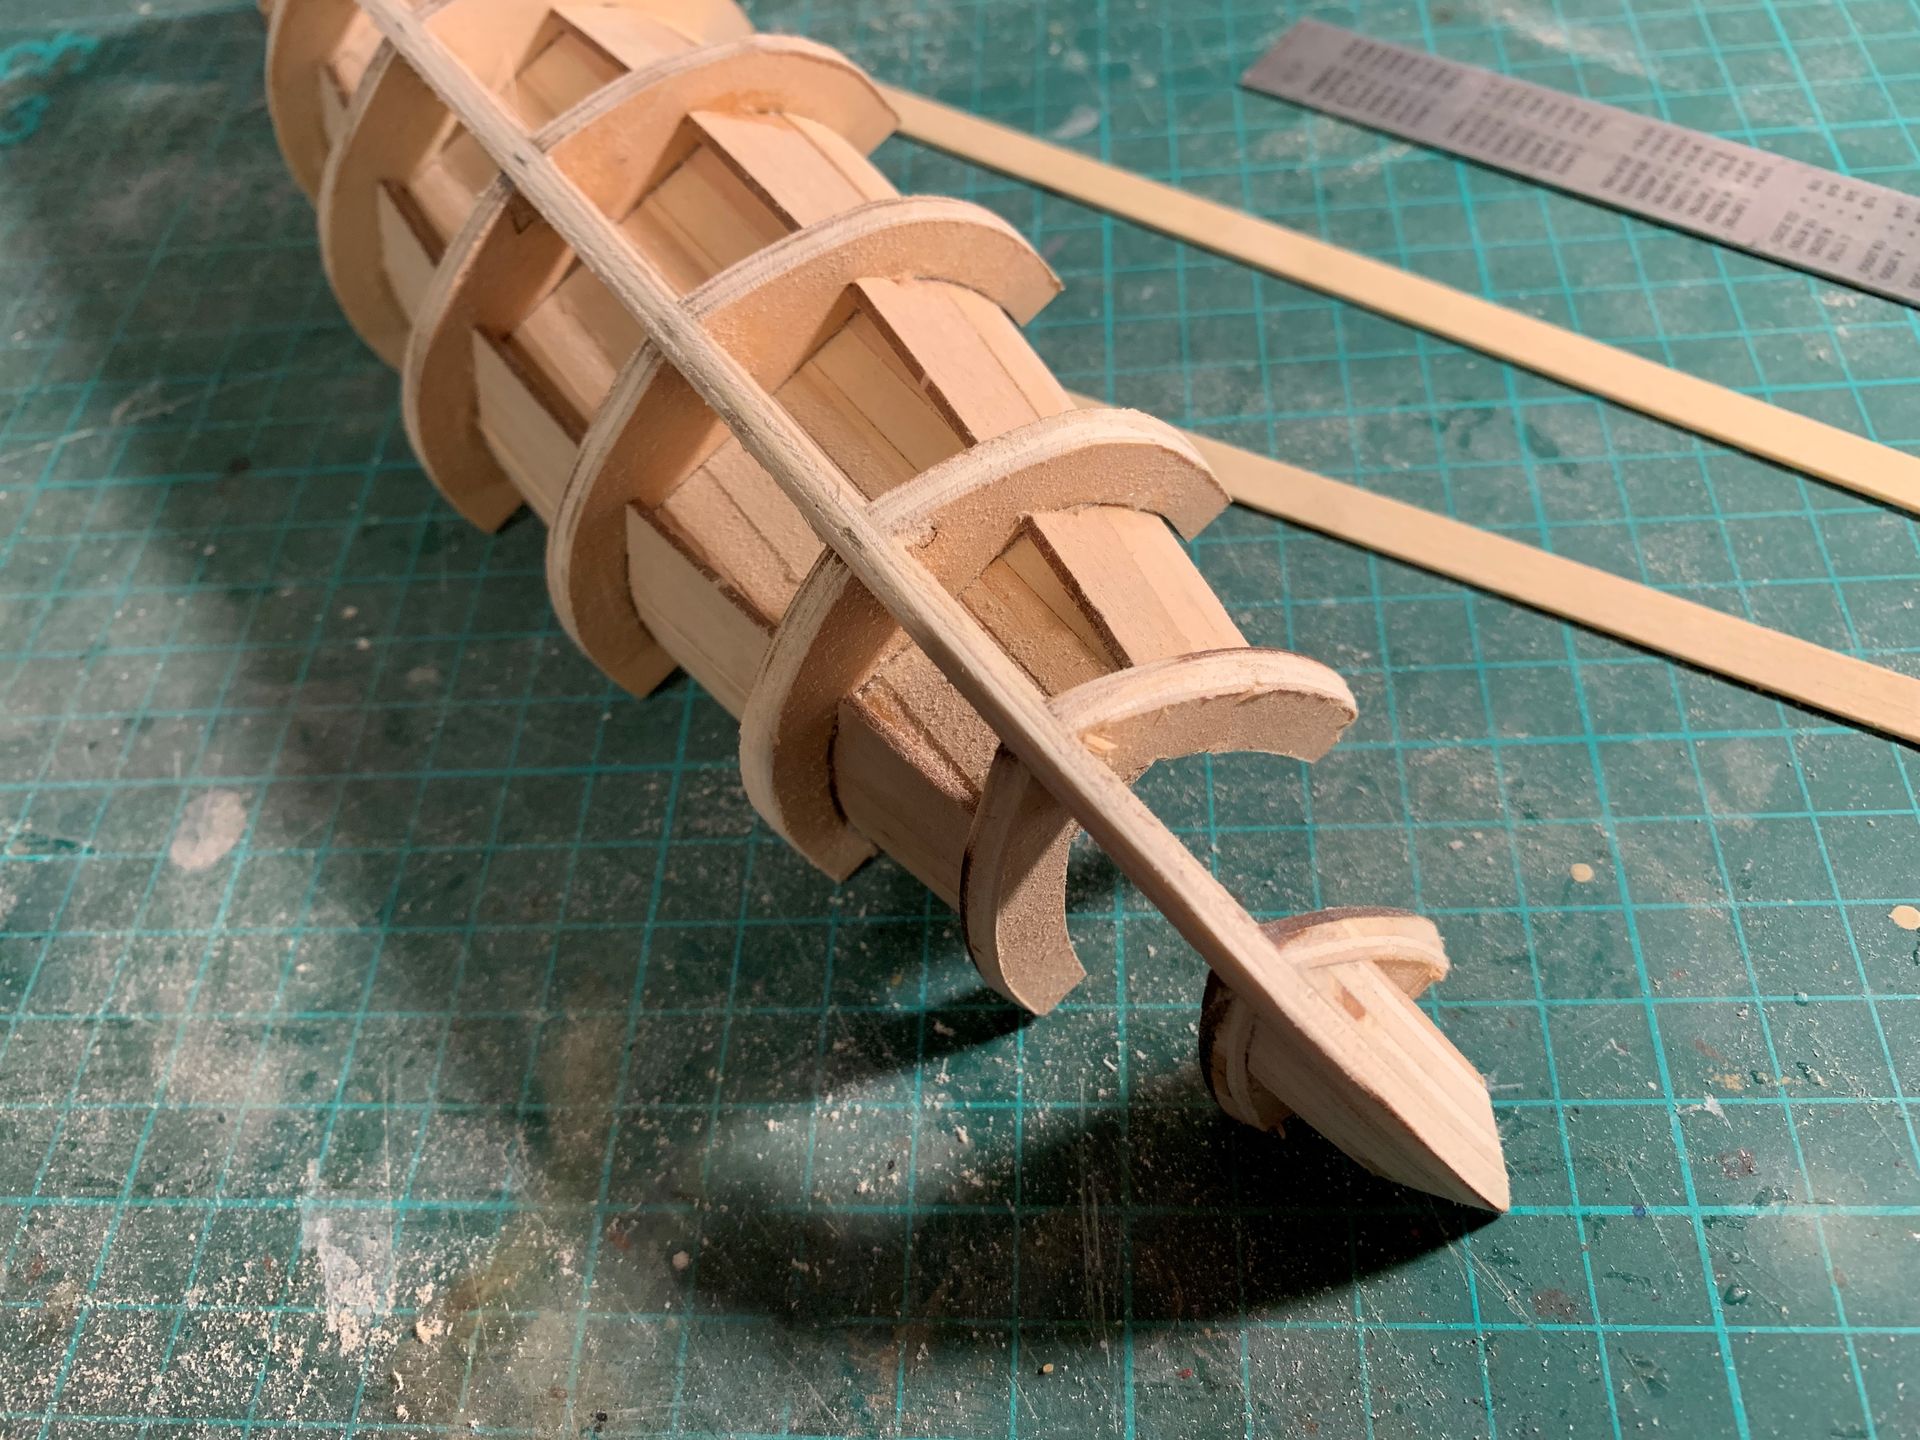
Here you can see bow and stern reinforcement plates being mistakenly glued lower than they should be, because instructions give misleading information on doing this. I had to remove them and glue flush to the top of main keel piece.
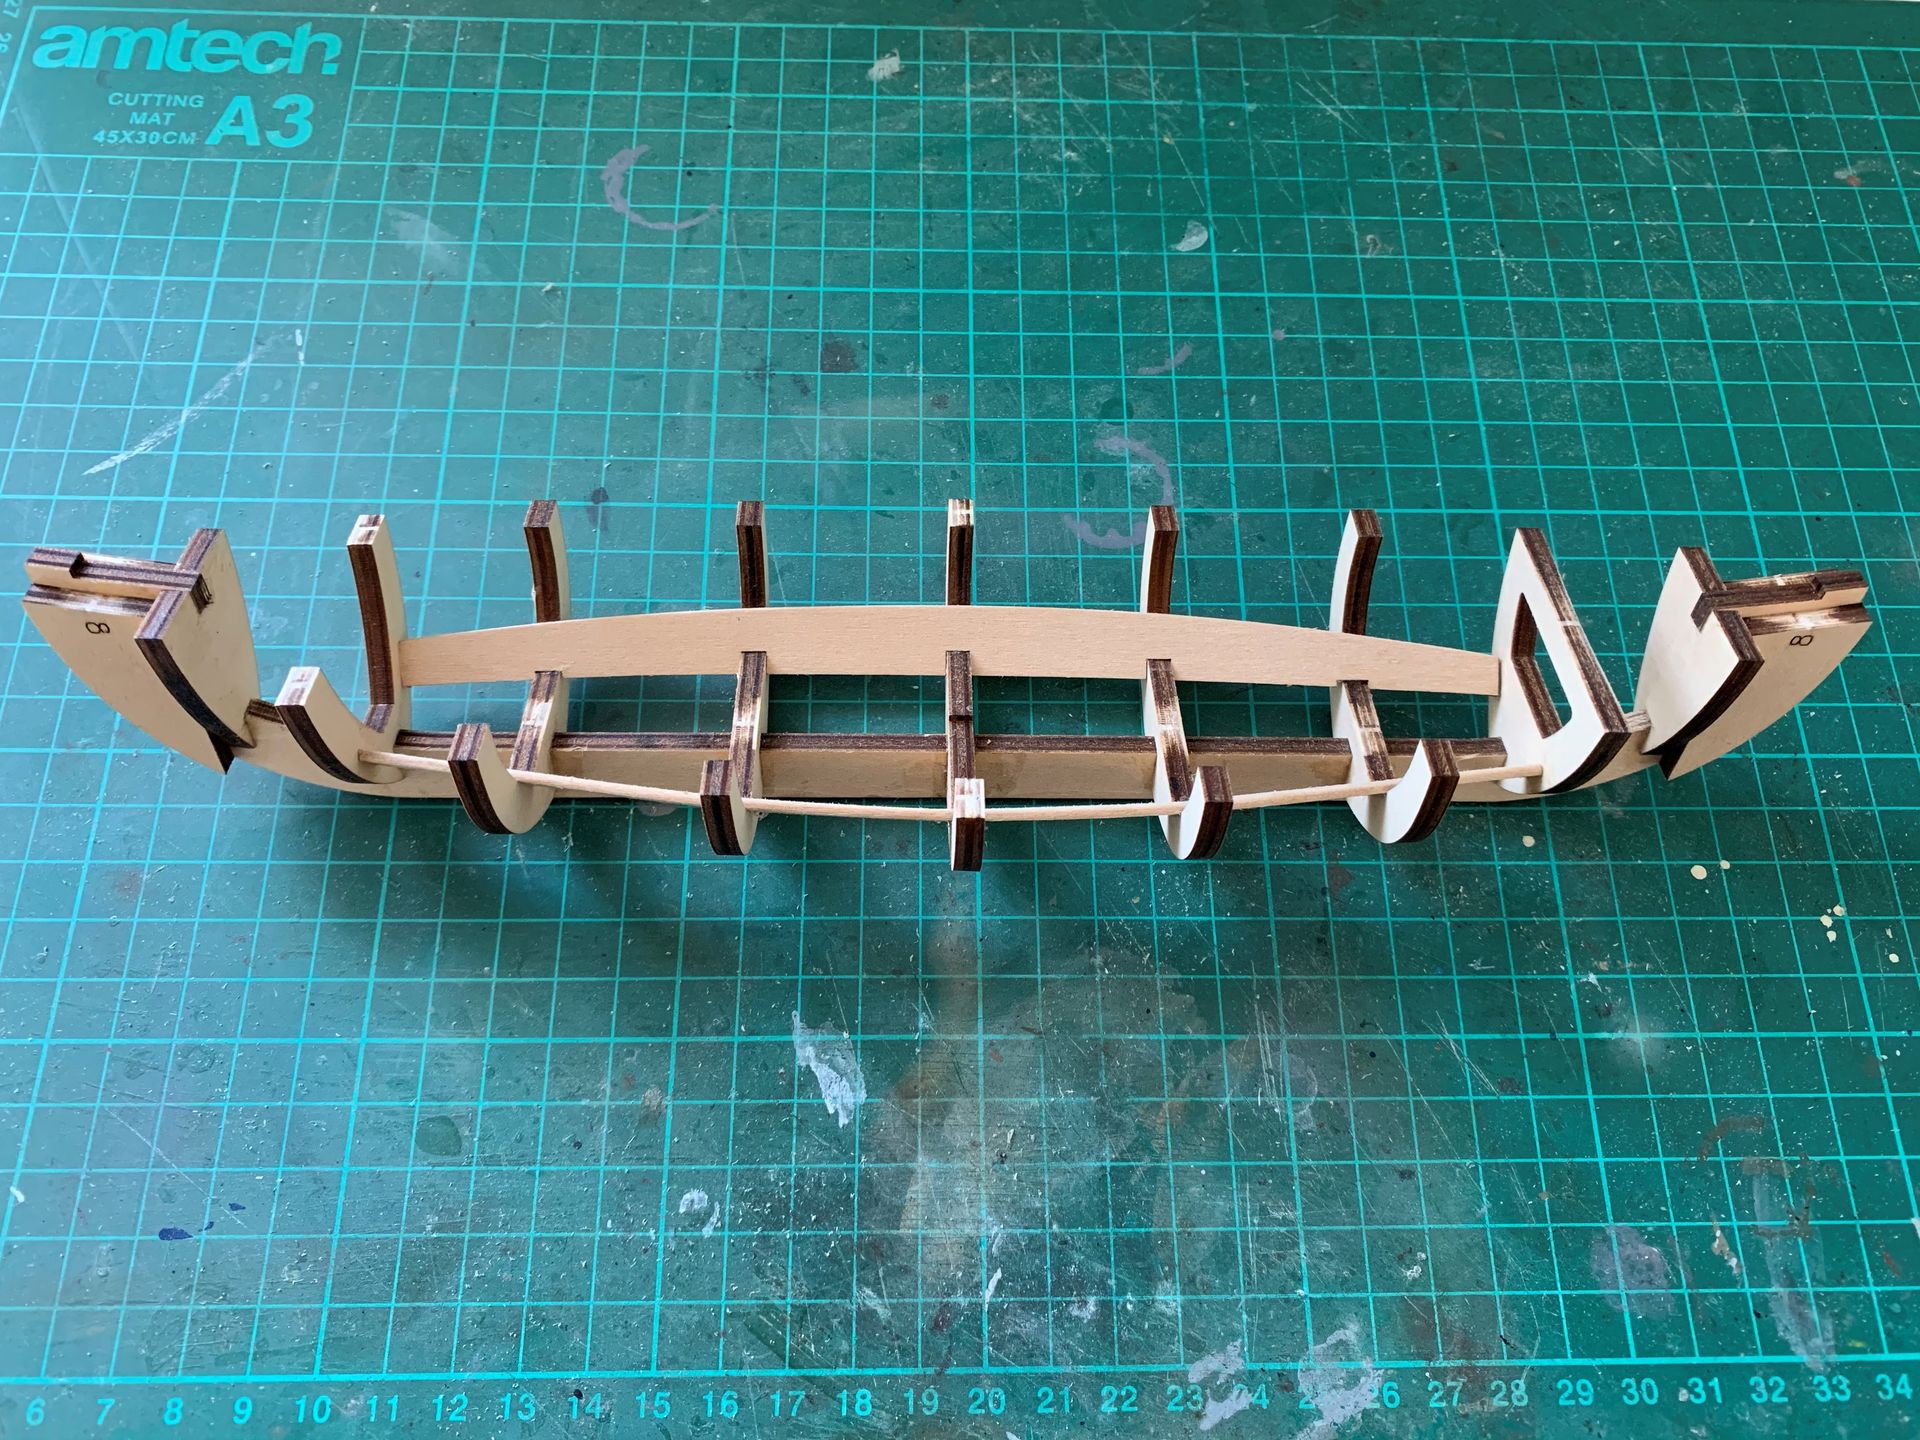
Next thing that really surprised me was the amount of material that needs to be sanded off the keel prior to planking (about 1cm). It’s a very strange design decision, and instructions don’t really explain it, you have to figure it out from pictures.
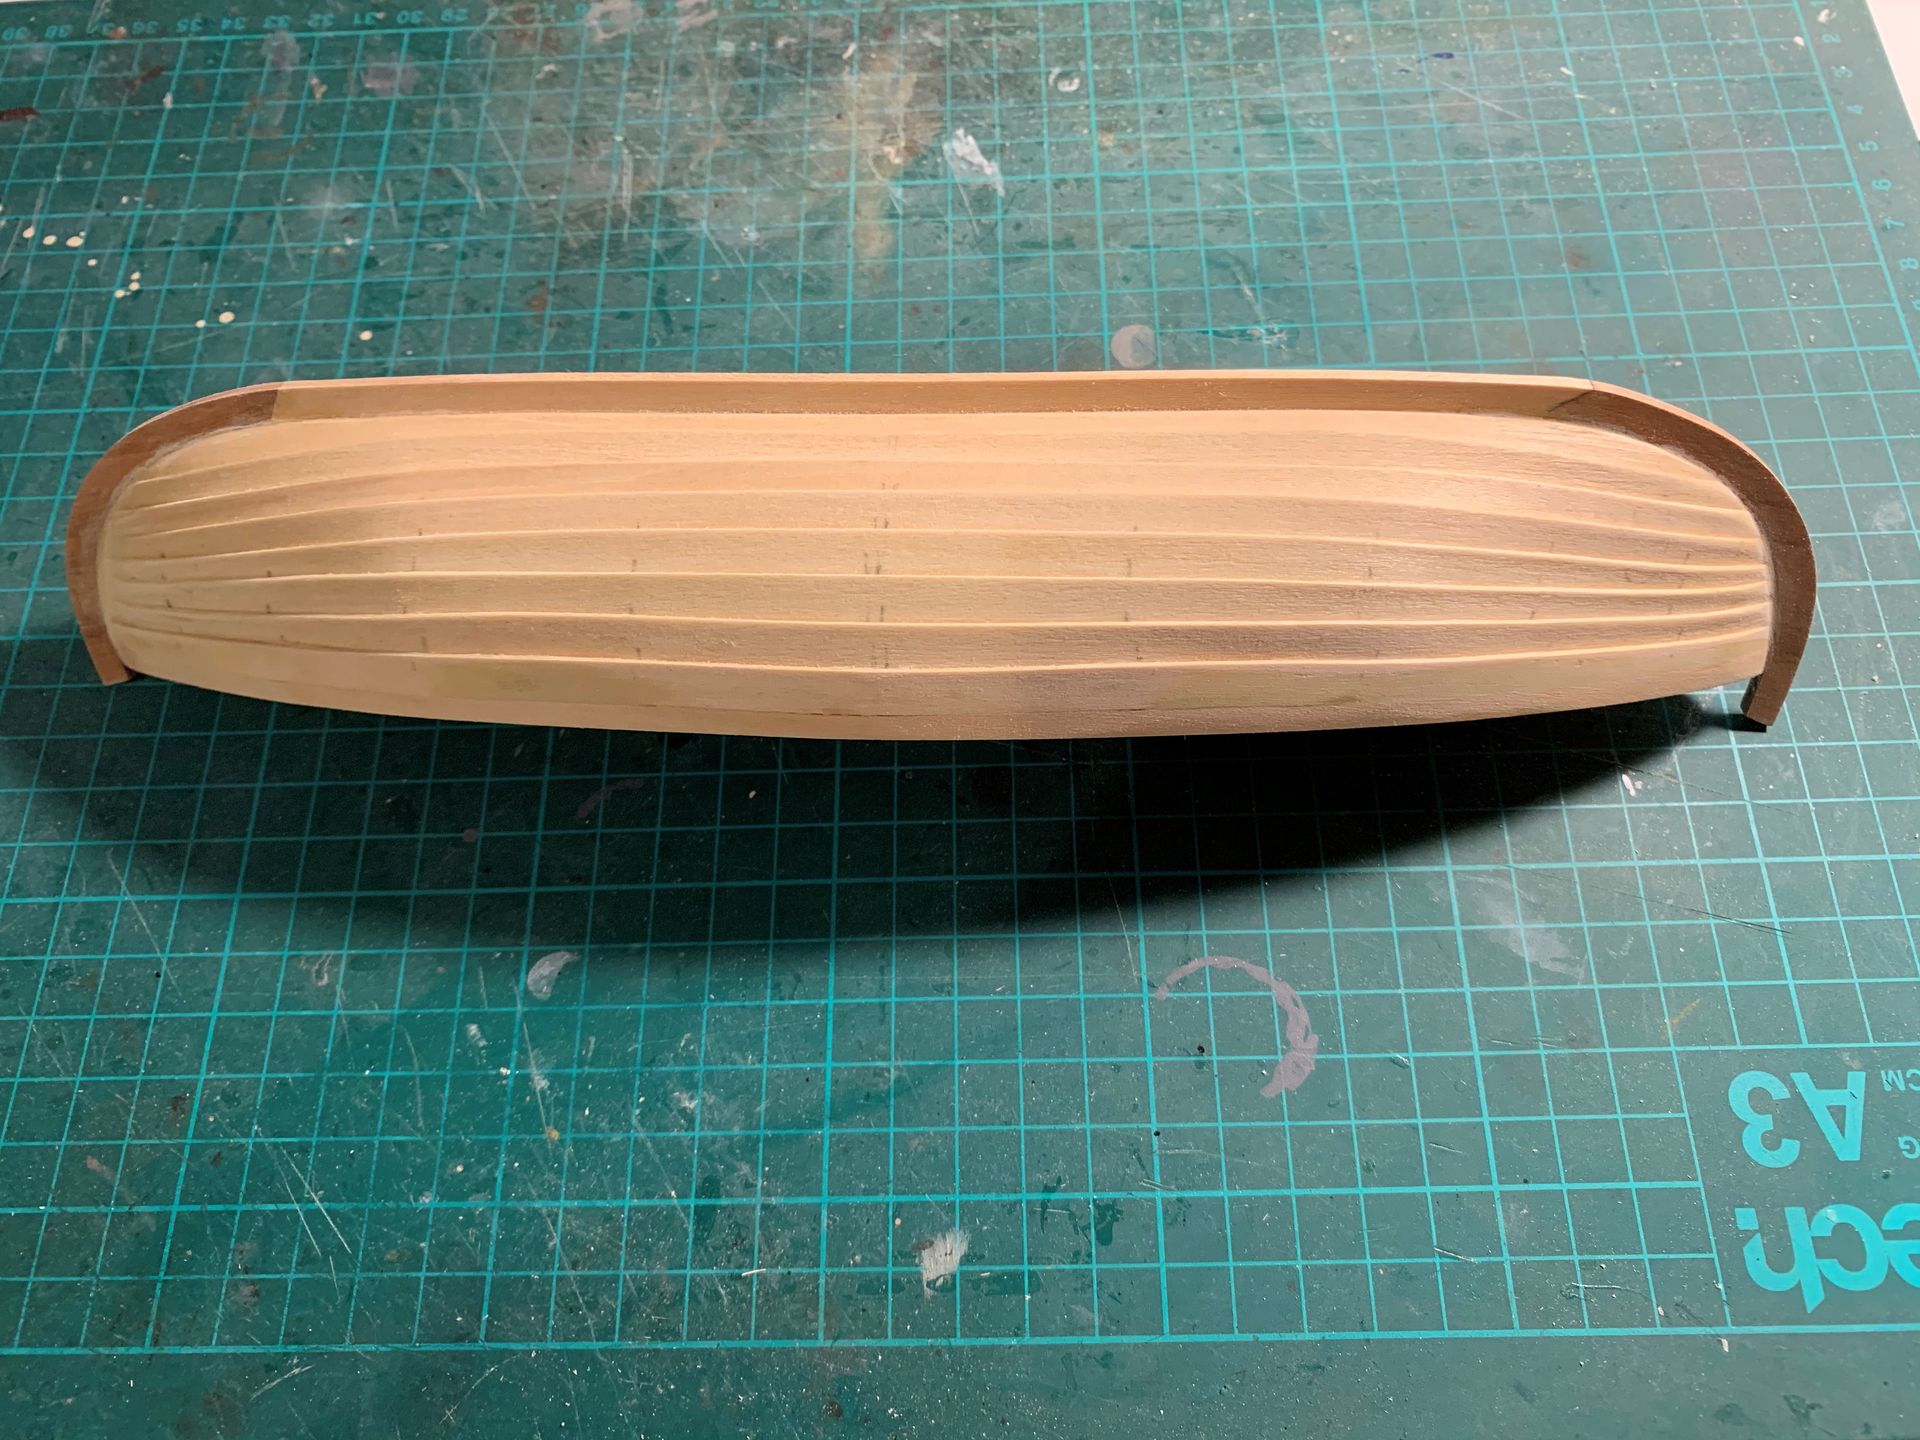
Planking (arguably the most important step when building a clinker-built boat) is barely explained, luckily this being my fifth model I had no issues with it. Calculated and marked all plank sizes, glued with thick CA glue.
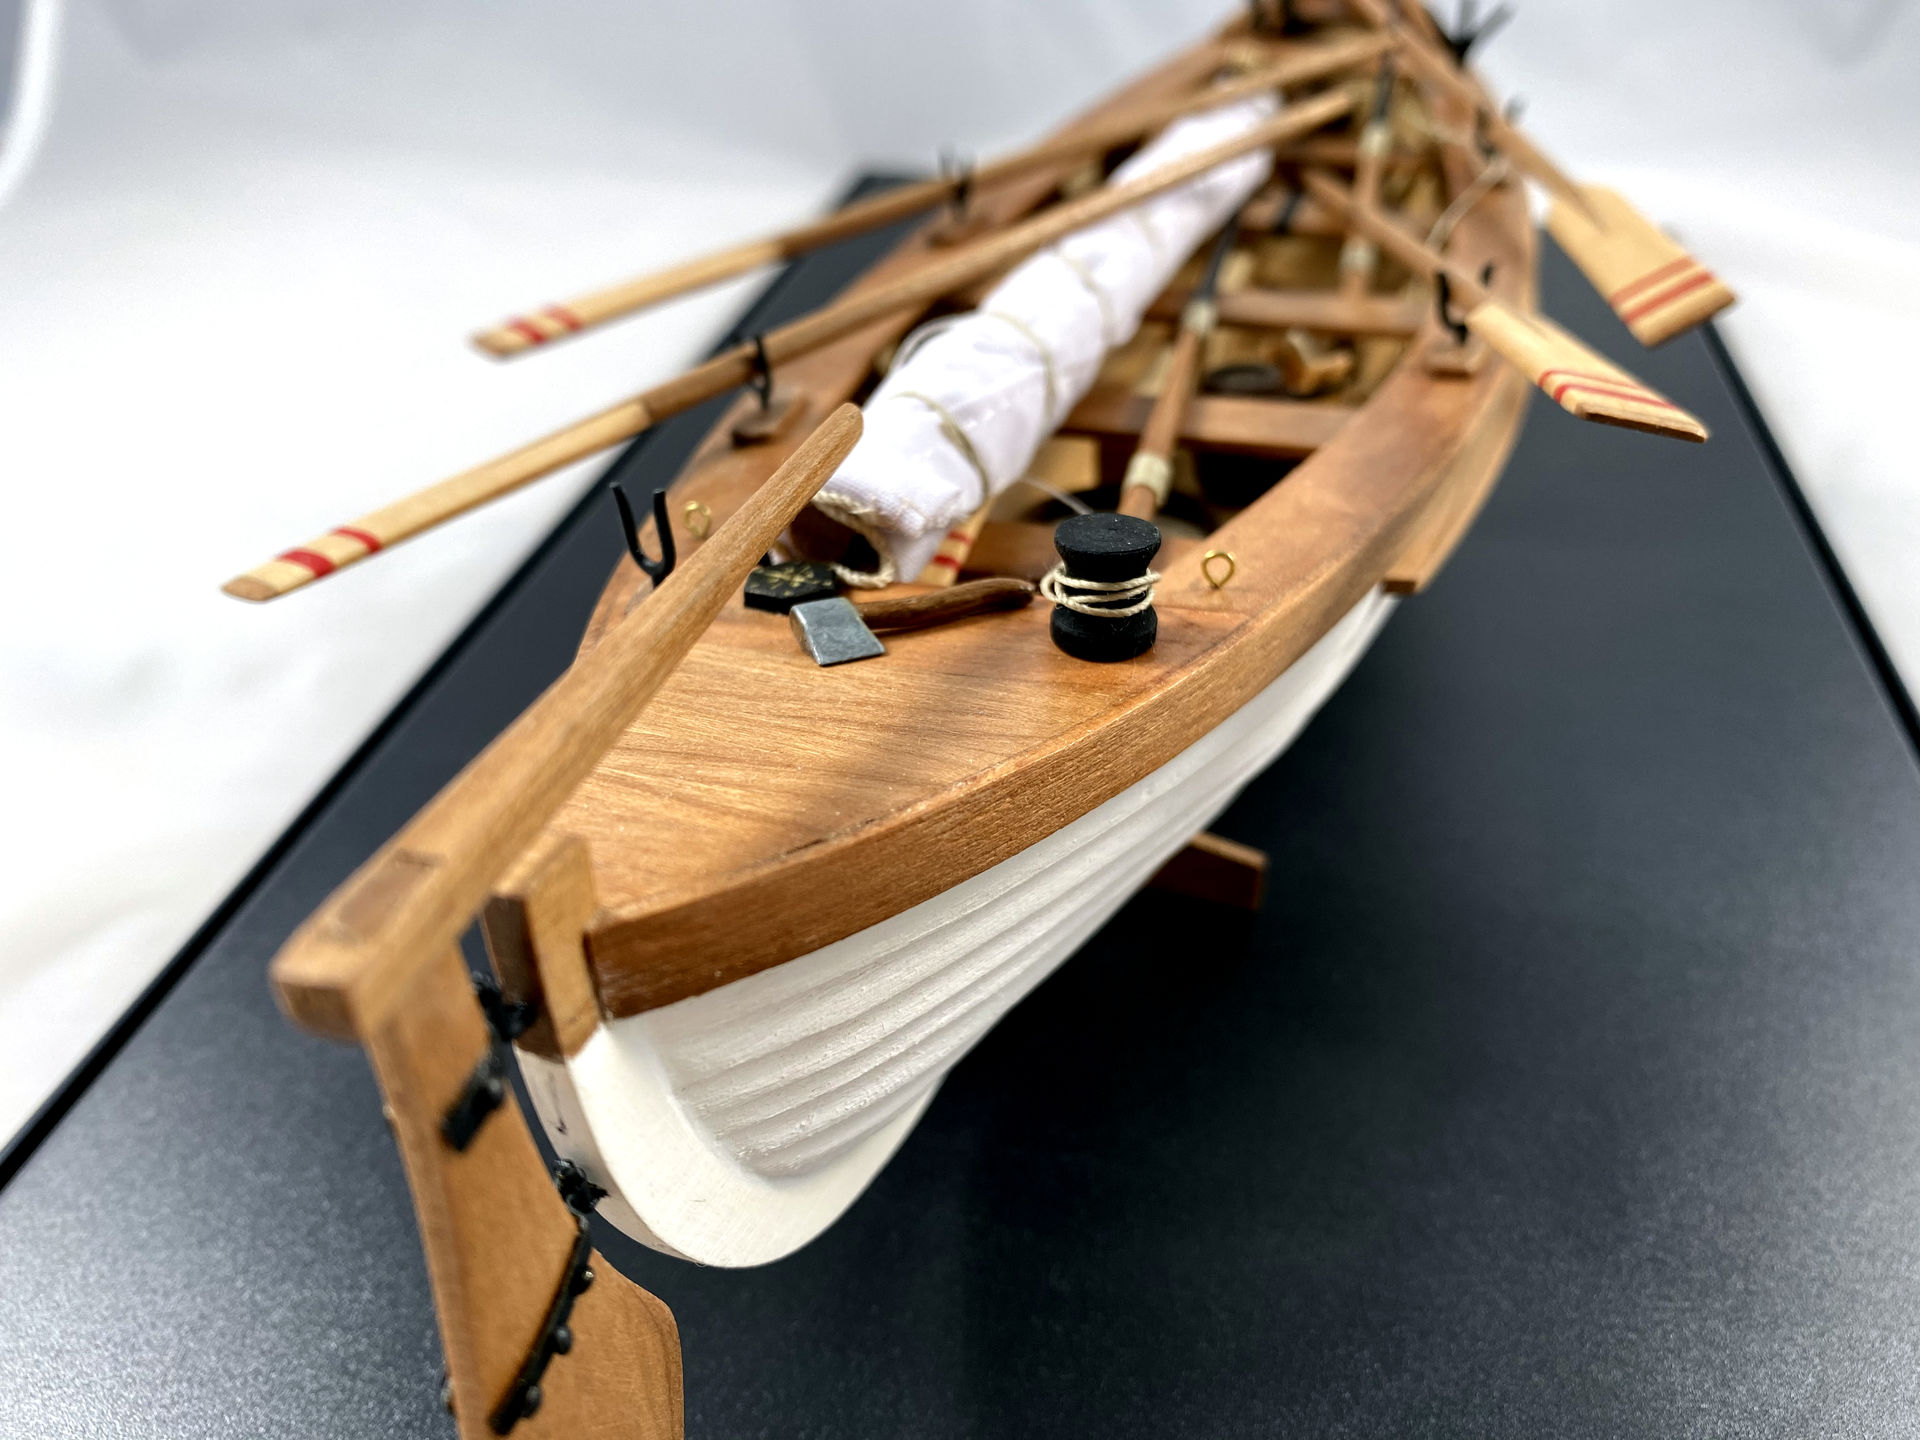
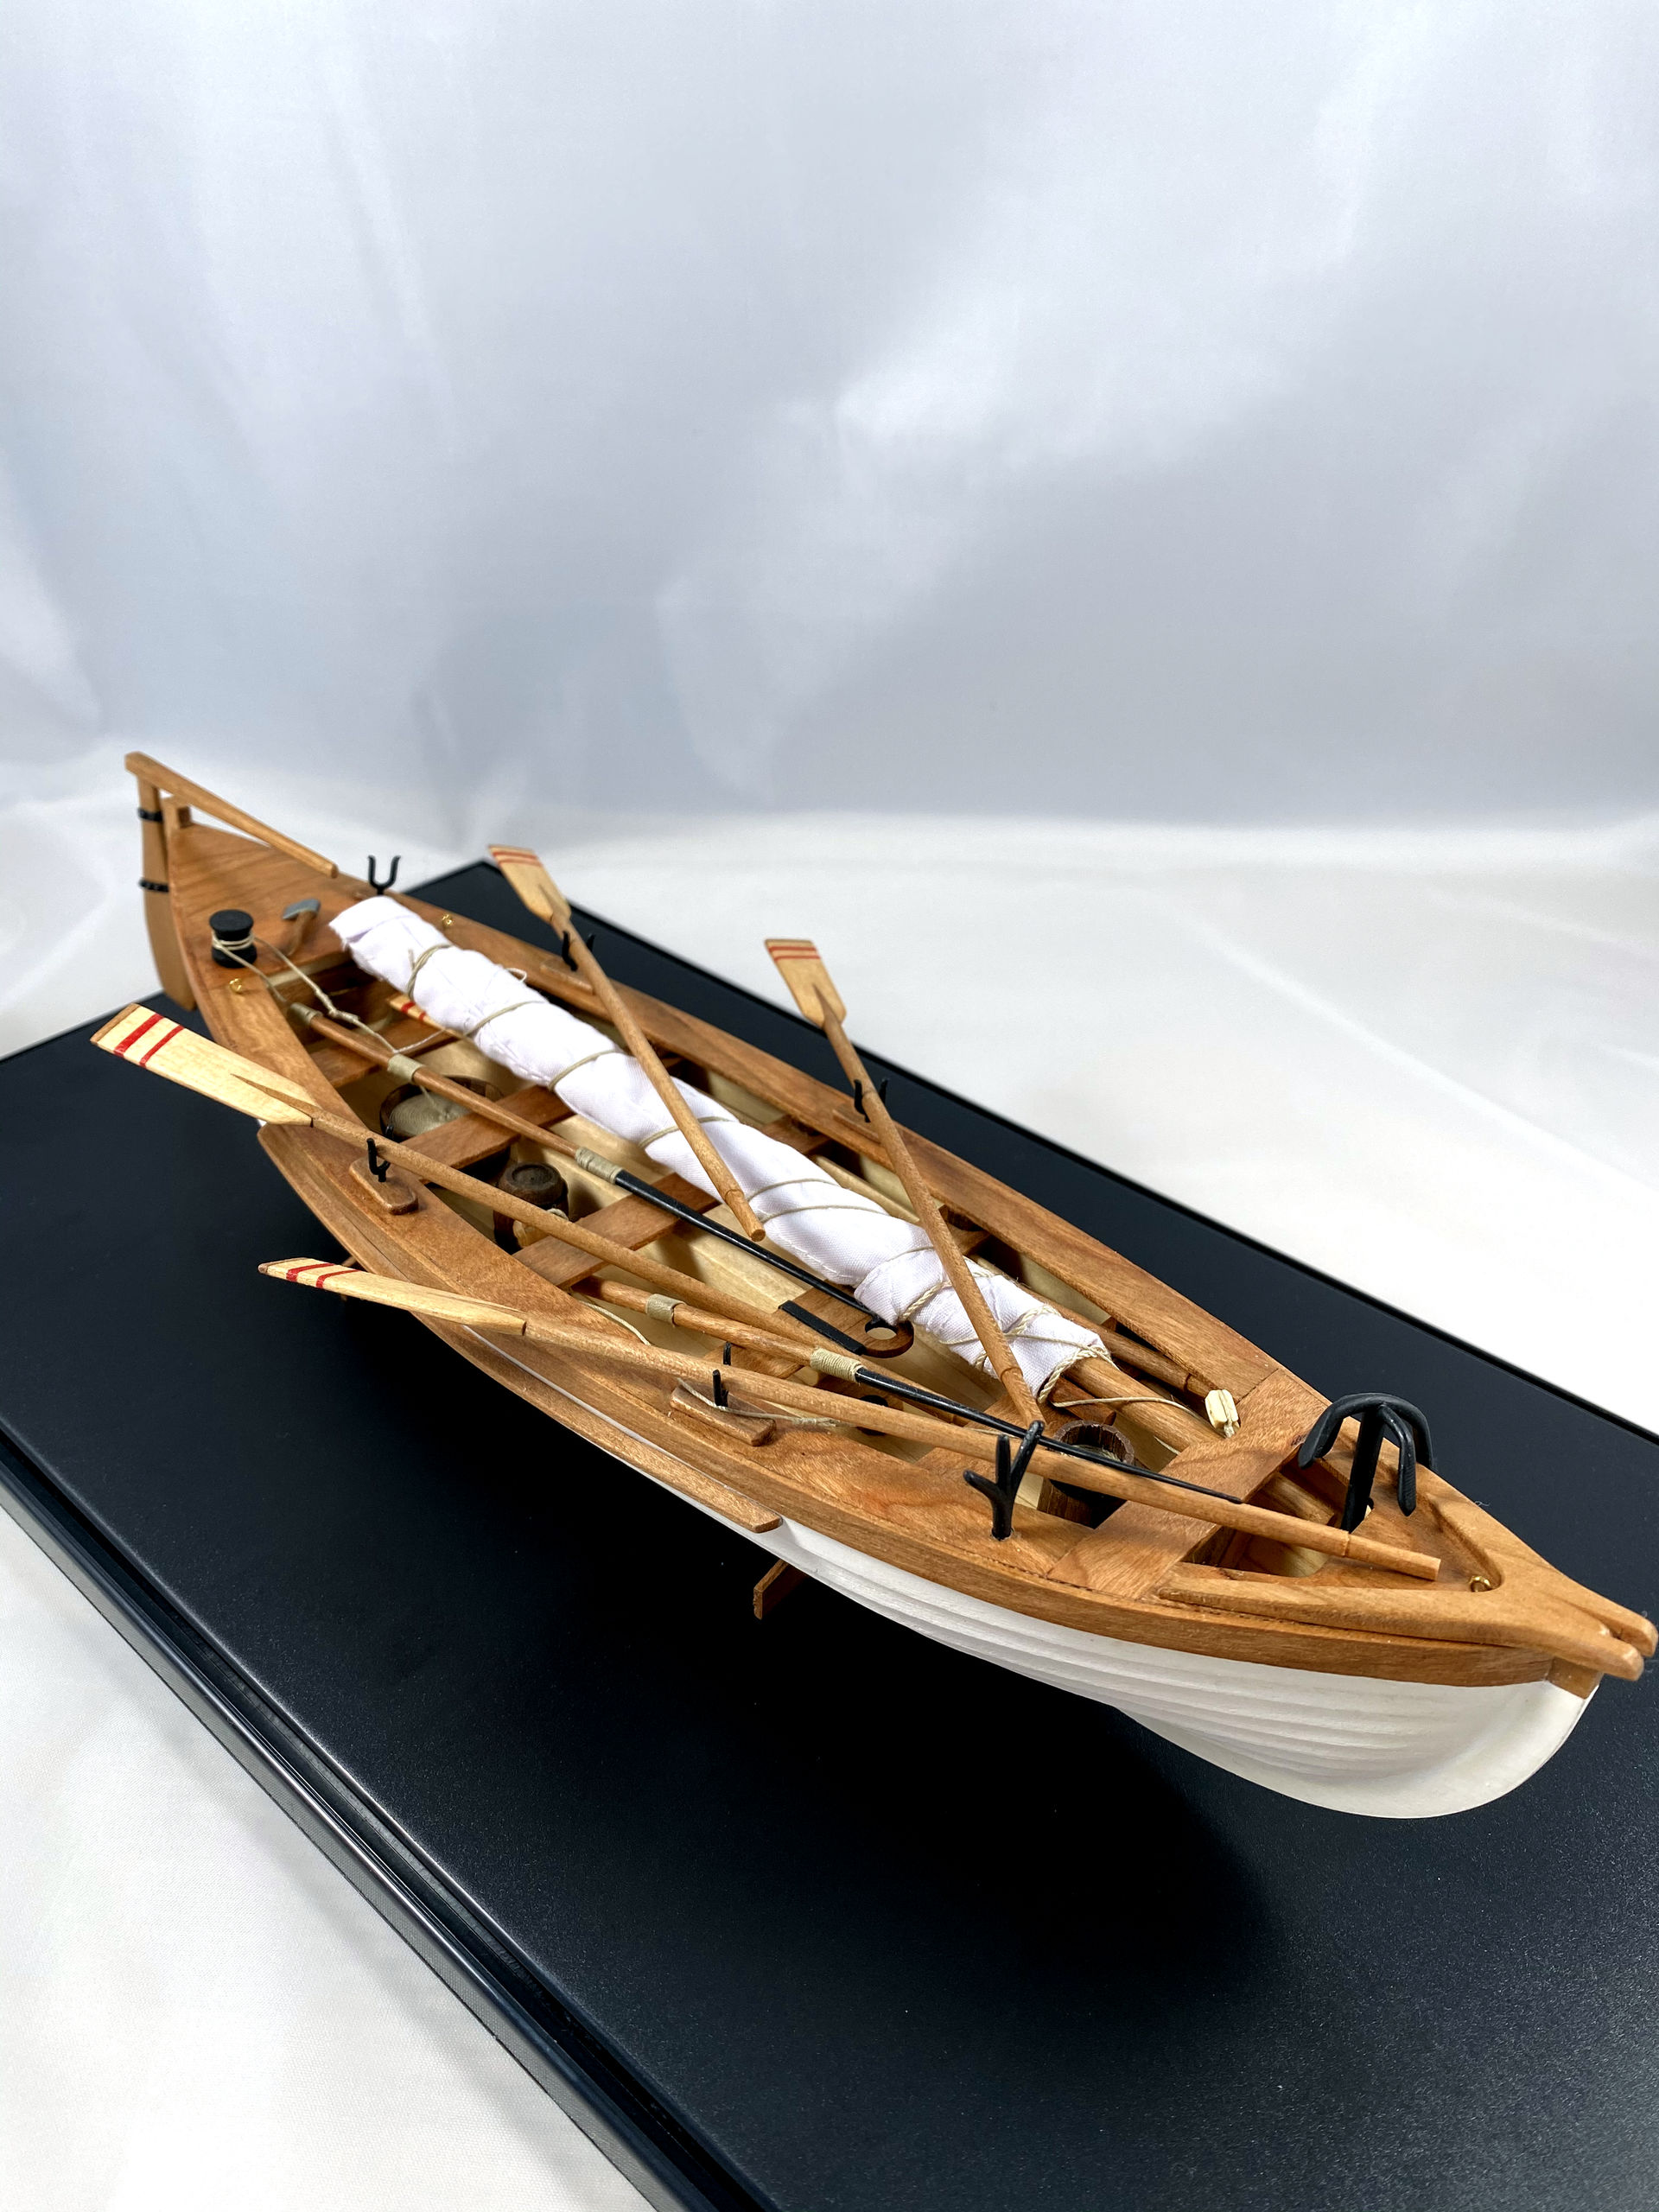
Reasonably happy with the result, didn’t bother much with getting it perfect because all of it will be pained white as per instructions.
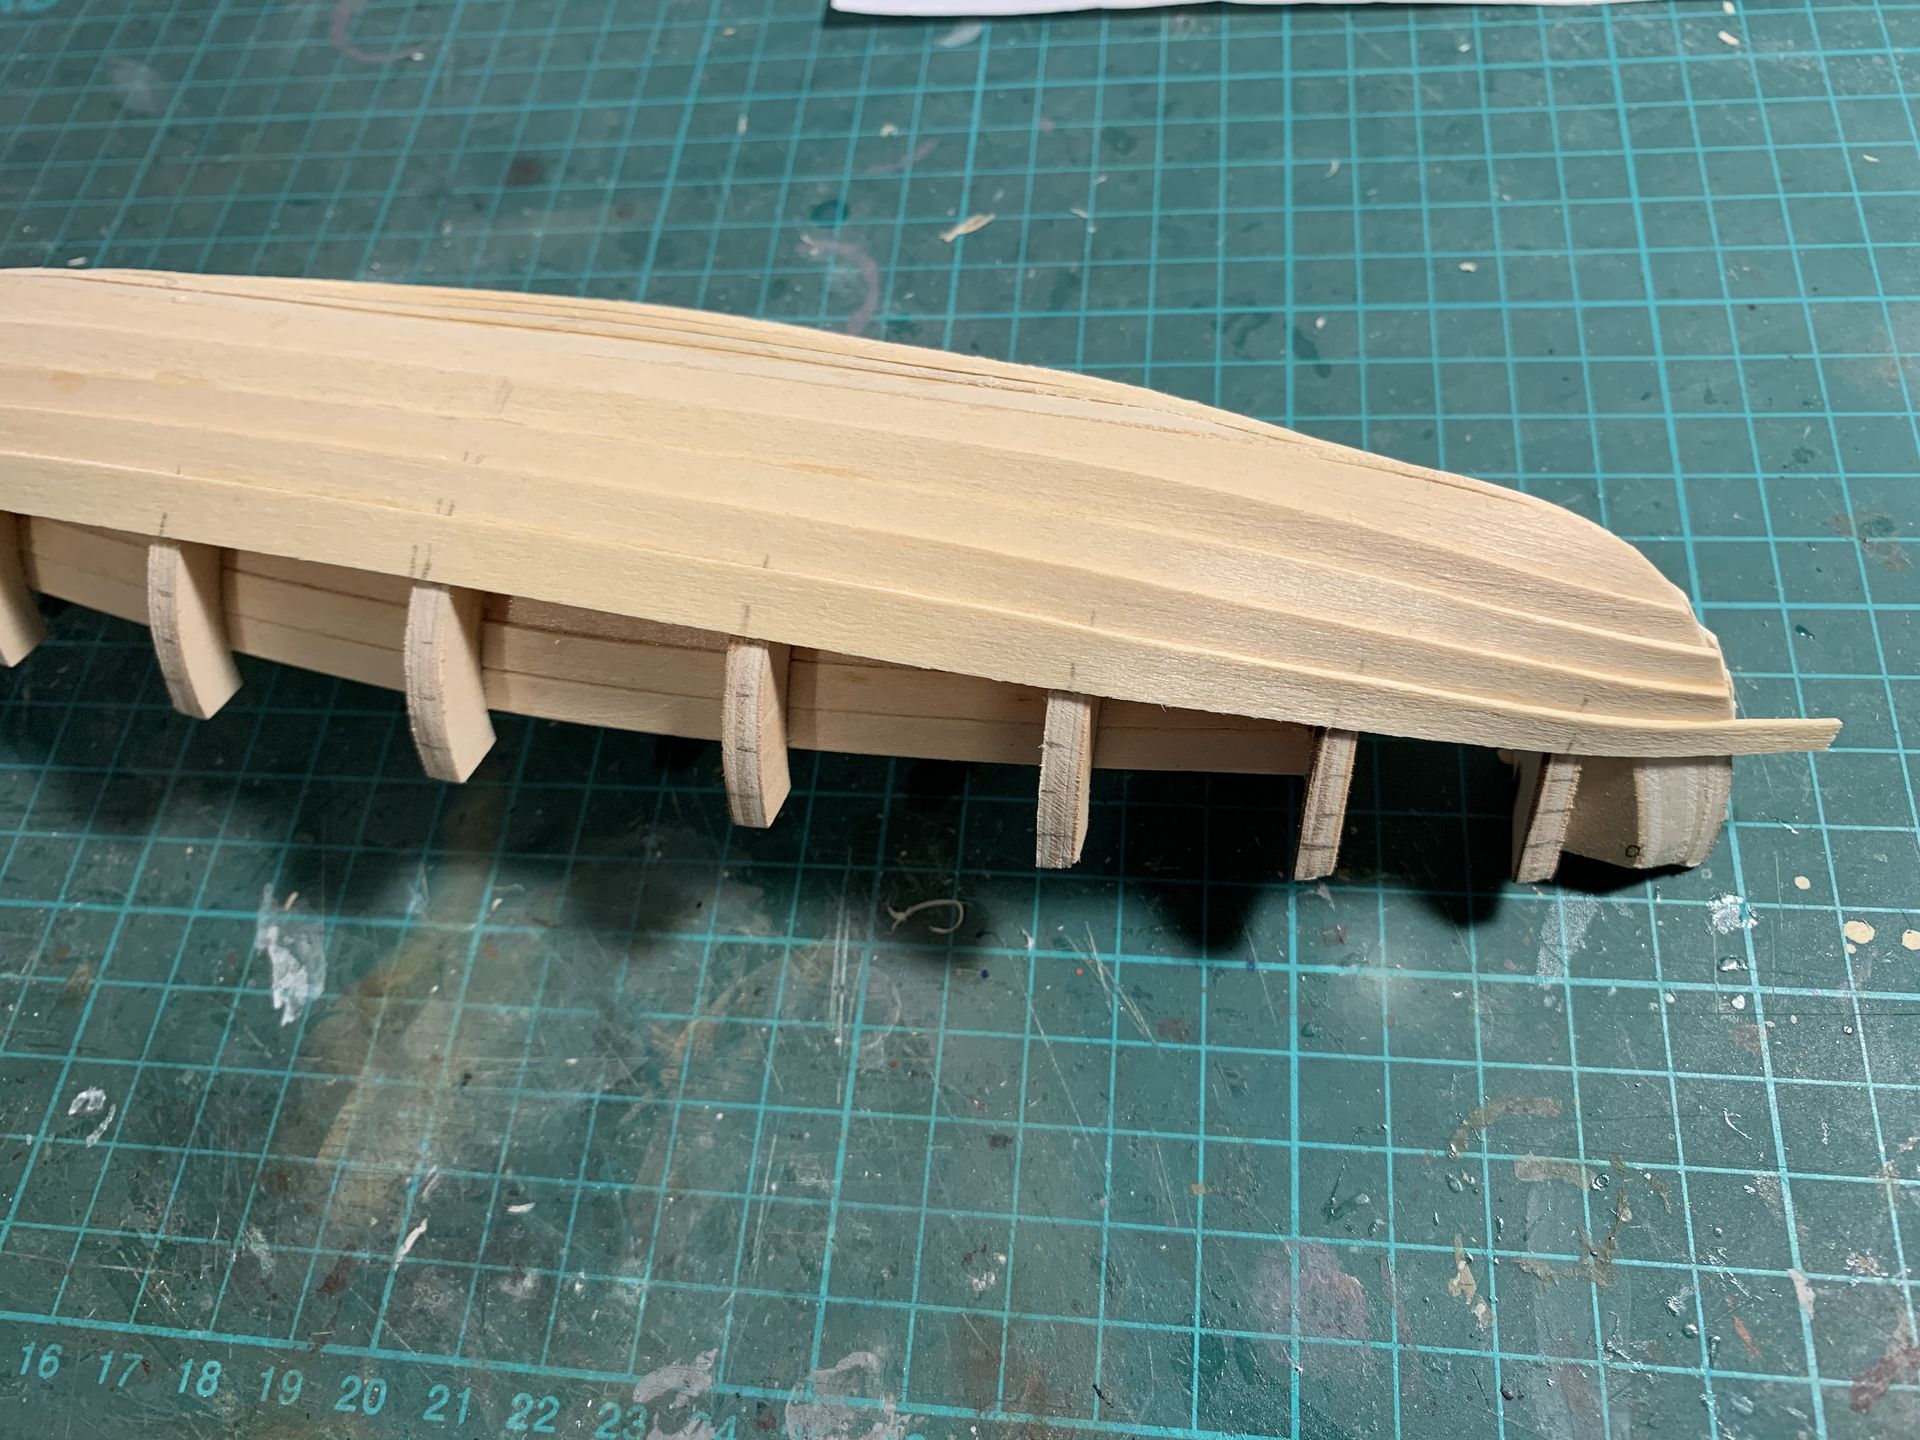
On next photo you can spot a strange horizontal plank on the bow bulkhead. It’s made from 0.6mm scrap piece from HMS Terror build and is covering the ugly end of the plywood keel that would be otherwise visible on a finished model.
Installed the benches, and this step really showed the problems with the kit. You see, with all those elements (bulkheads, benches) being laser-cut, one would expect them to fit reasonably well. But no, not even close. Benches are too long for bulkheads they should pair with, and pre-cut slots that bulkheads should fit in are different sizes on each side of the banks. It’s just hilariously bad. Not a big deal for me, but for a kit that is positioned as a beginner-friendly it’s unacceptable.
Especially given how easy is to adjust source files for laser cutting (it’s not like it’s ejection molding and you have to make new forms), there is no excuse for such quality issues.
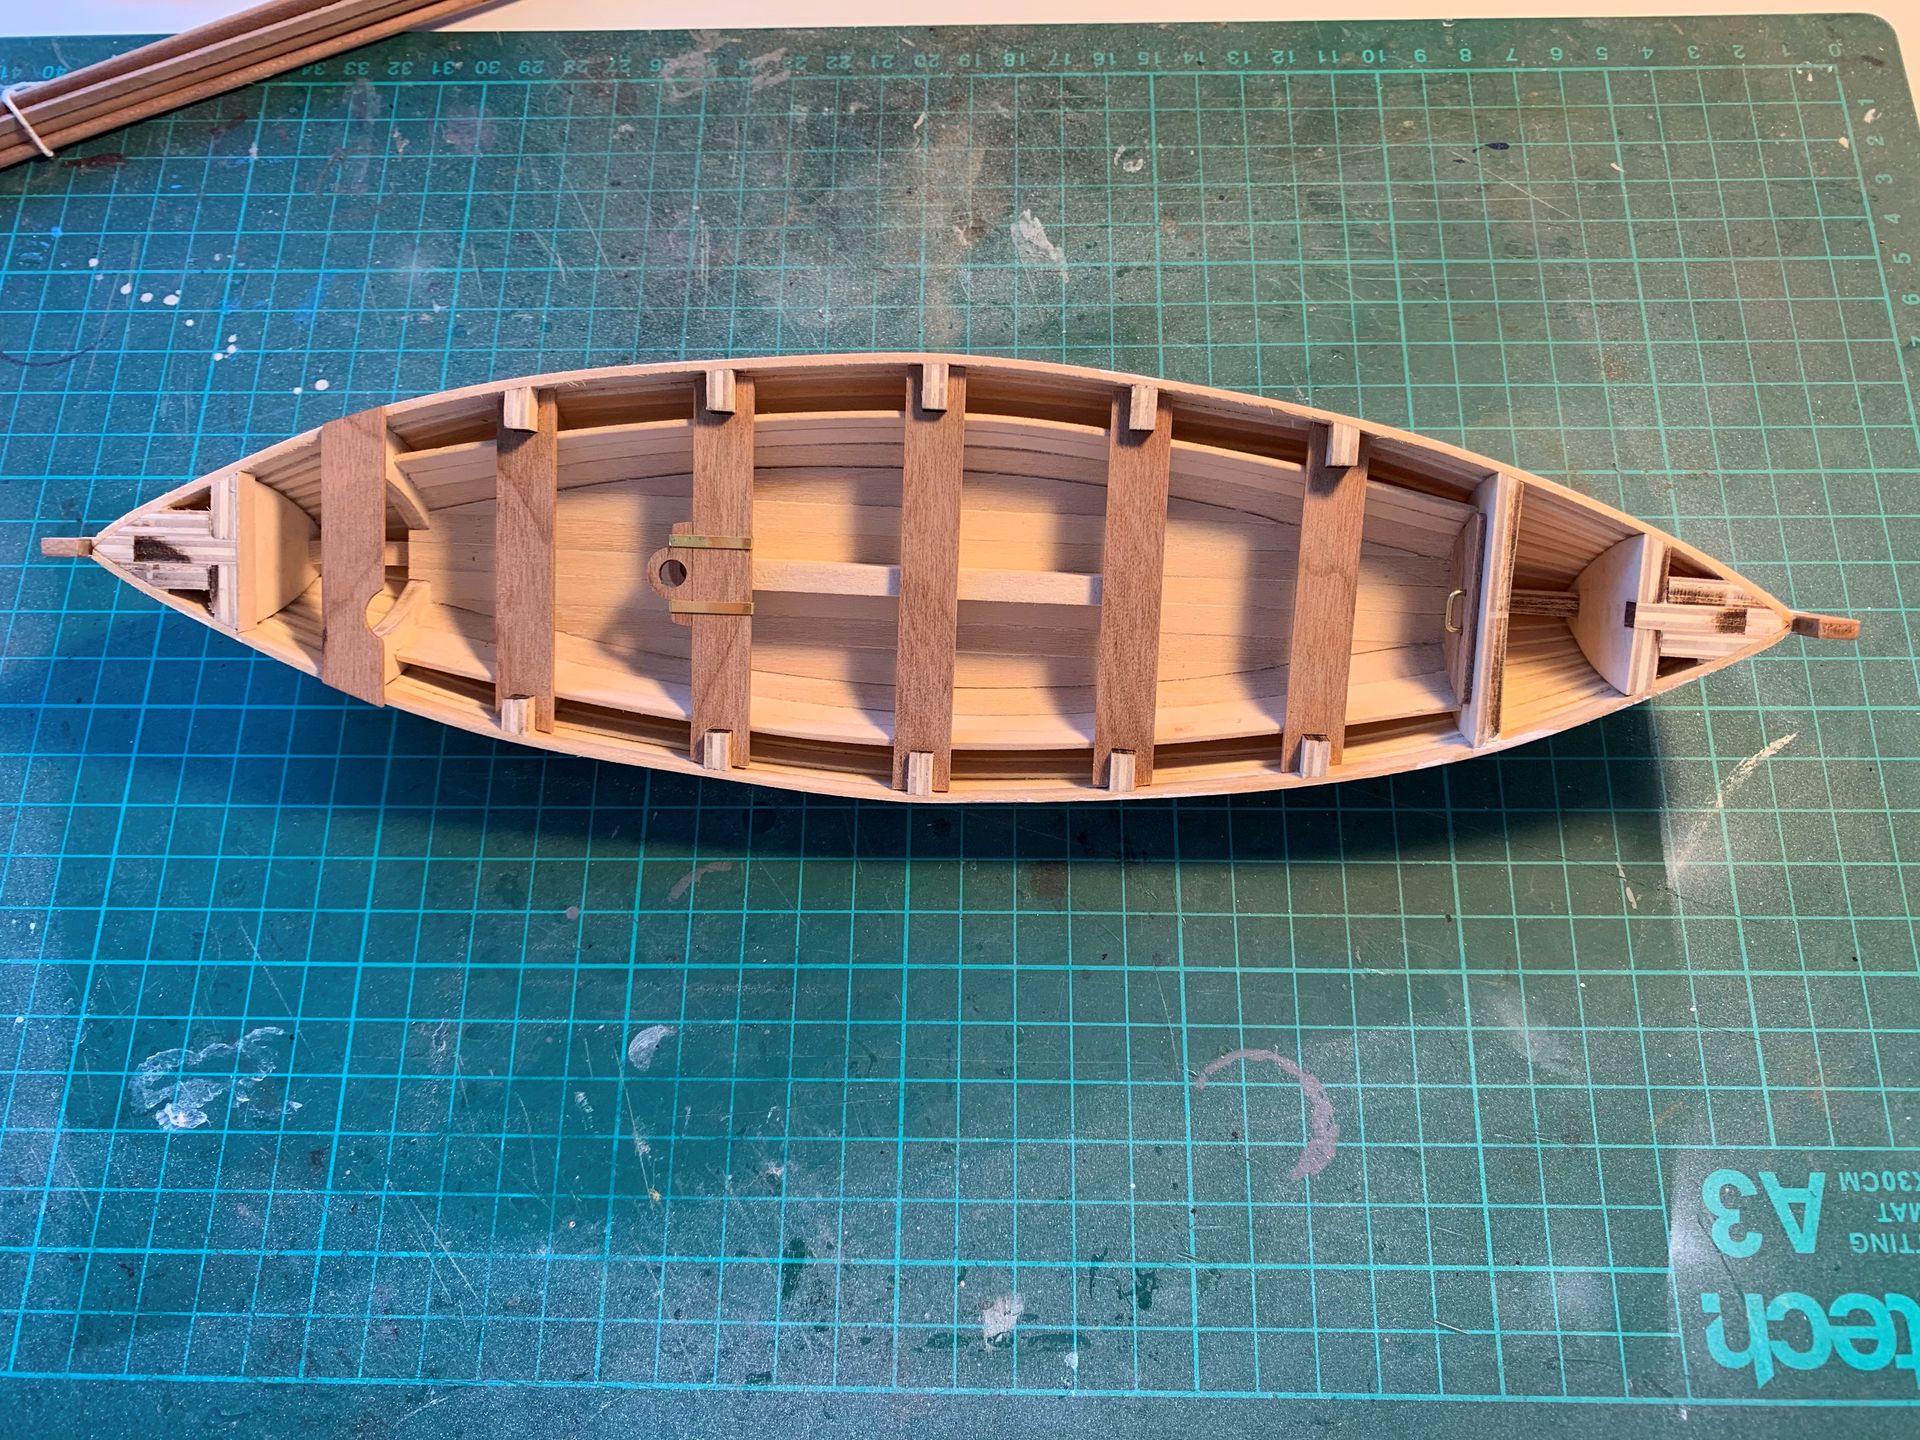
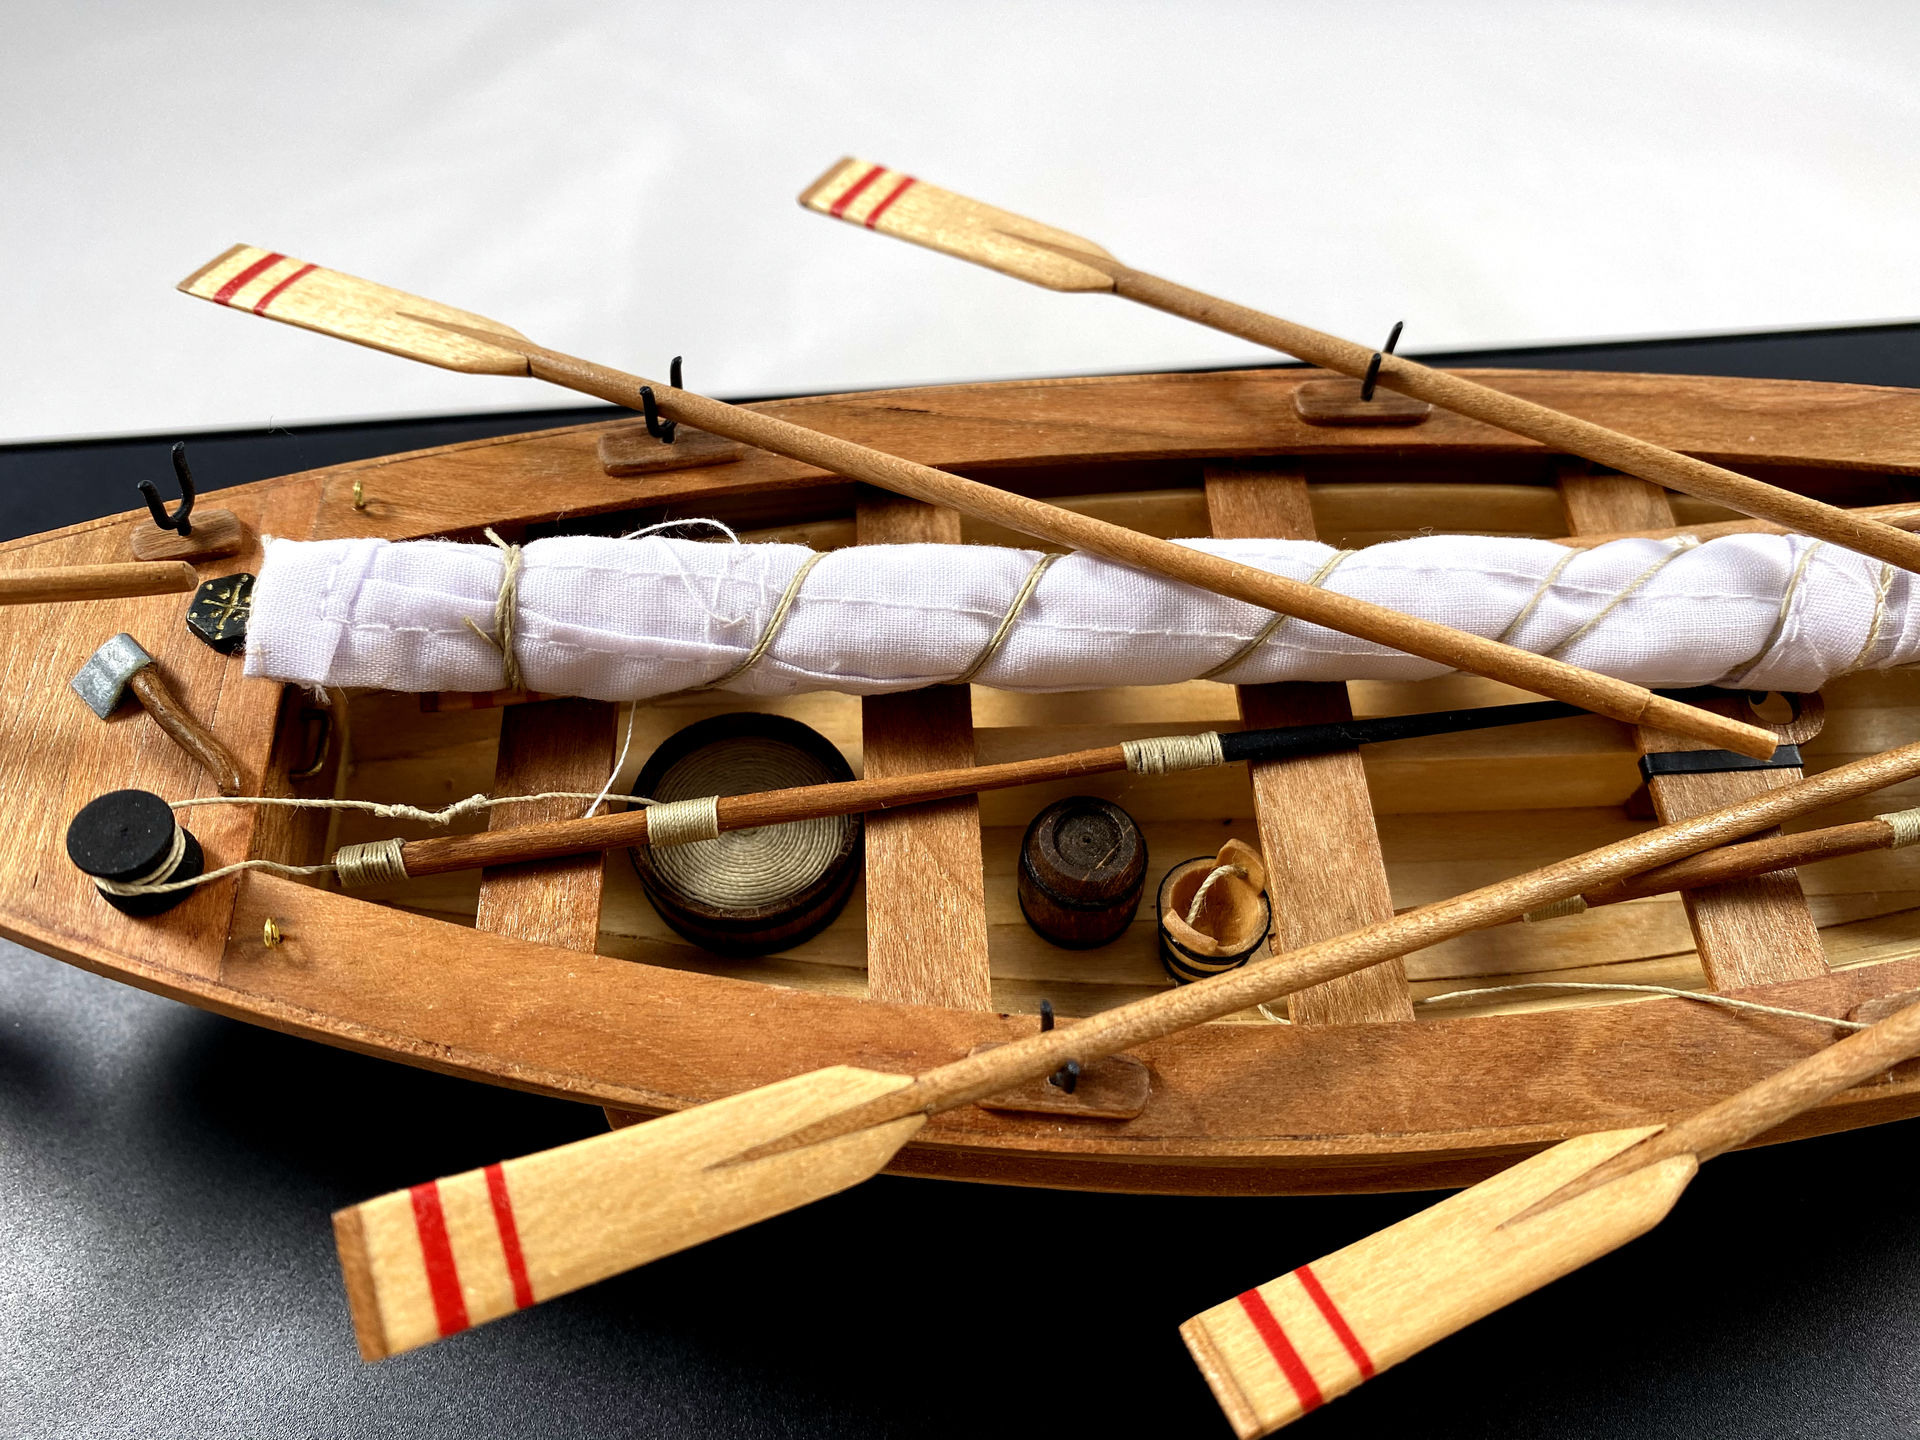
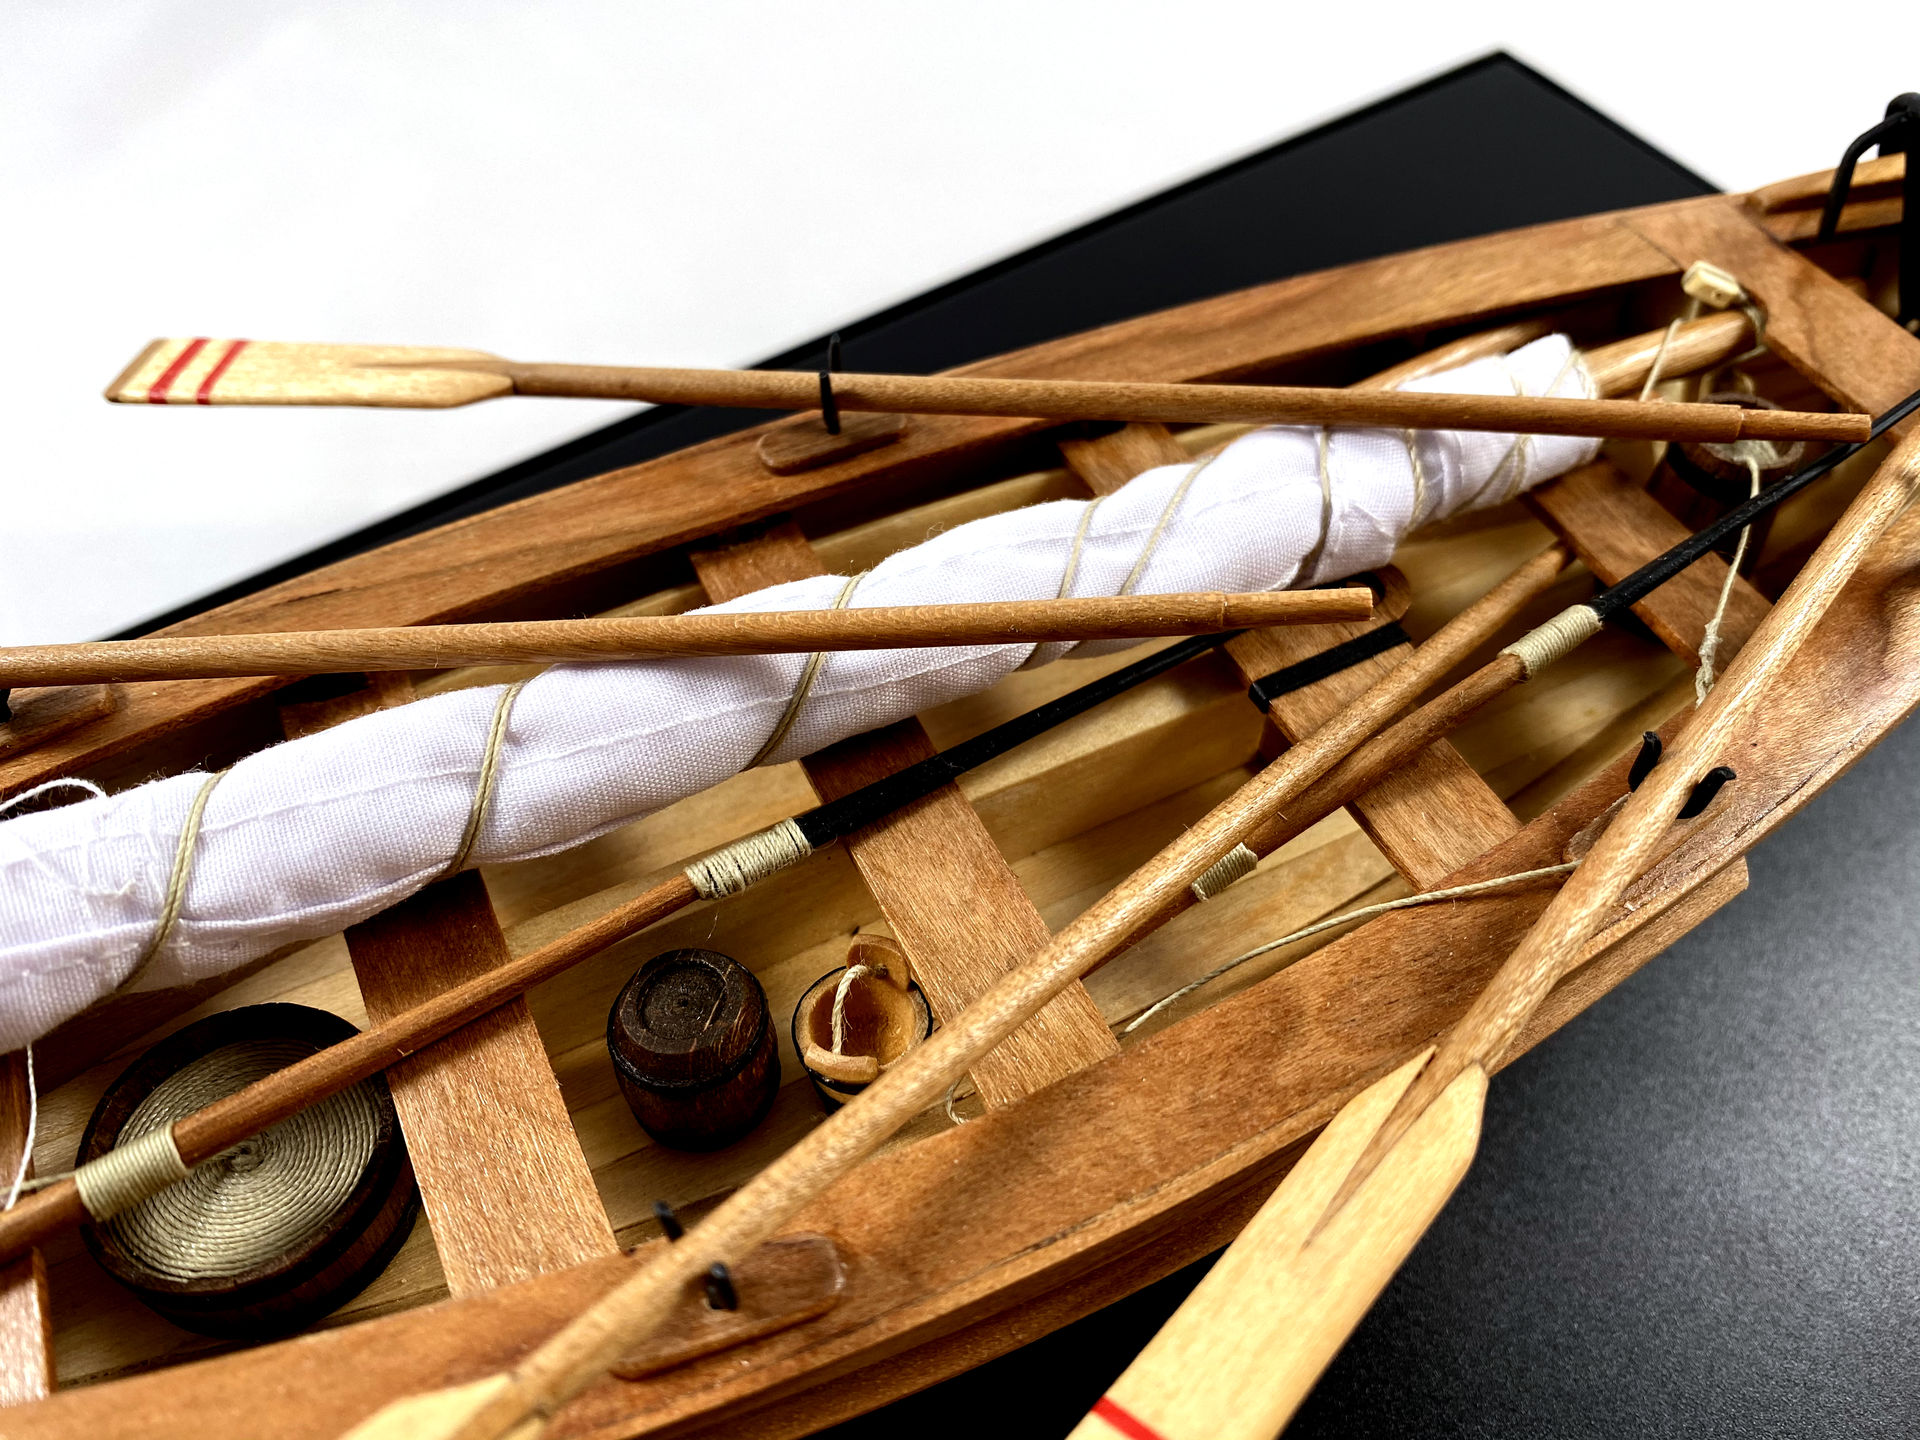
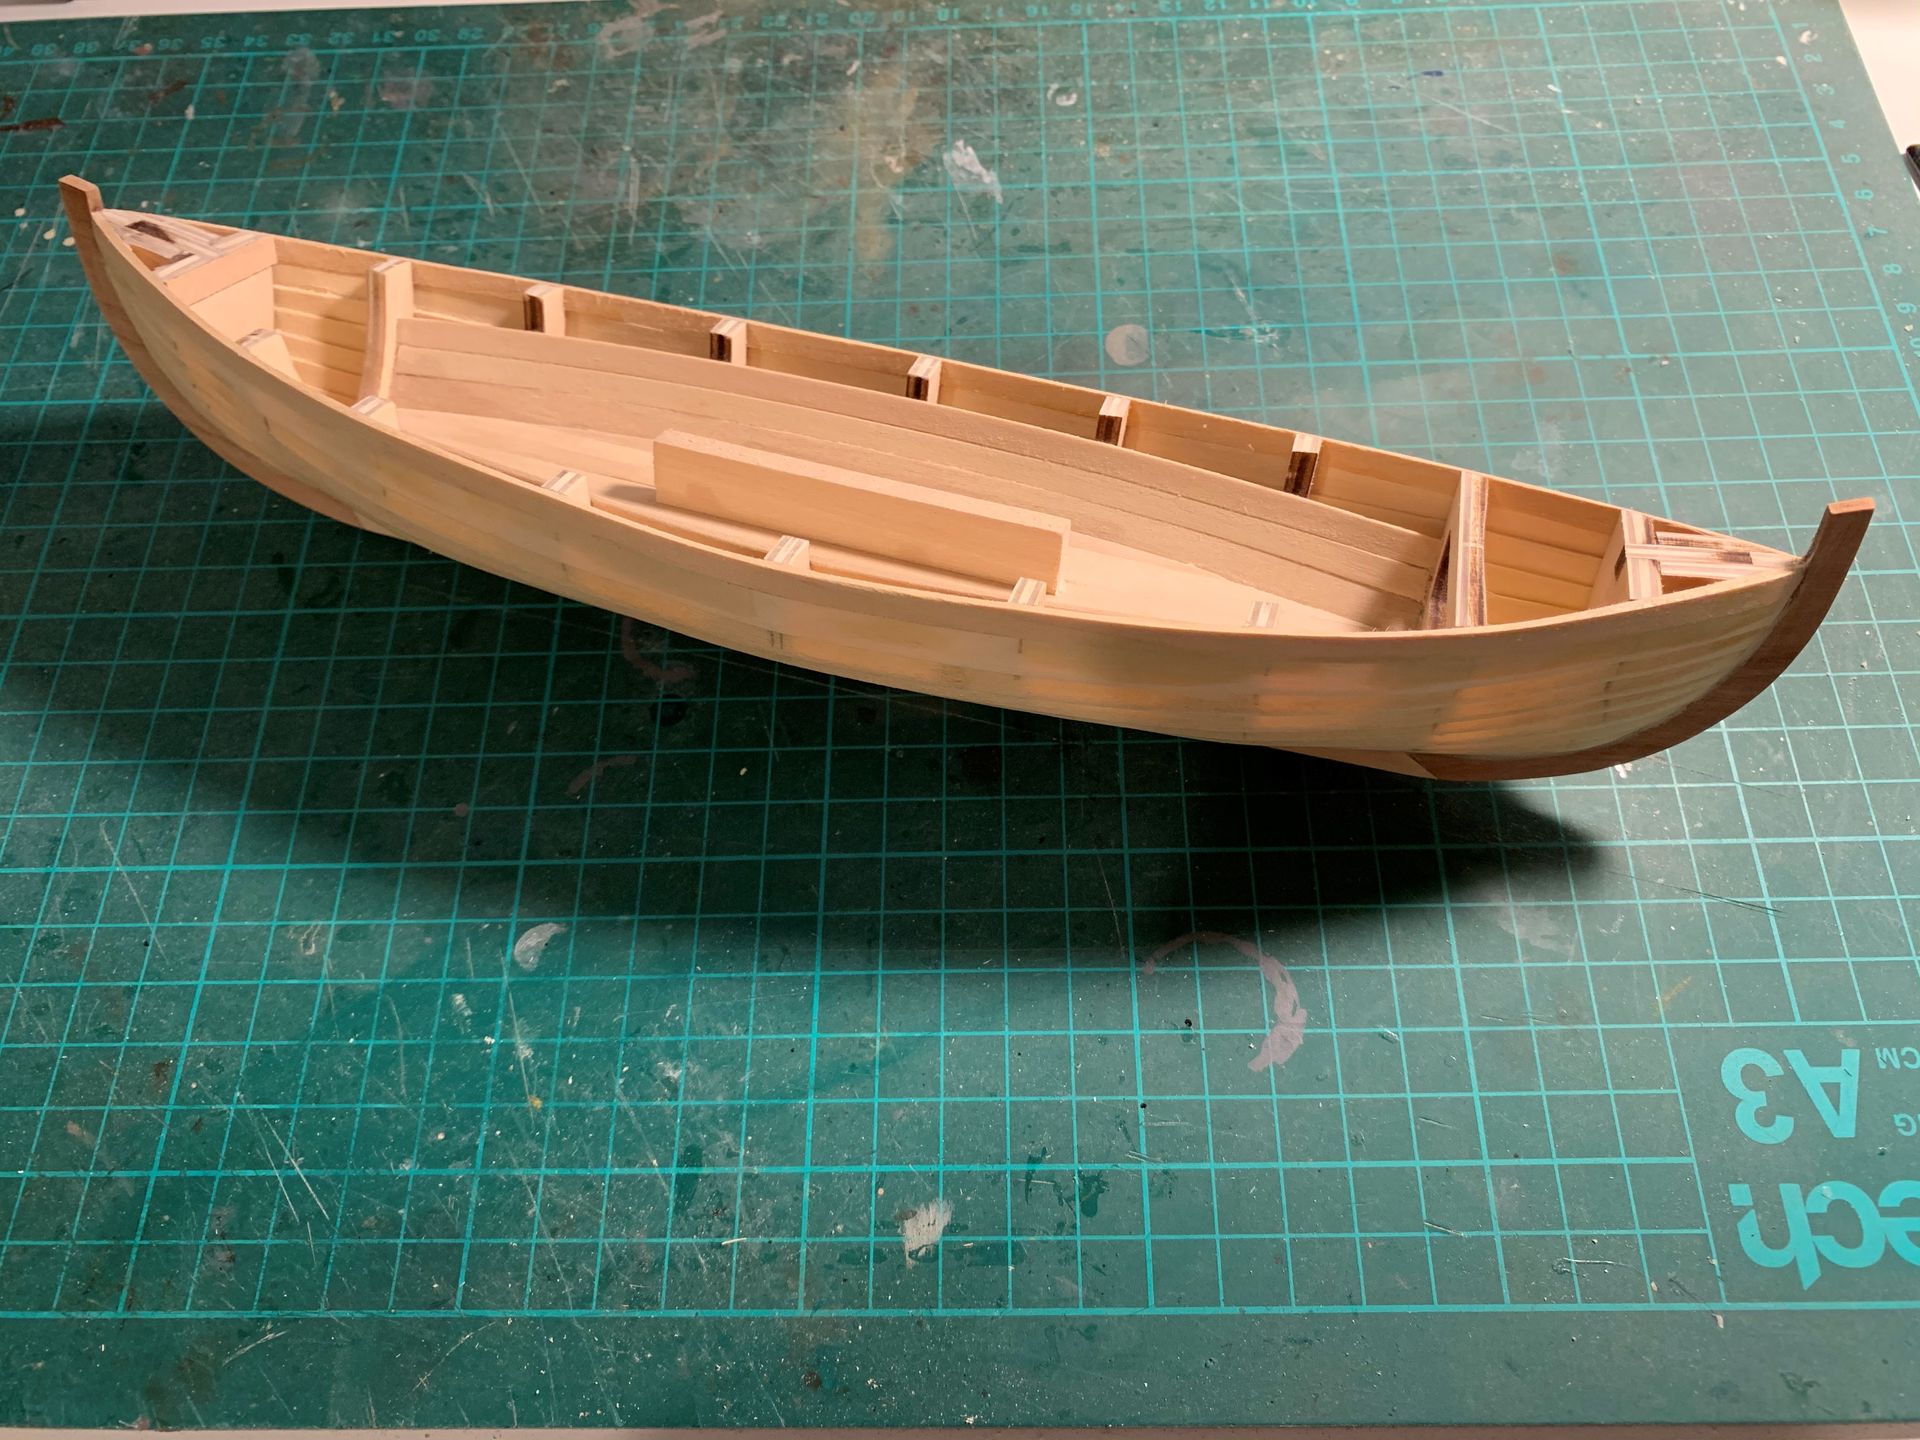
On a positive side, I loved the use of cherry for the benches and other details, beautiful colour. Although the wood quality for cherry parts is all over the place.
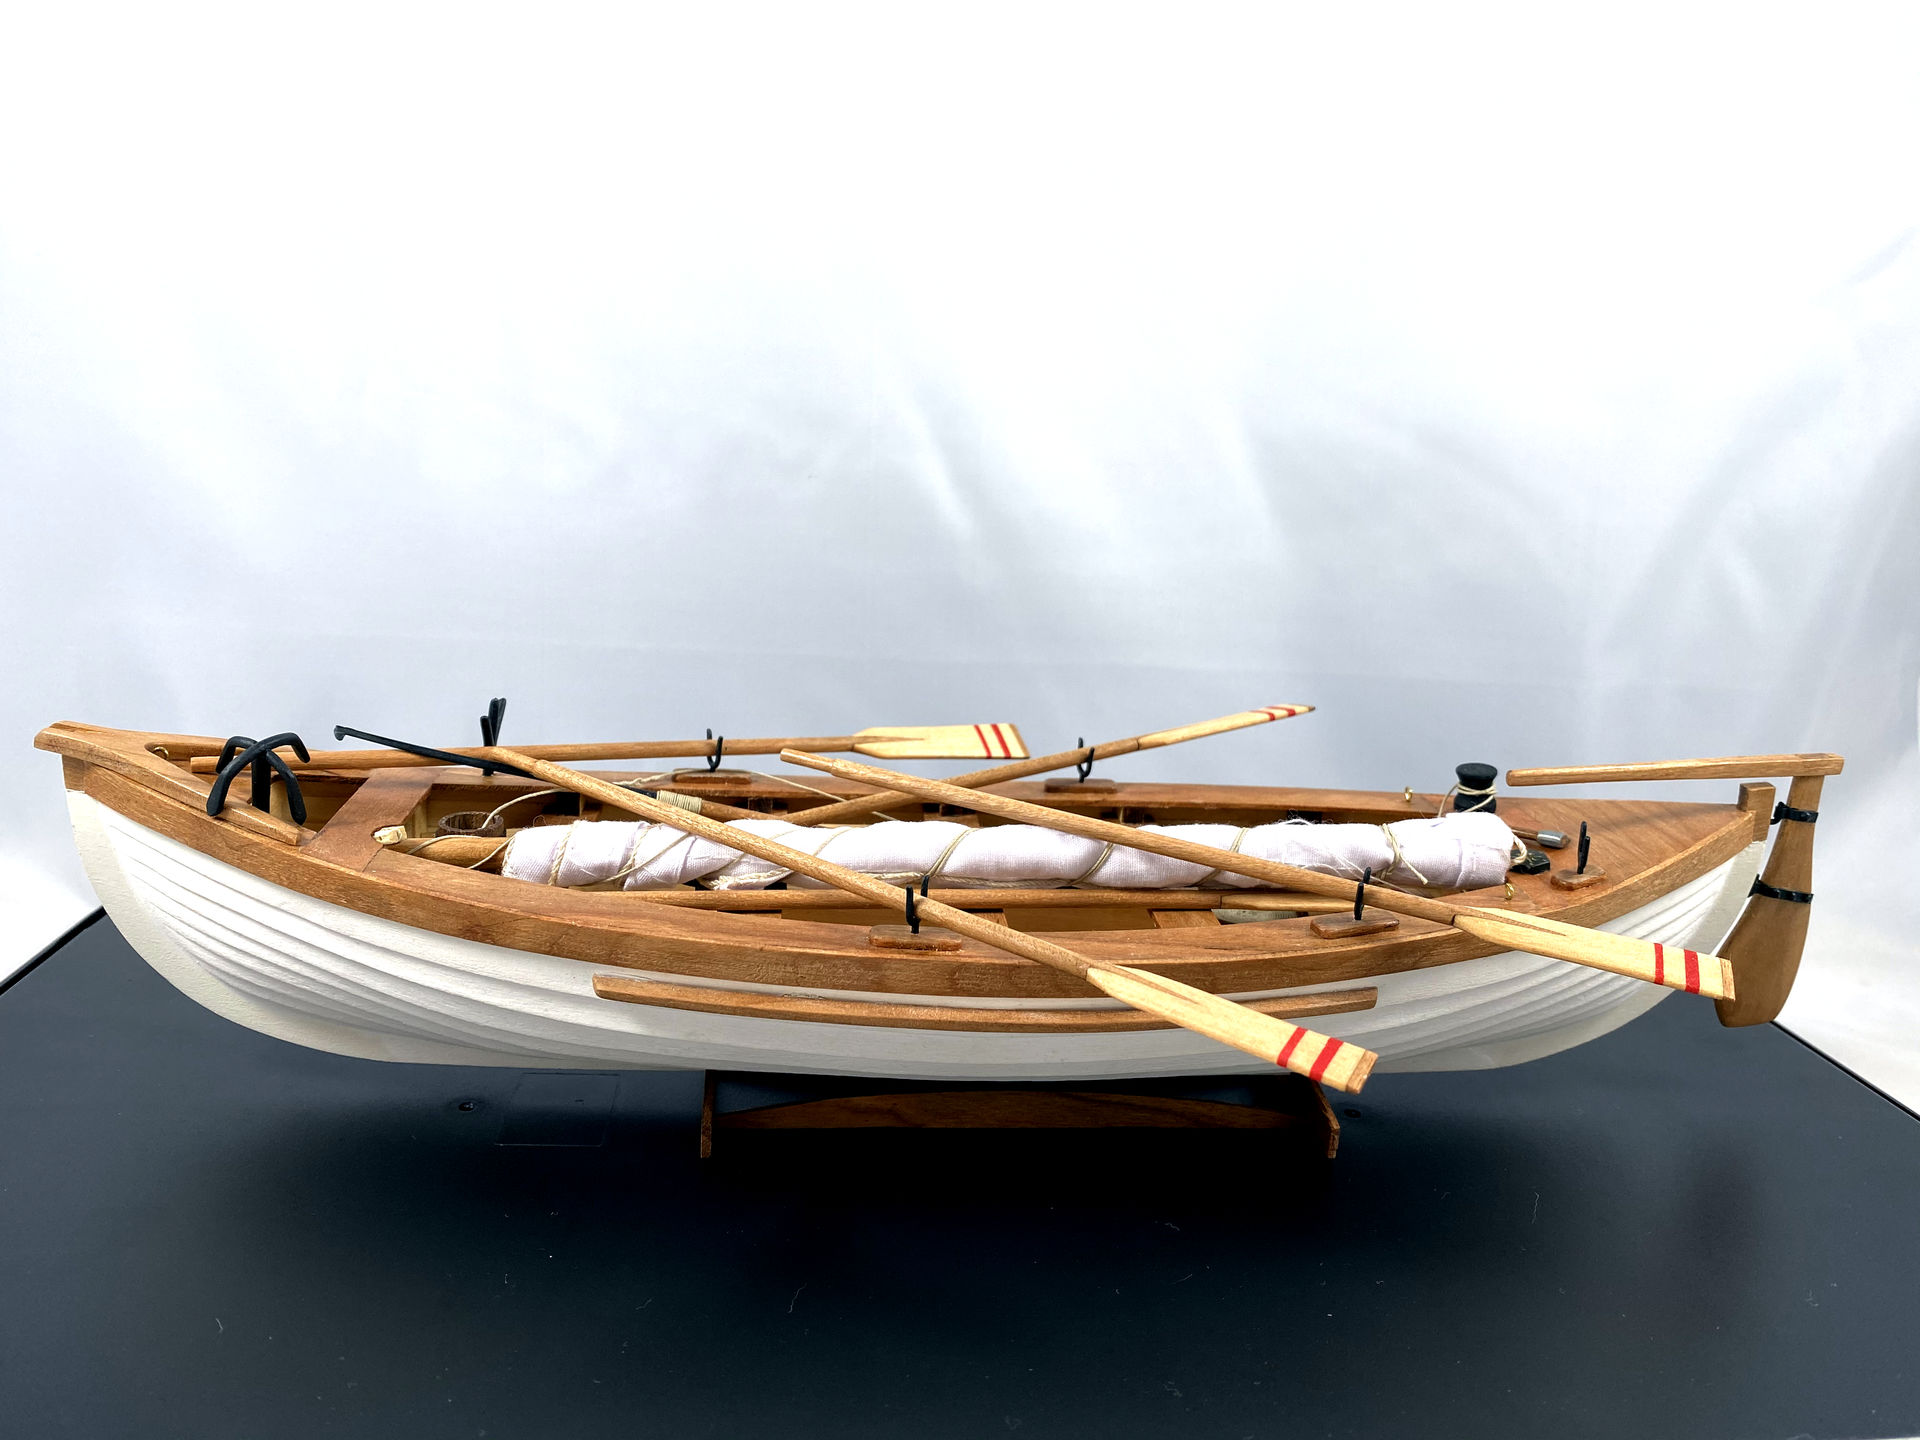
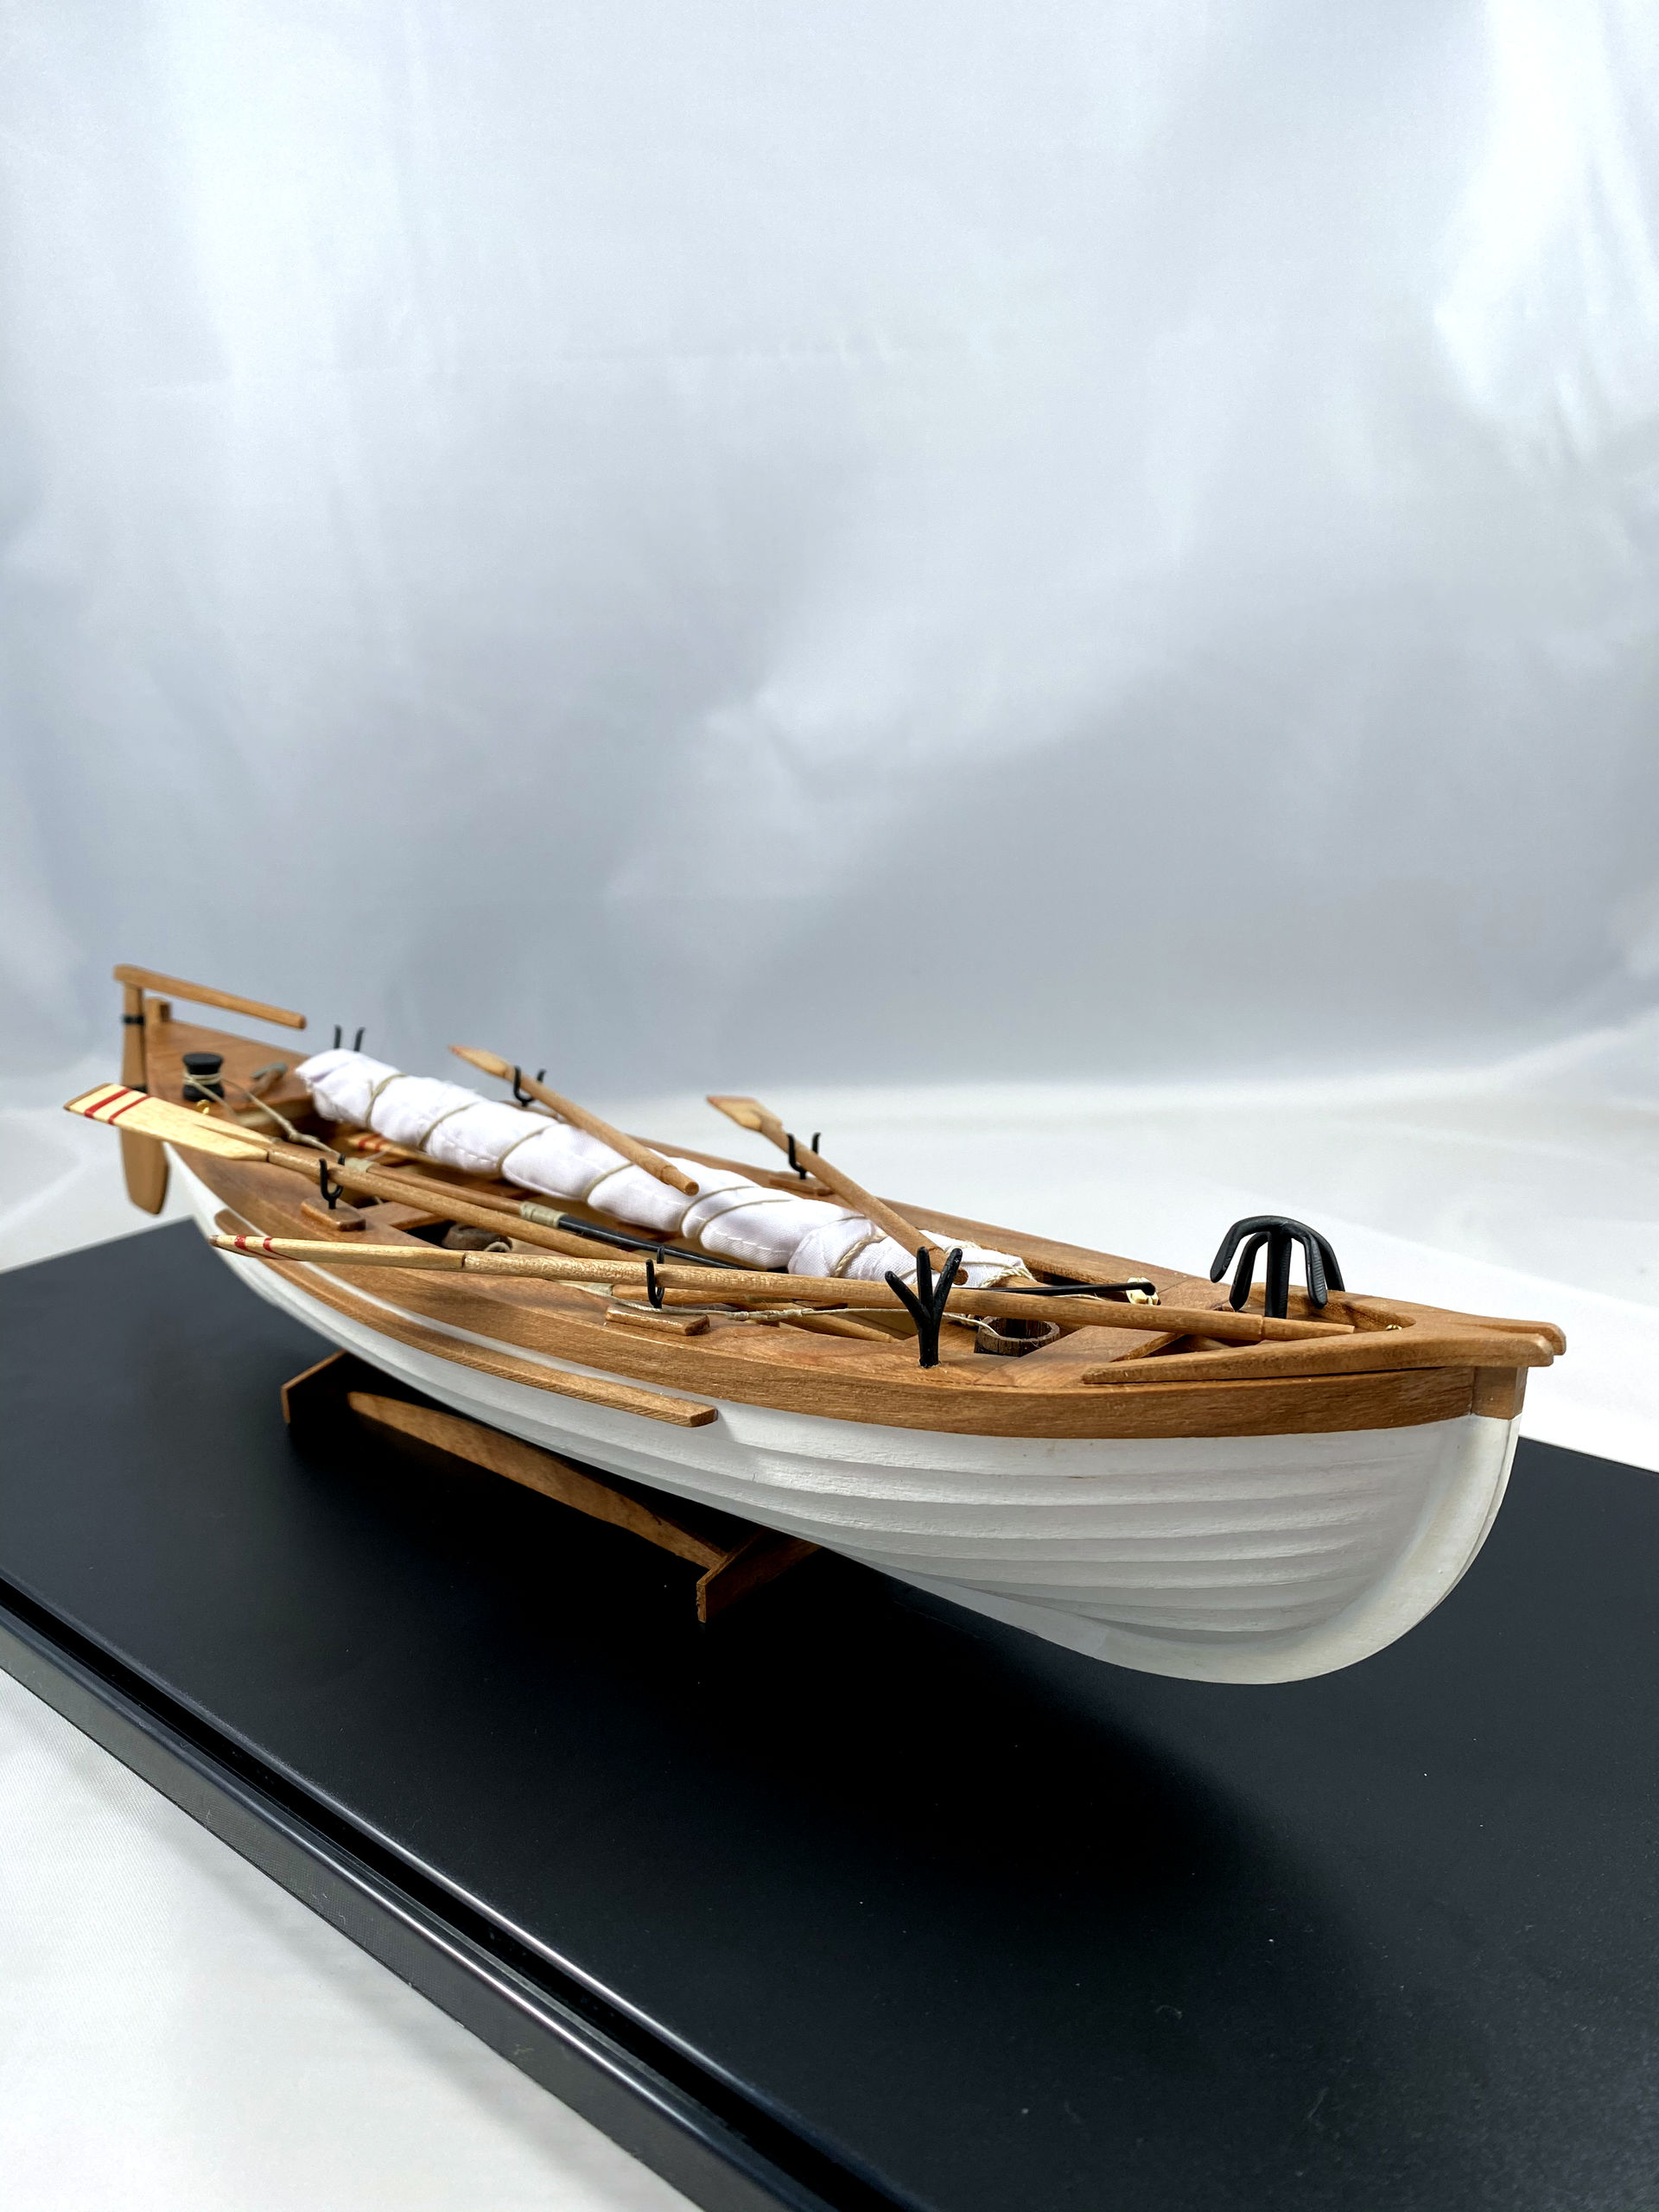
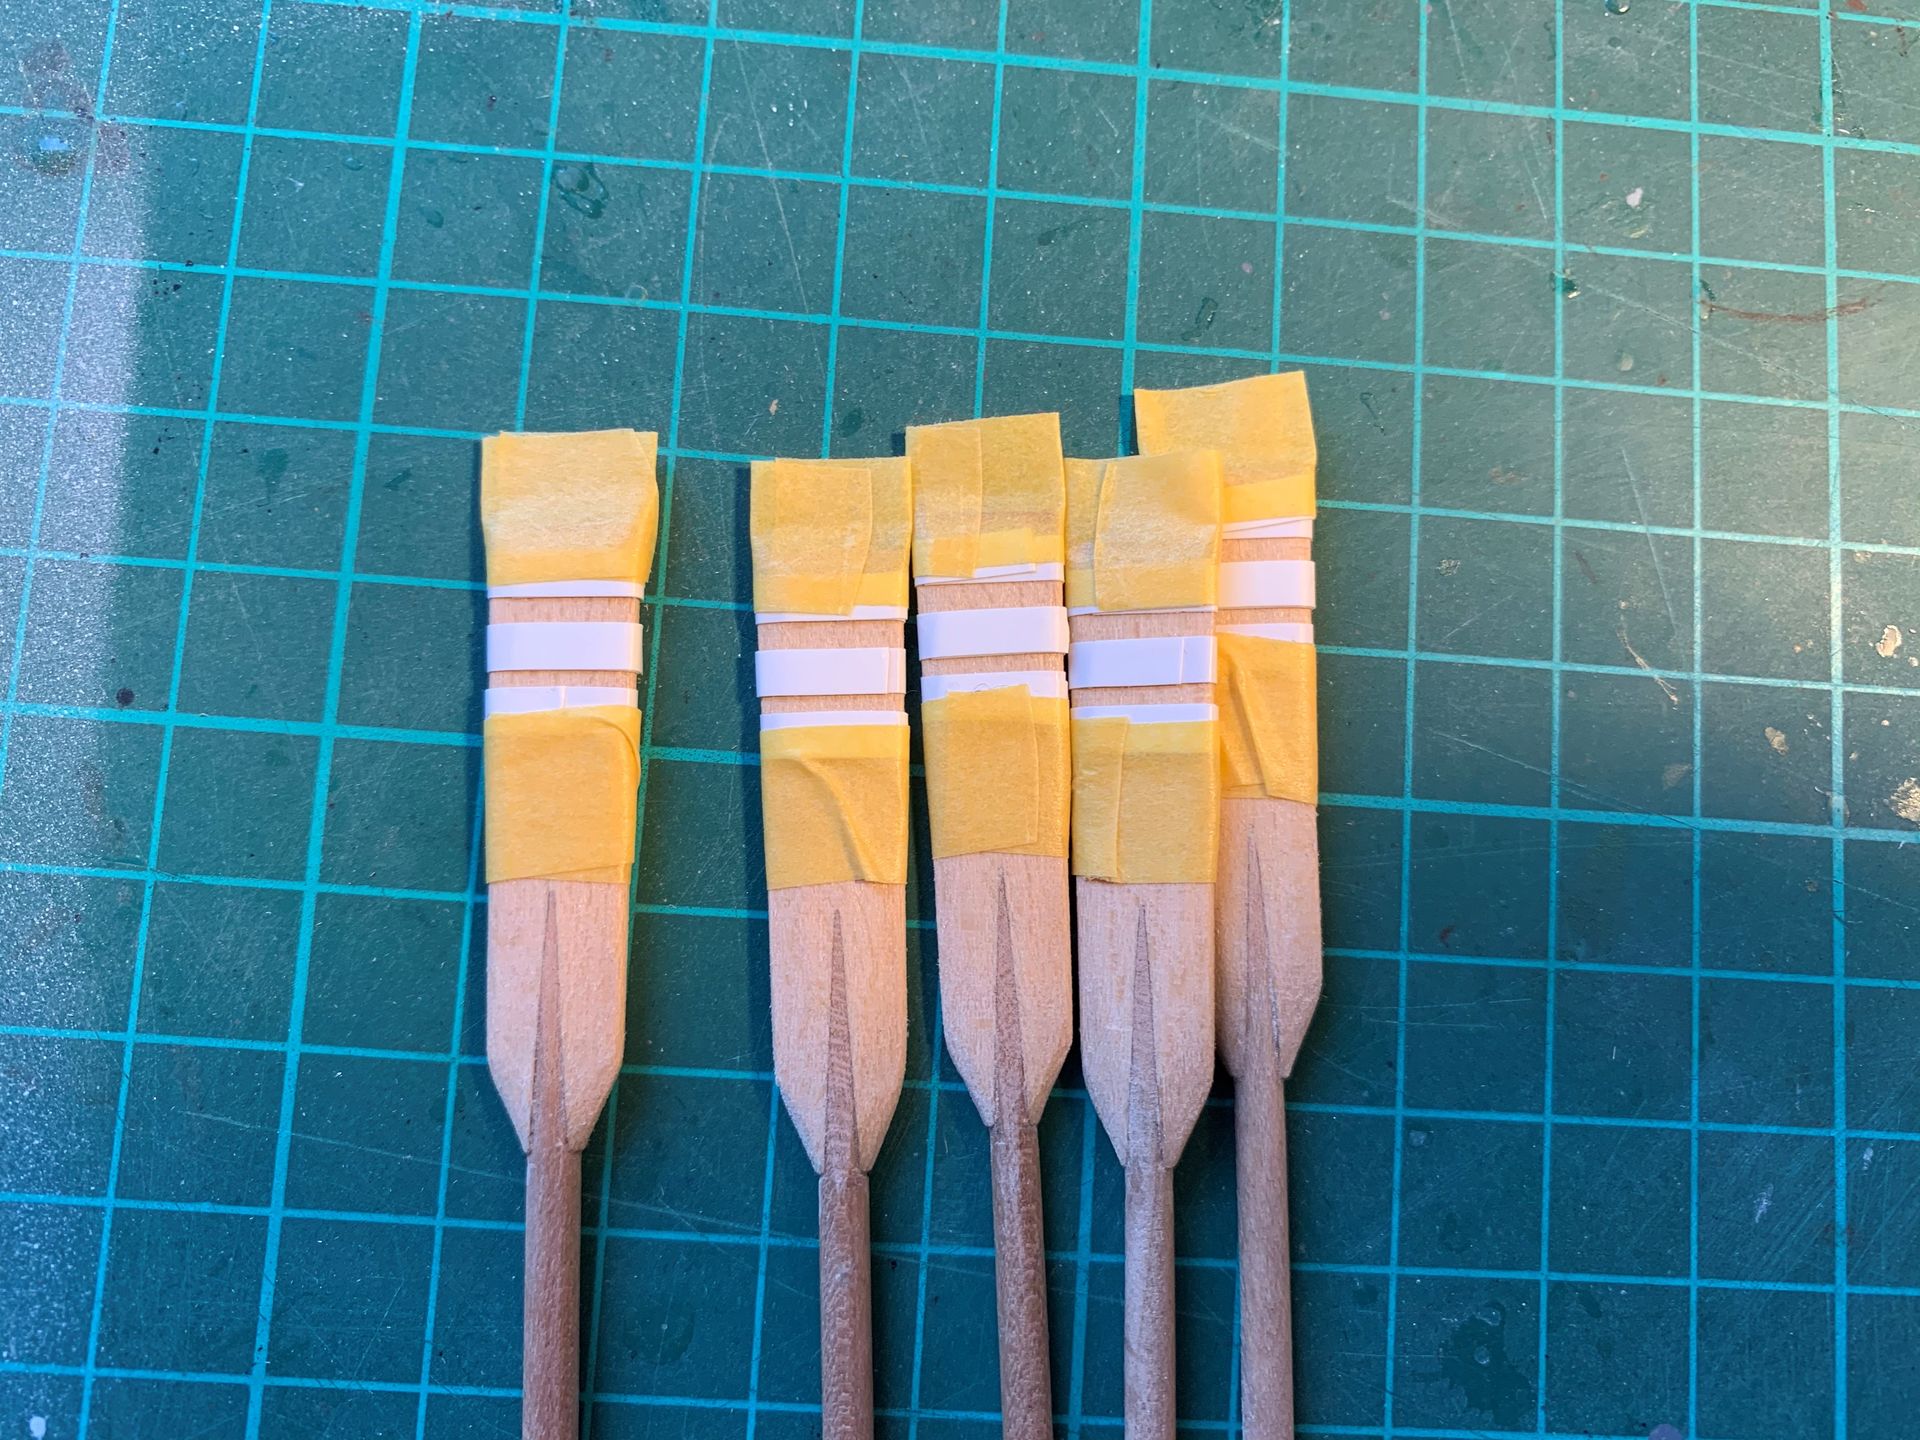
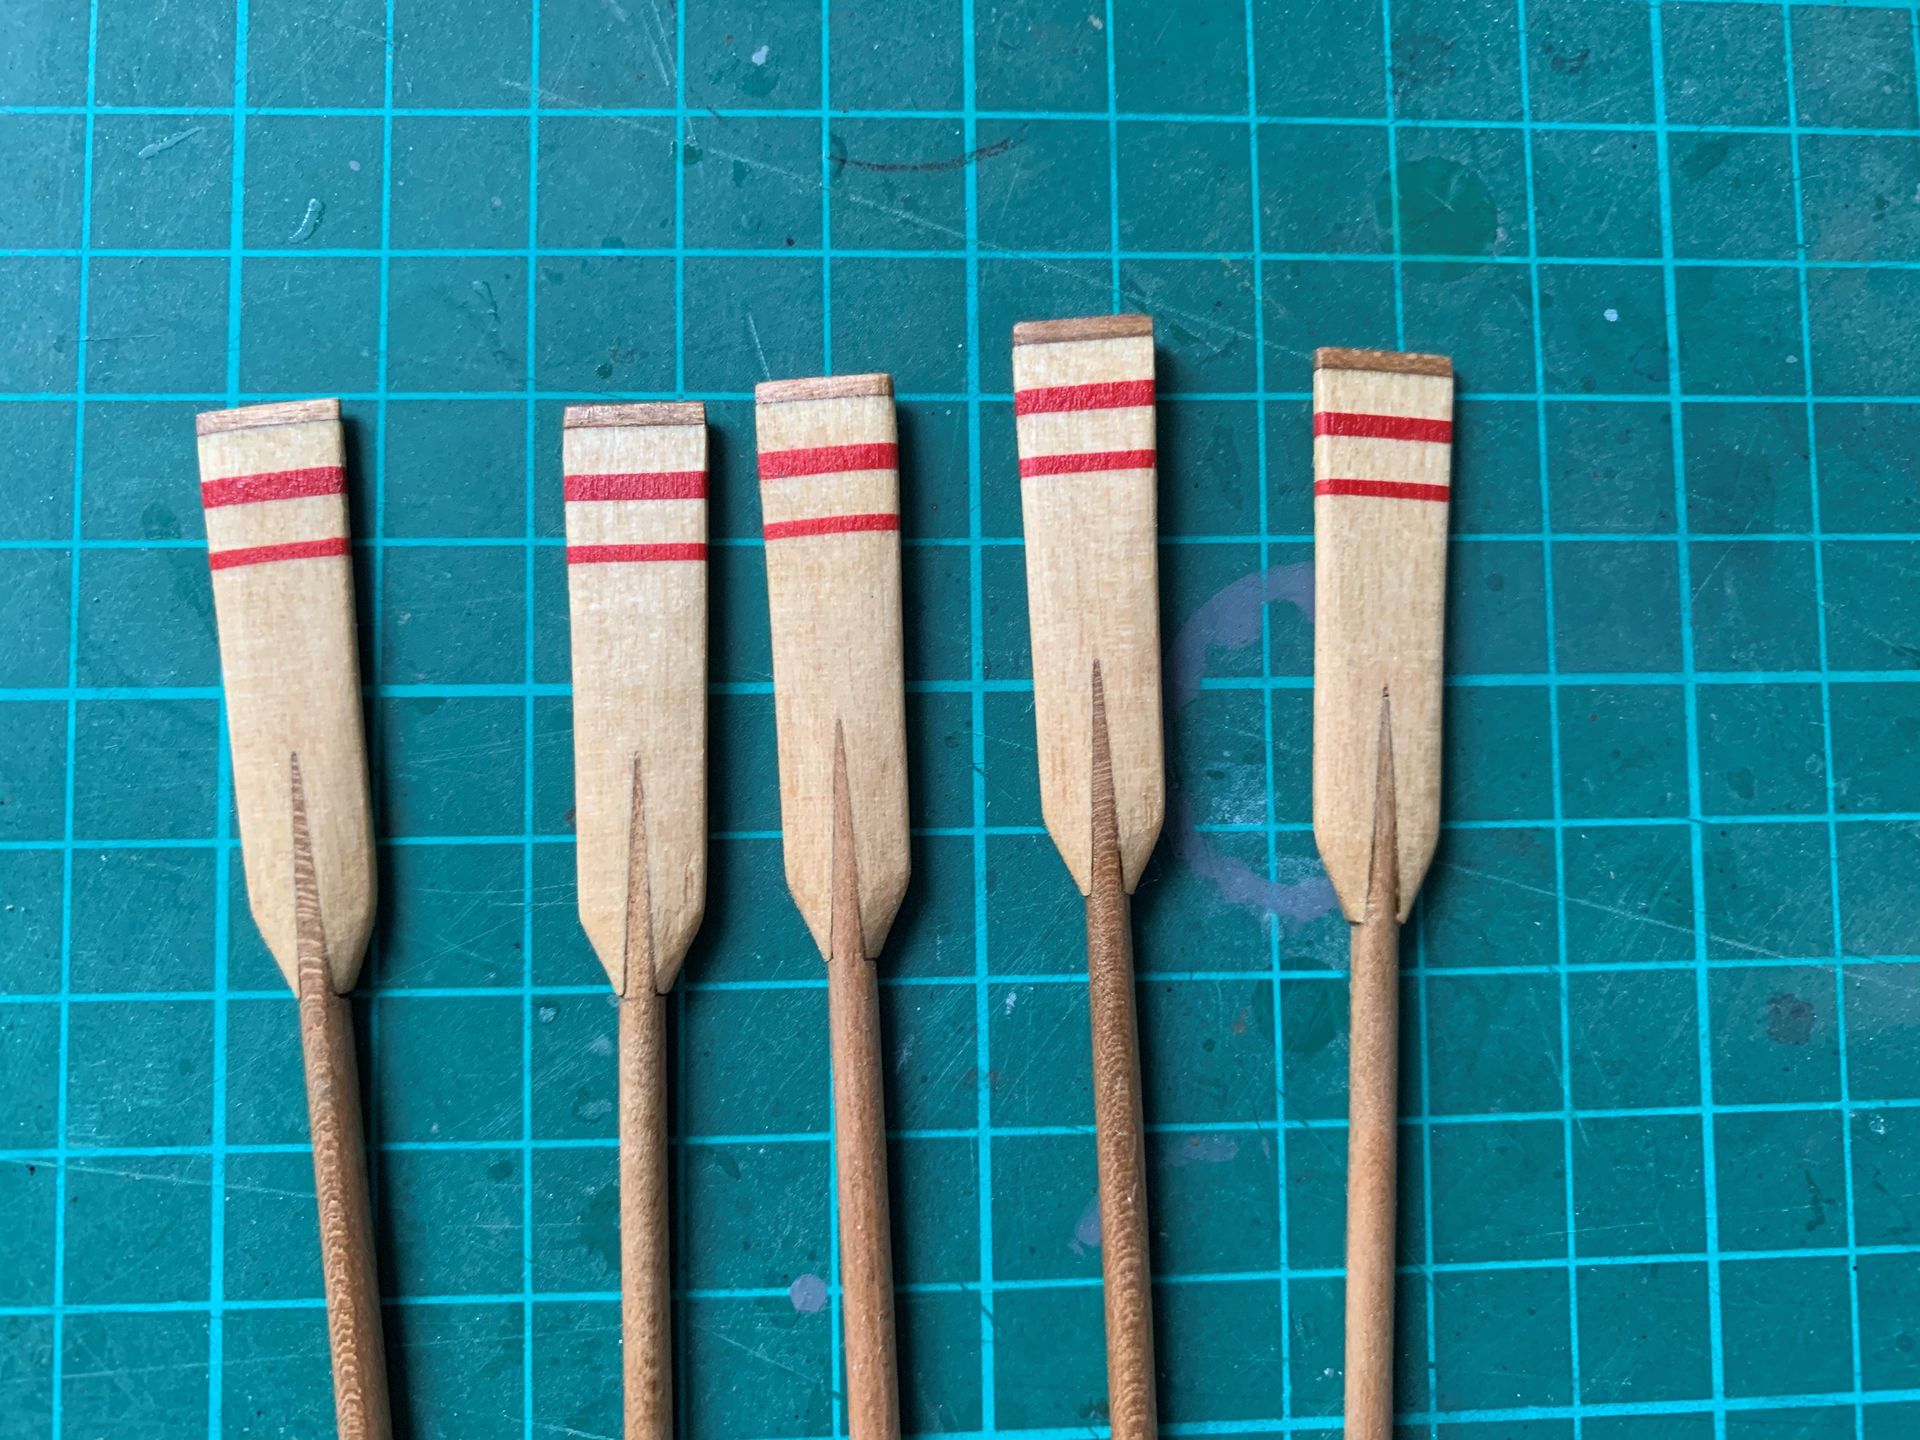
Then I finished the oars, which show beautiful combination of two wood types. As usual with paint job, it’s one hour of masking followed by 5 minutes of airbrushing. Painted with Tamiya Flat Red, finished with Danish oil. Quite happy with the crisp lines.
The instructions suggested some ridiculously simplified scheme of attaching rudder, so I had to scratch build some better version with brass strip and nails I had left from previous builds.
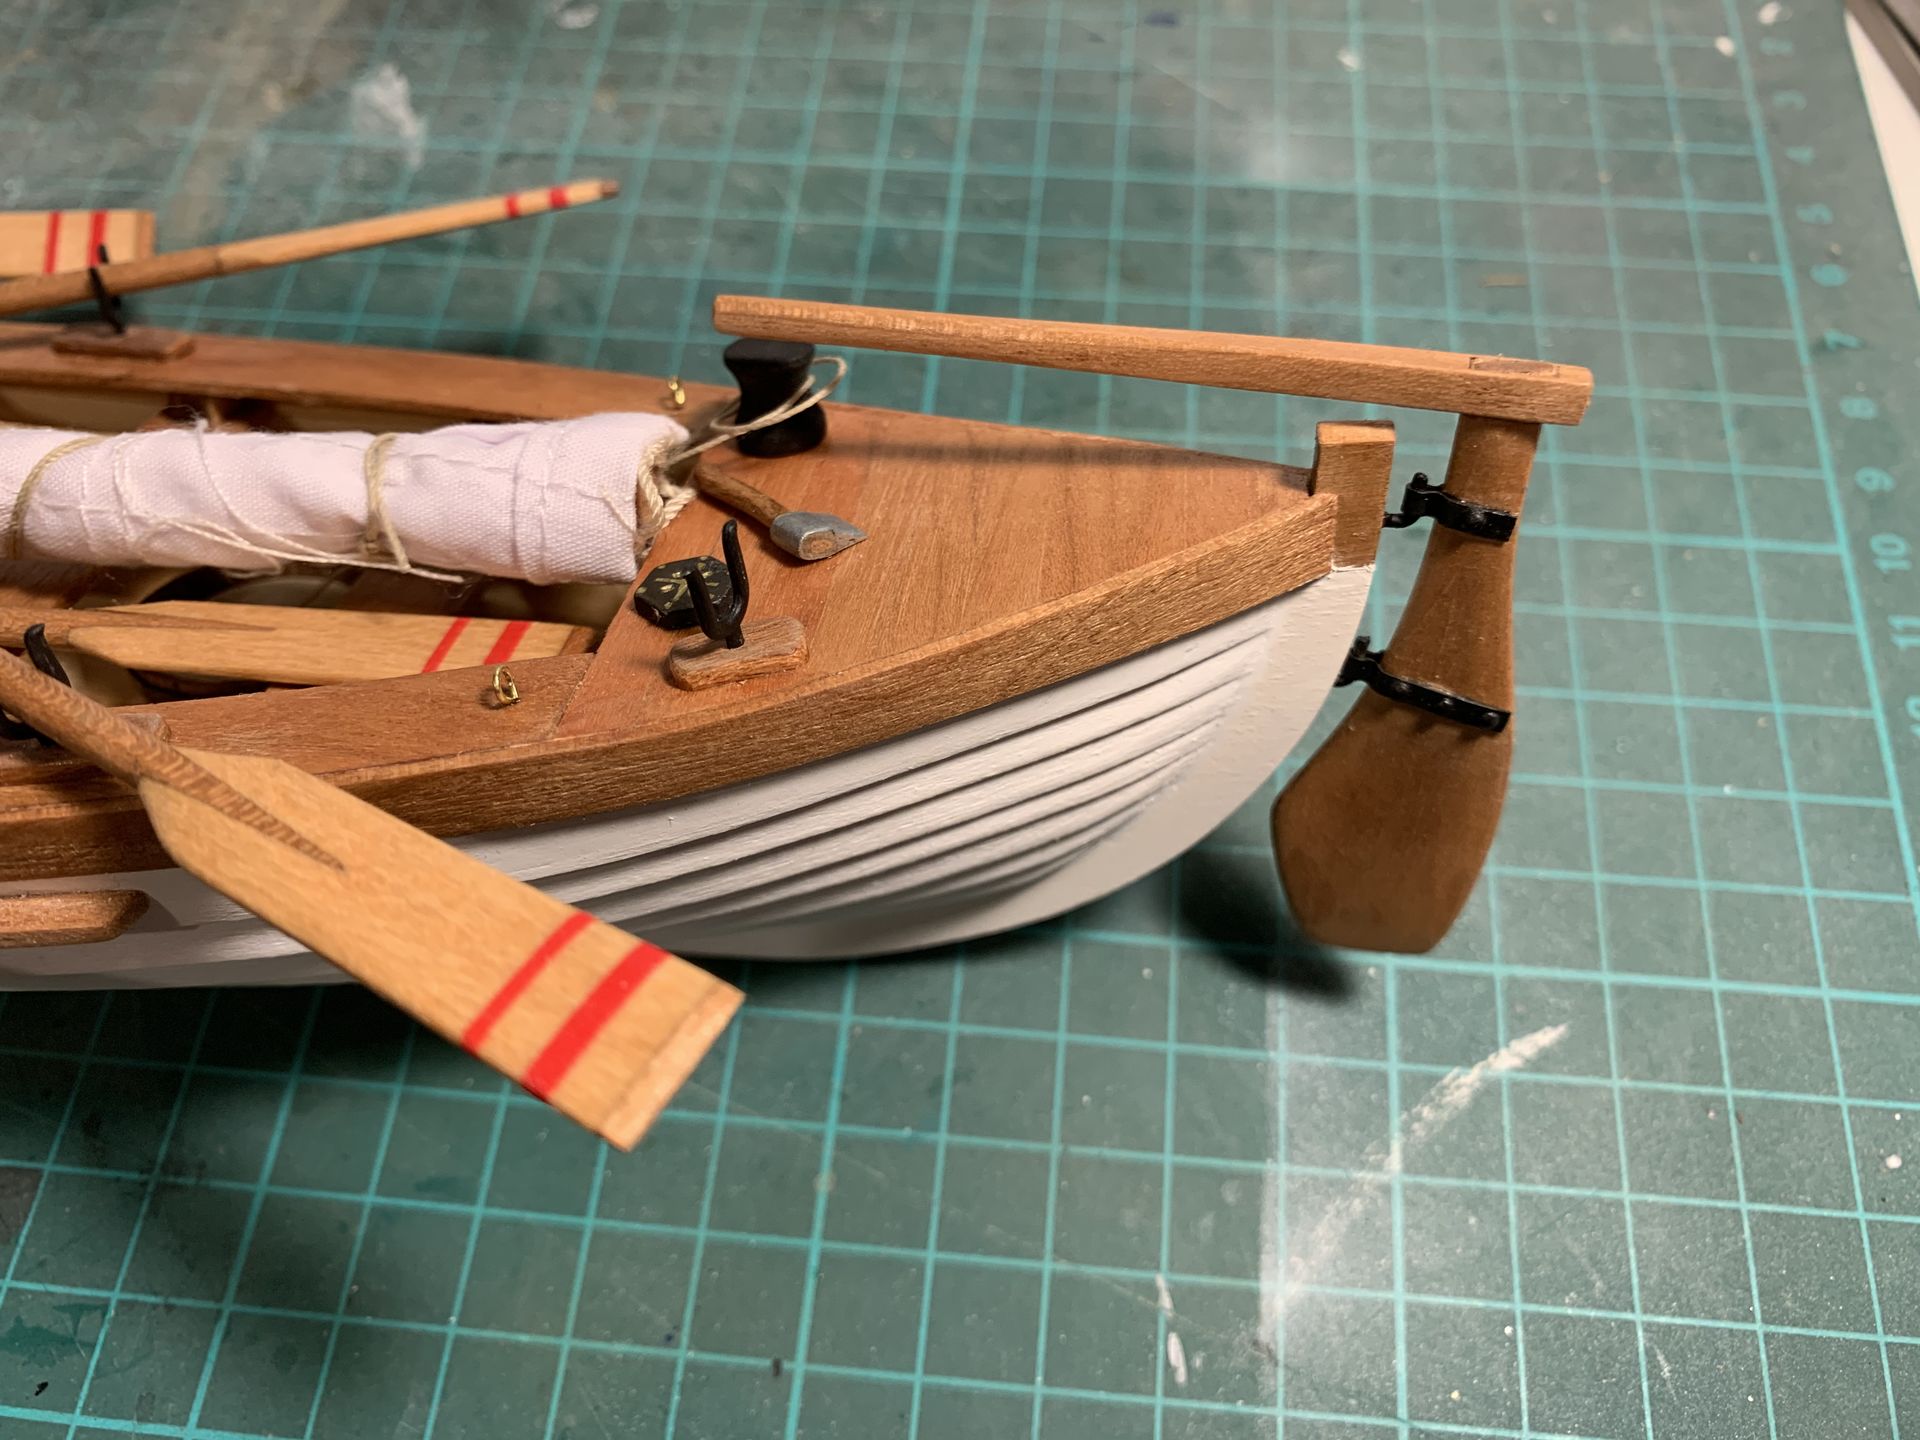
I contemplated few options to display the model - with or without the sails, or even scratch building section of a ship’s hull with davits. Ultimately because the model is so simplistic and provided sails being of average quality I settled on displaying the boat with sail furled around the mast.
Kit provides no base or stand for the model, so I had to improvise one from scrap sheets of cherry from the kit.
Conclusion
Overall I’m reasonably happy with the result, although I surely should have chosen a better kit to start with. Probably that one made by Model Shipways. This one by AL is very simplistic, and poor design and material quality doesn’t provide much room for improvements.
Gallery