My first ever wooden kit, yay! I was always intimidated by wooden ship kits, assuming huge amount of scratch-building and crafting. Also I knew from my childhood plastic kit experience that rigging is quite challenging on Tall Ships.
Luckily nowadays thanks to modern technologies like laser cutters and CAD software wooden kits are enhanced with pre-shaped laser cut hull planks and details.
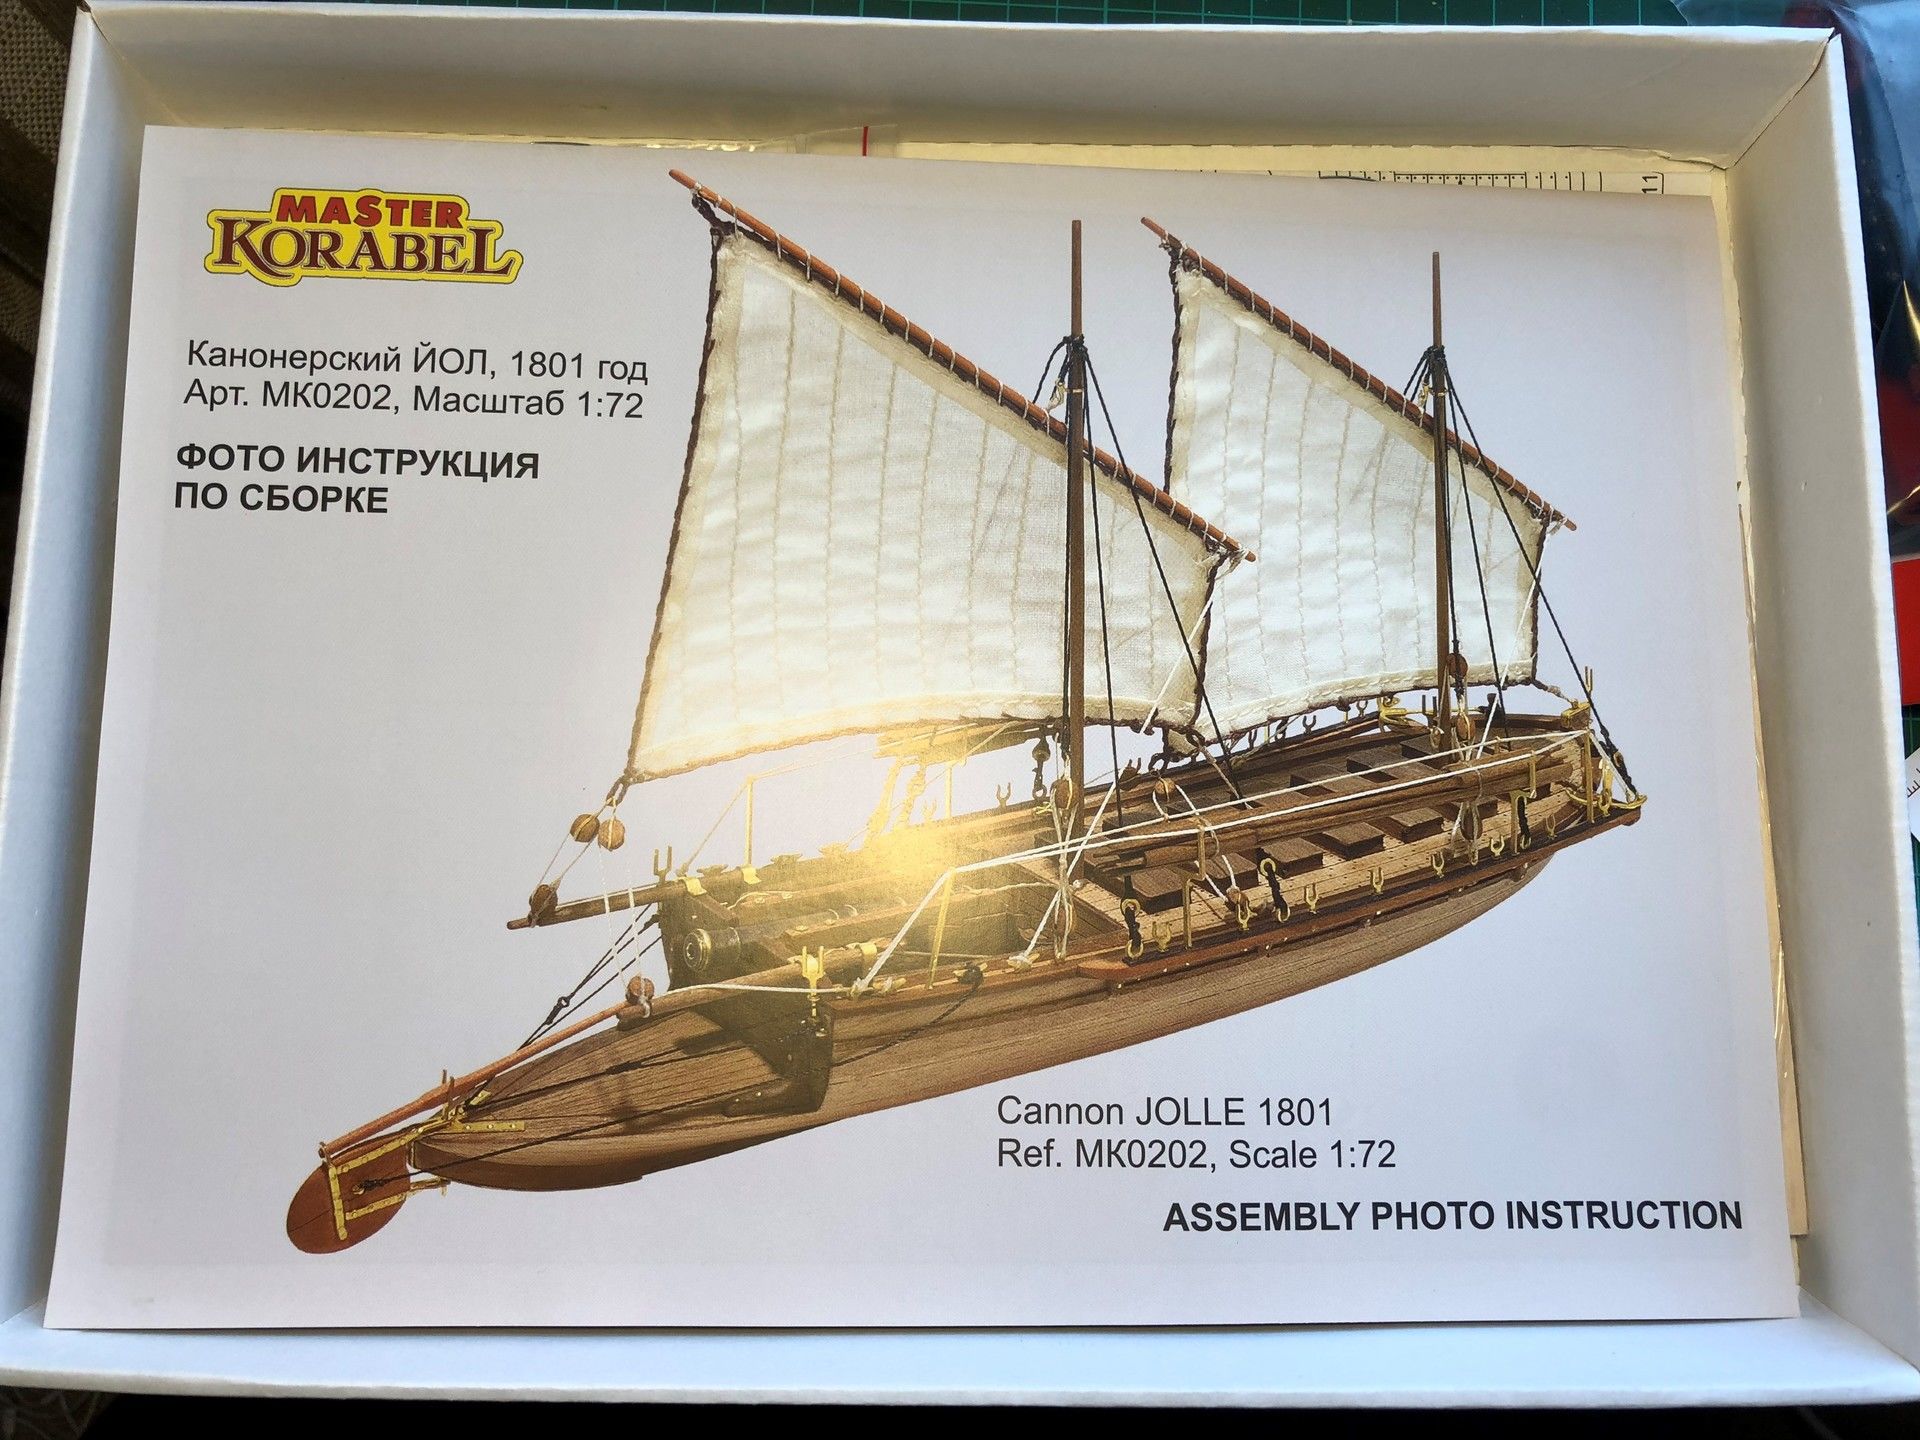
Considering this I decided to give it a try and build something relatively simple, relatively cheap and without complex rigging. This modern kit from Russian company called Master Korabel (Мастер Корабел) ticked all the boxes, so I’ve got it as a birthday present from one of my dear friends.
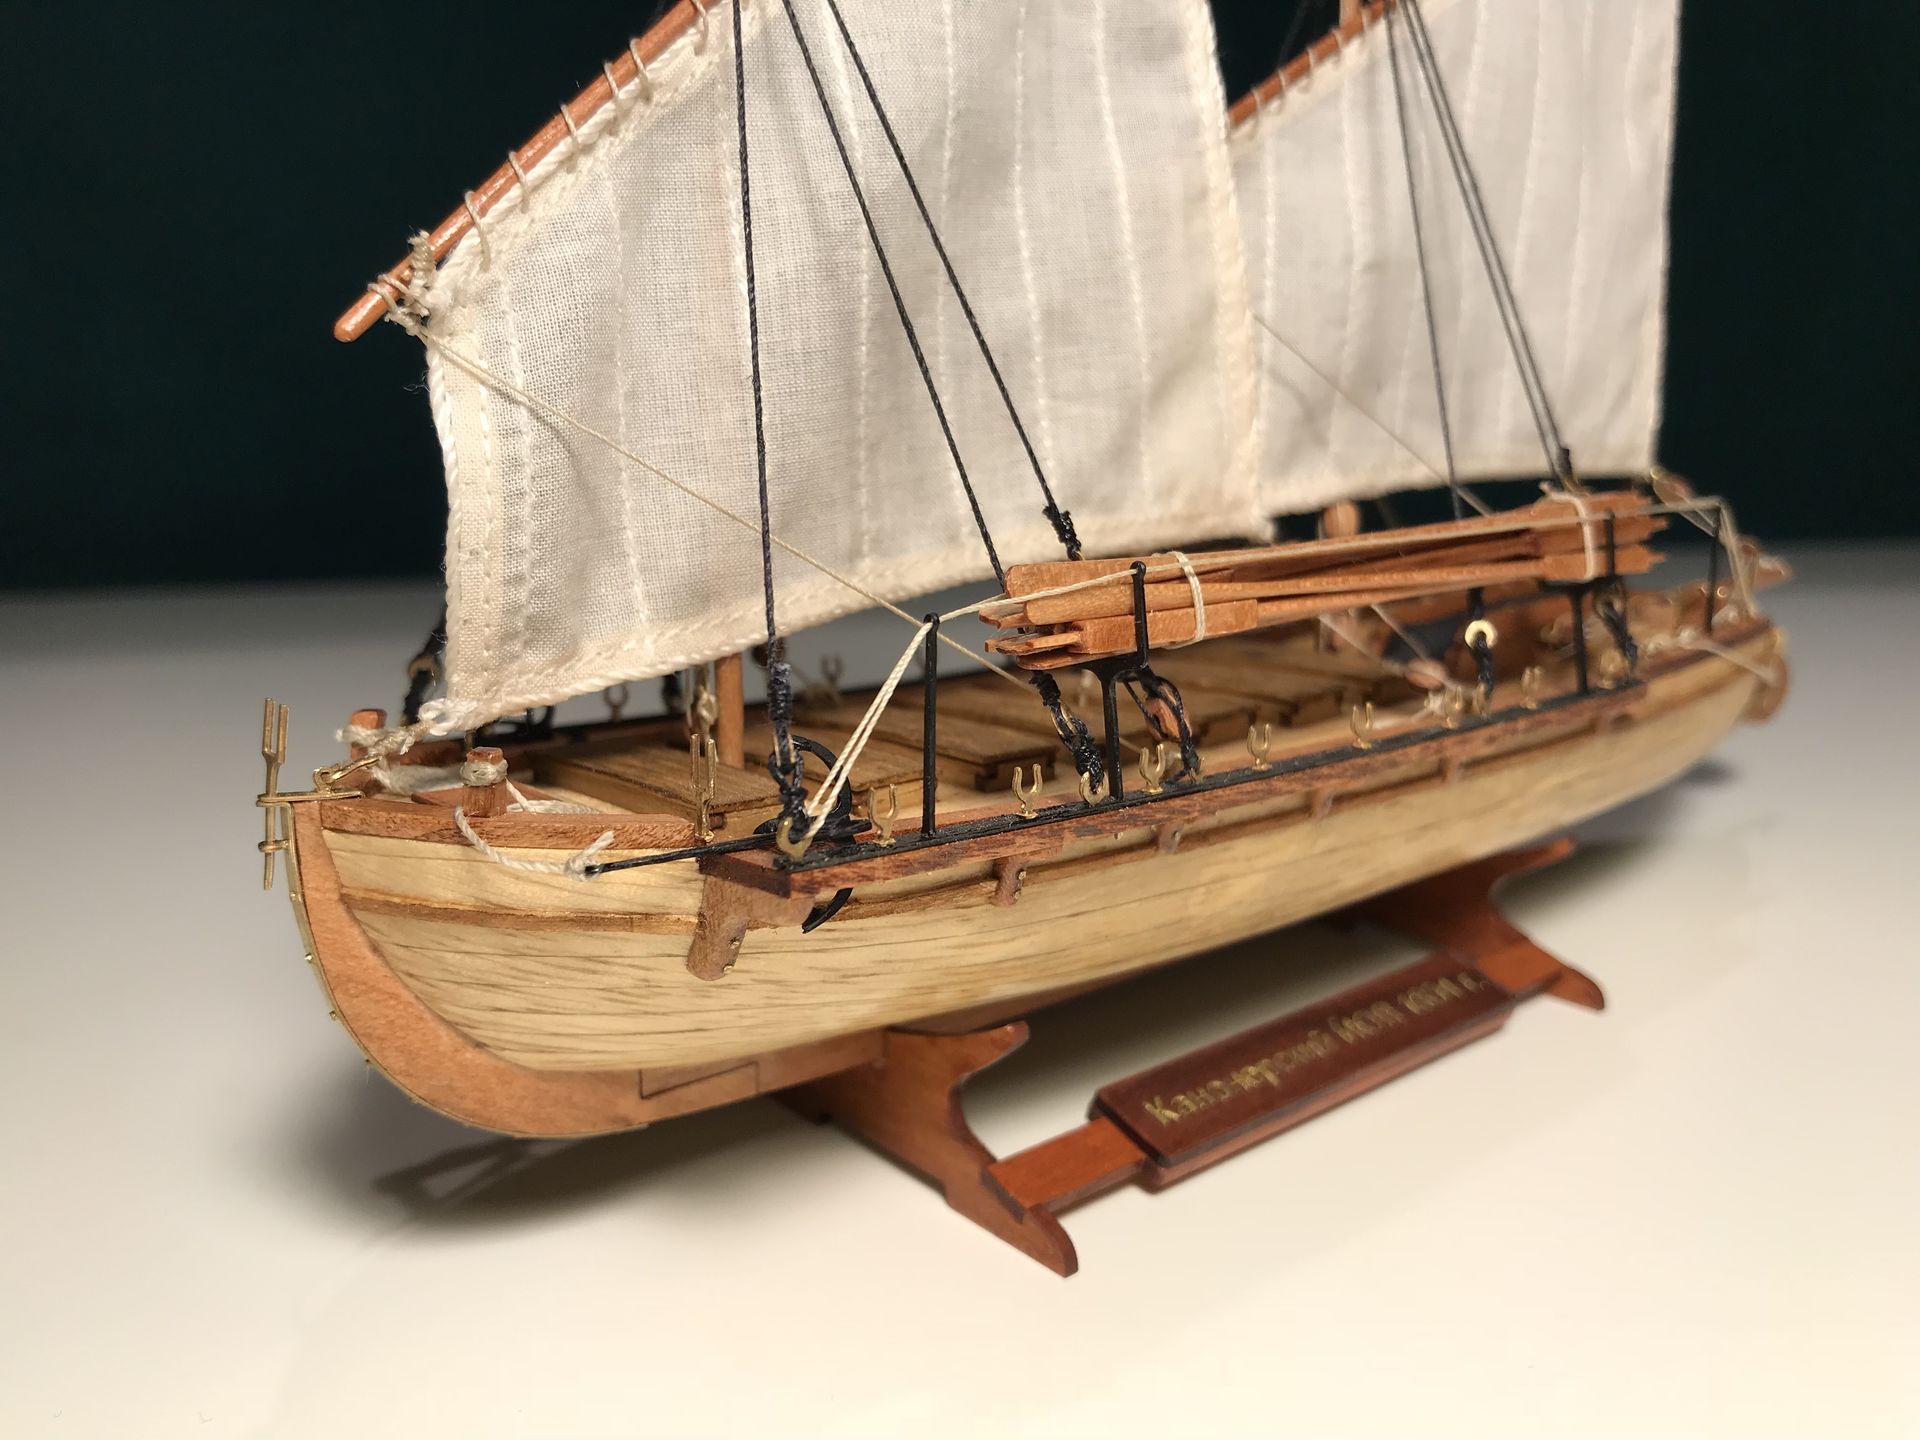
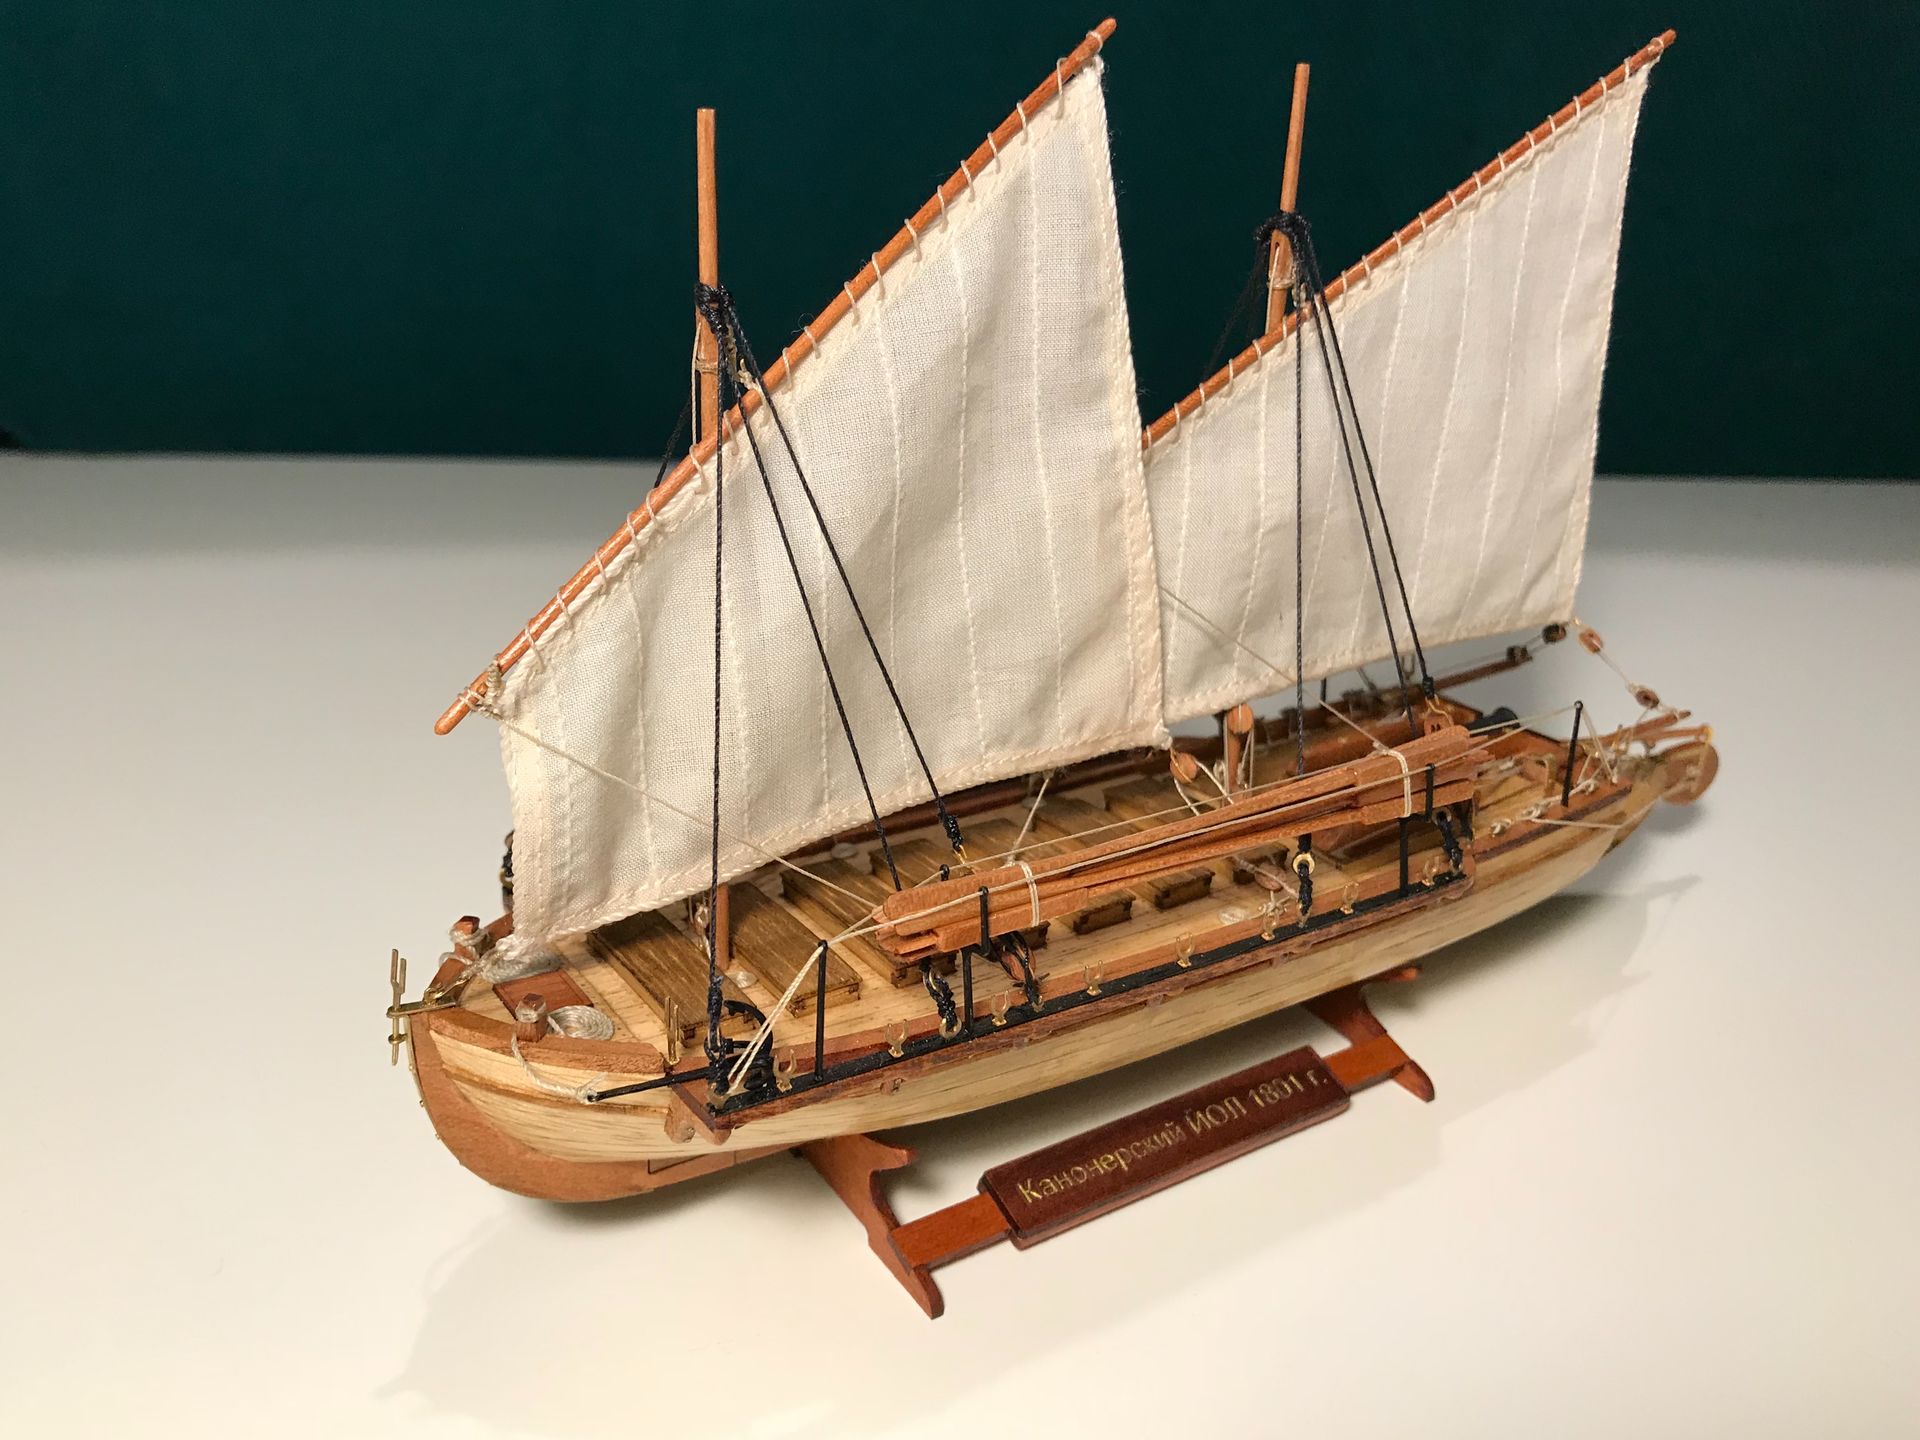
Canon Yolle 1801
This type of ships was invented in Sweden in 1789 by Frederic Chapman to fight Russians on Baltic Sea. The idea was to have a small ships with big gun, fast and with small draft, to operate in shallow waters and on rivers. Russians totally appreciated the idea and copied it after capturing several ships in Battle of Vyborg Bay.
Model quality
It’s my first wooden kit so I don’t have any reference points, but after watching some YouTube videos of people carving hull planks from wood for some older kits, I’m very happy with laser-cut planks that fit almost perfectly. I didn’t have any fit issues, material quality is great, and manual is very detailed and easy to follow.
Build notes
Building this ship was relatively easy and straightforward even for a total newbie like me.
I didn’t experience any problems with build whatsoever, but as a wooden kit newbie I’ve made several mistakes. Main problem when working with wood is that you cannot just apply some putty if you’ve made a mistake, you cannot paint stuff - everything is exposed.
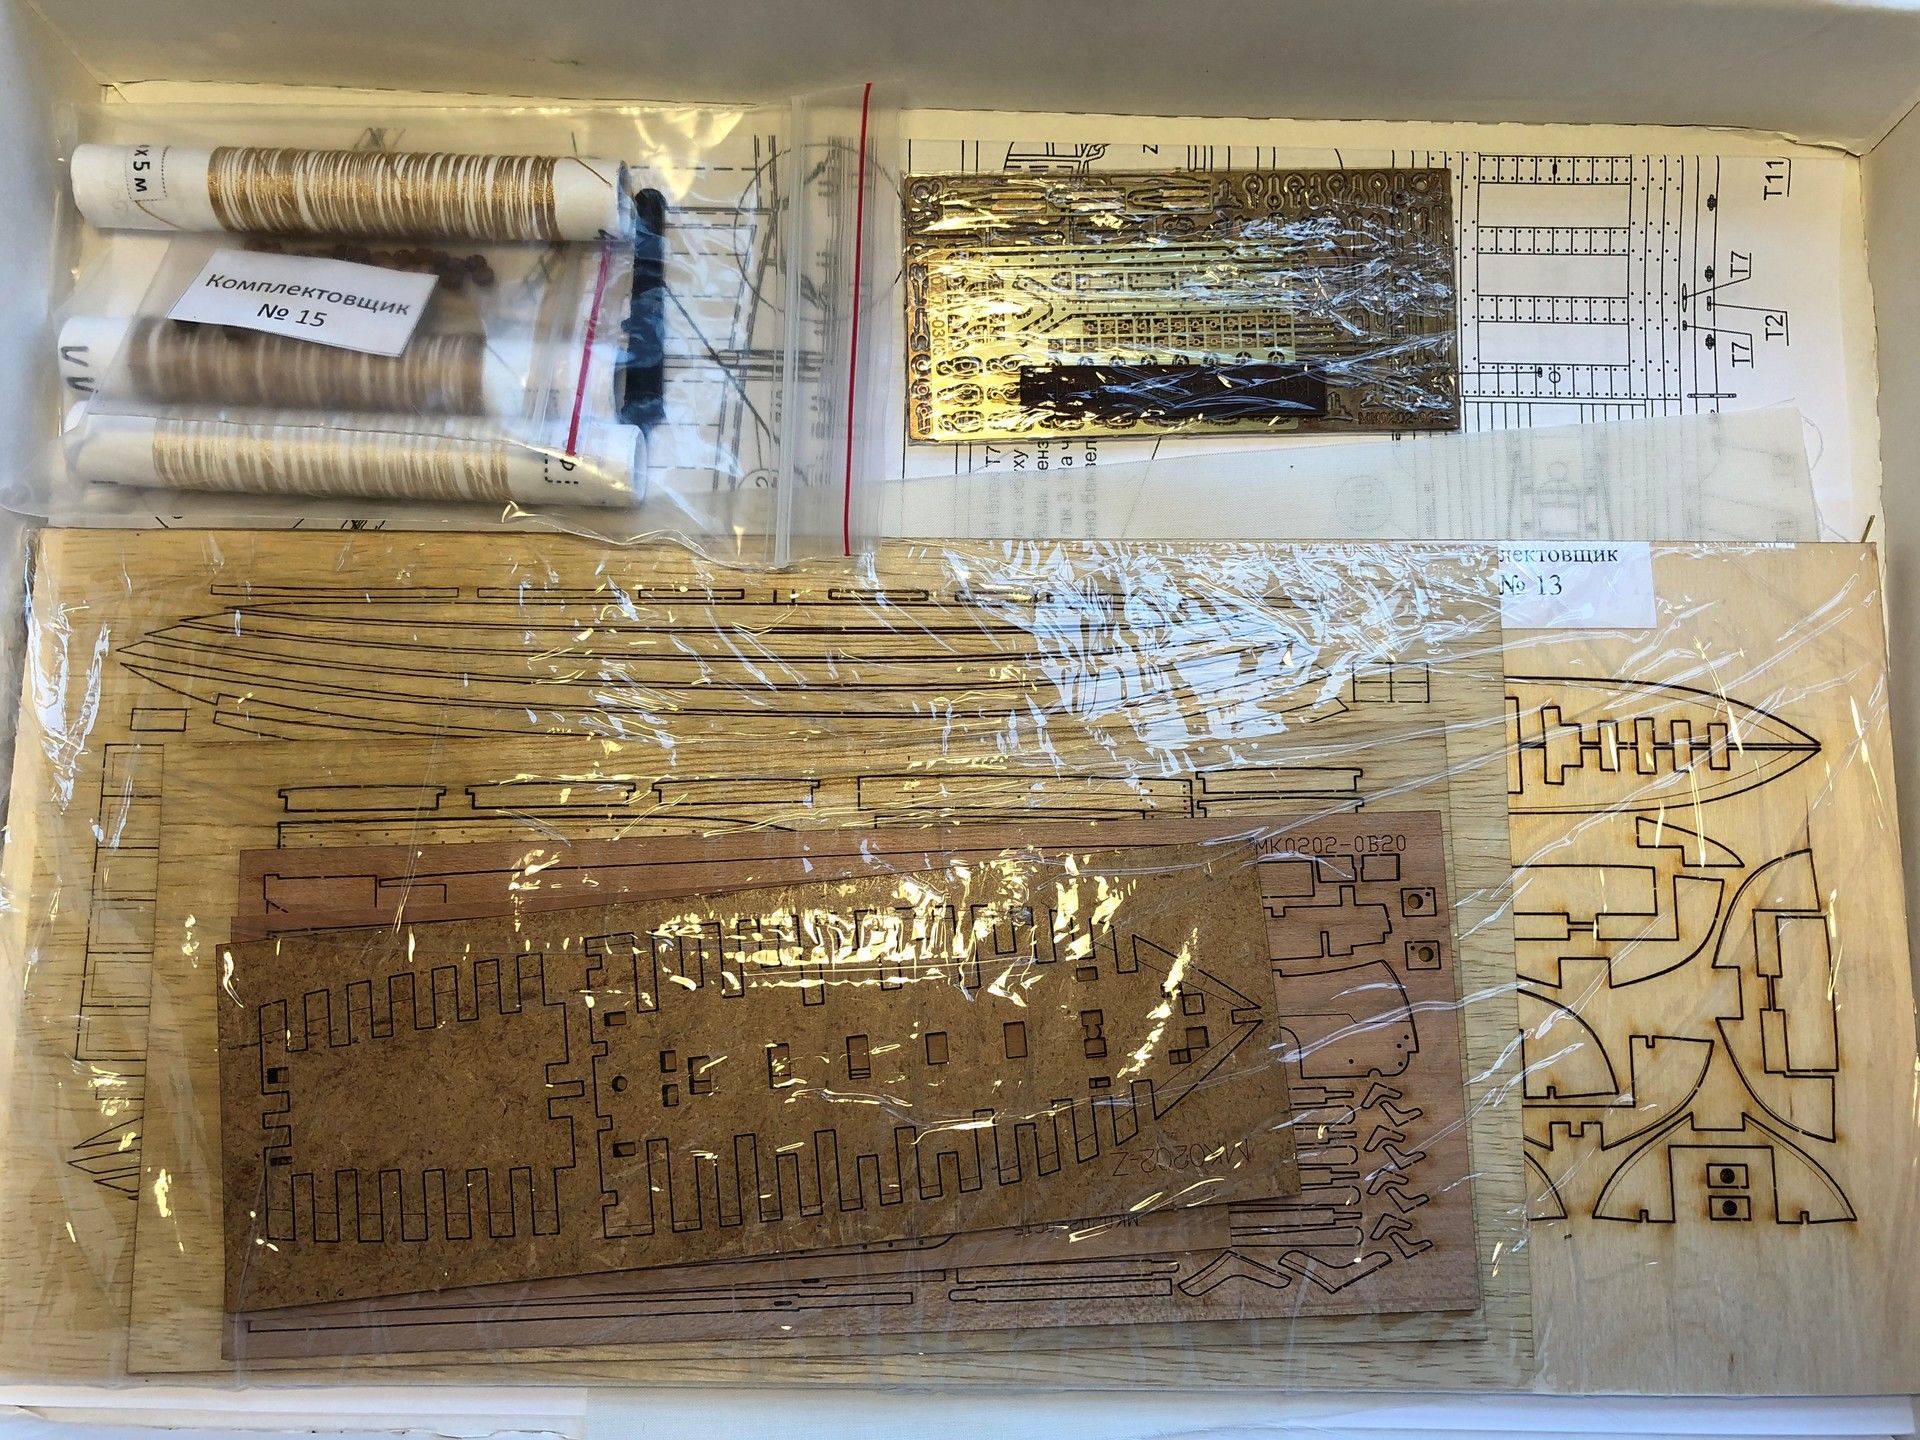
All wooden parts come on laser-cut sheets, and surprising amount of Photo-Etched parts is provided. Also you can see threads and metal gun of a very nice quality, and under the wooden sheets is a piece of fabric to make sails.
Nice colored manual depicts ship in all her glory.
Following the manual I assembled the hull stringers on a special wooden piece of a very elaborate shape. In the front you can see the base of a gun carriage.
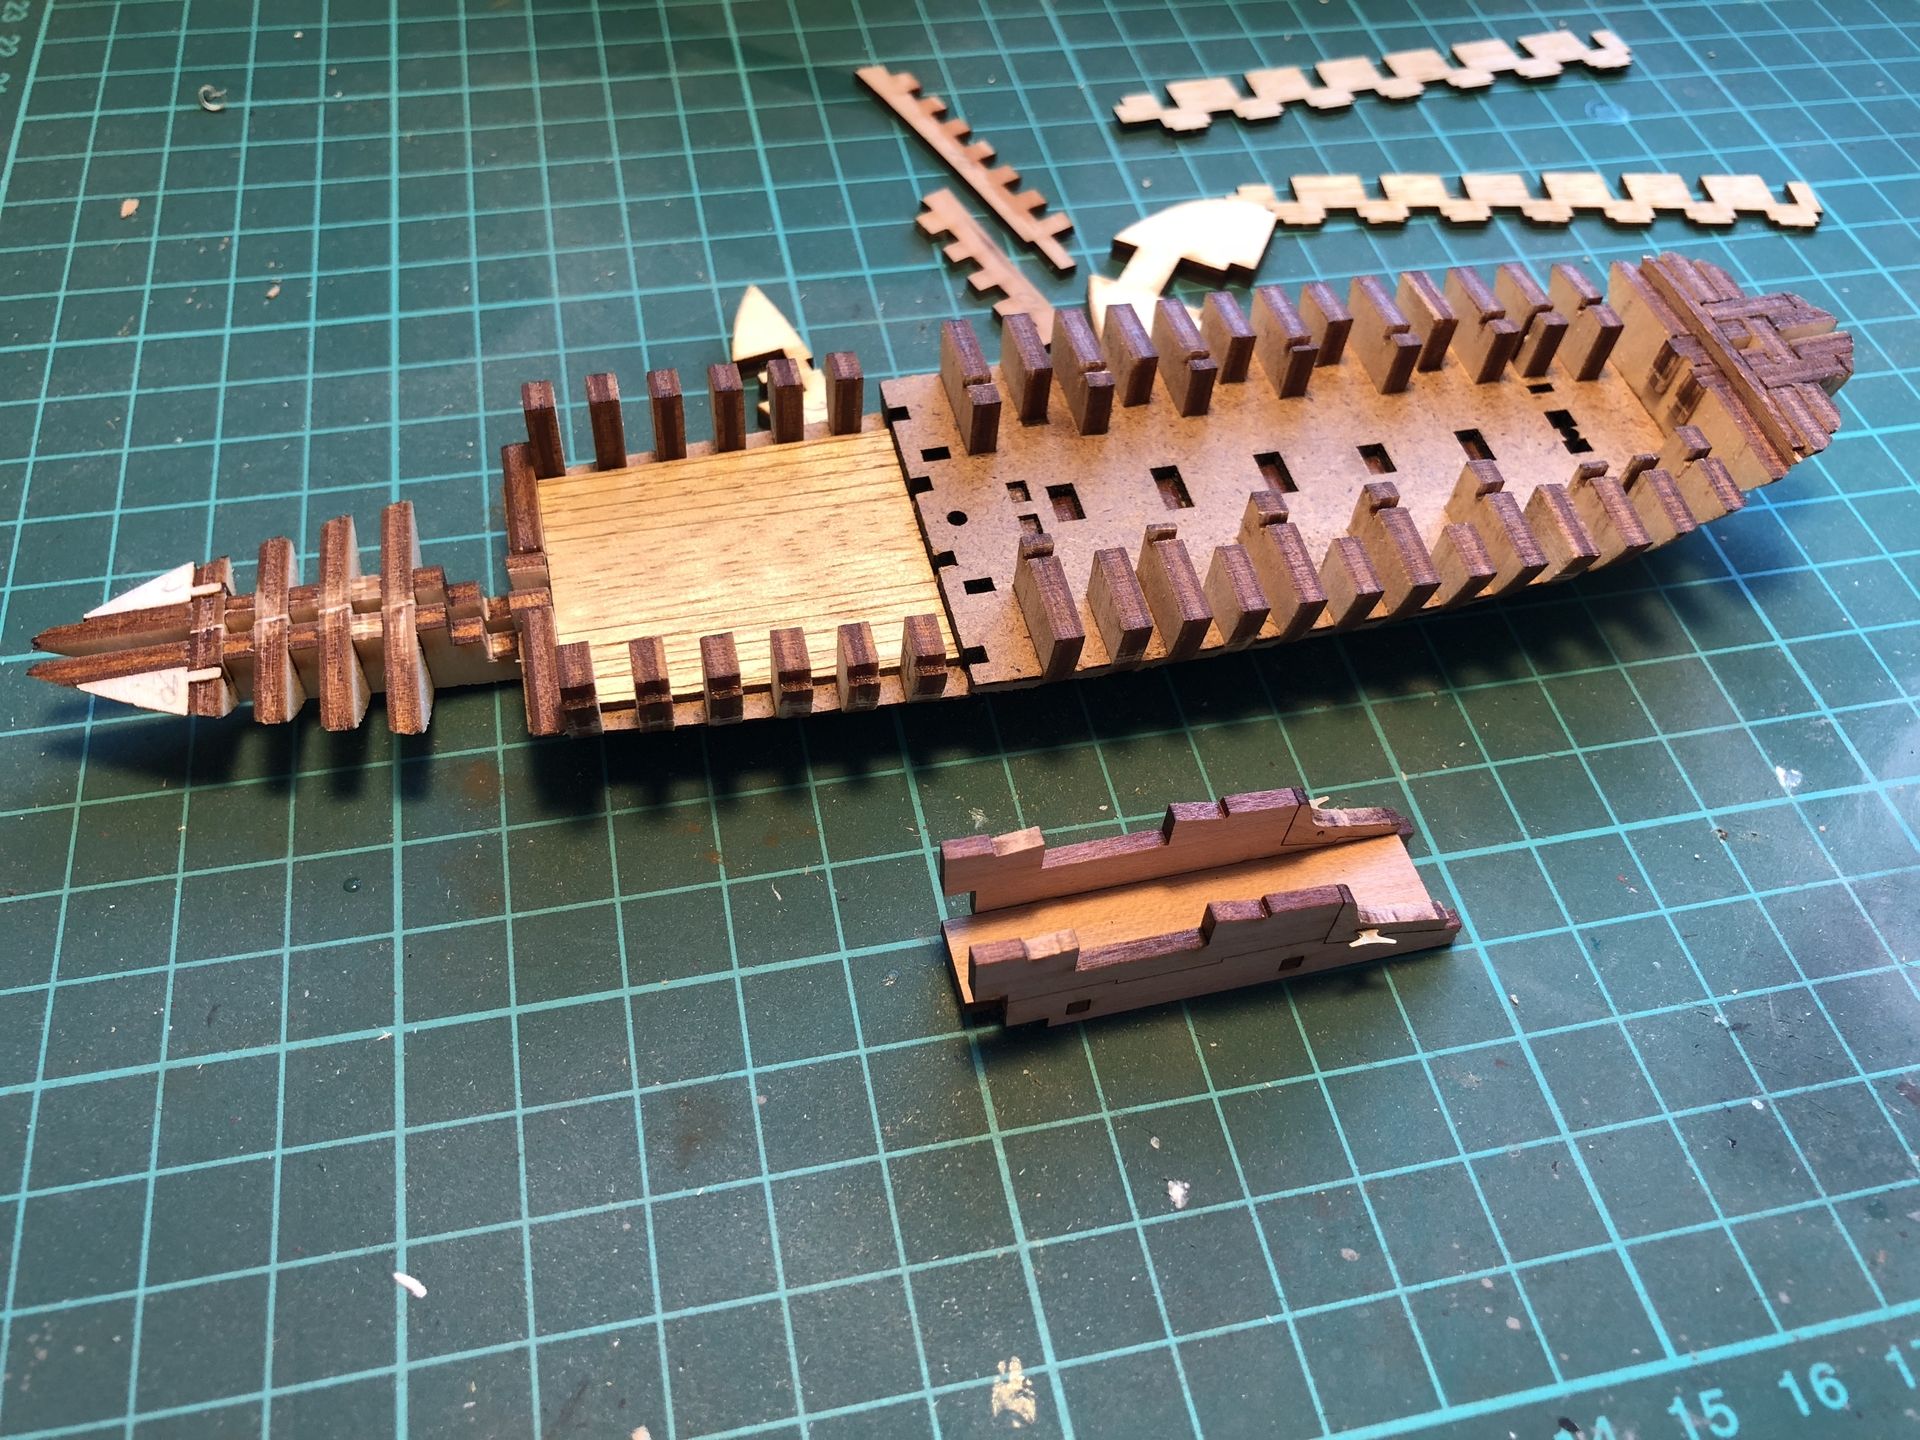
Once the ‘skeleton’ of the hull was complete I started with planking.
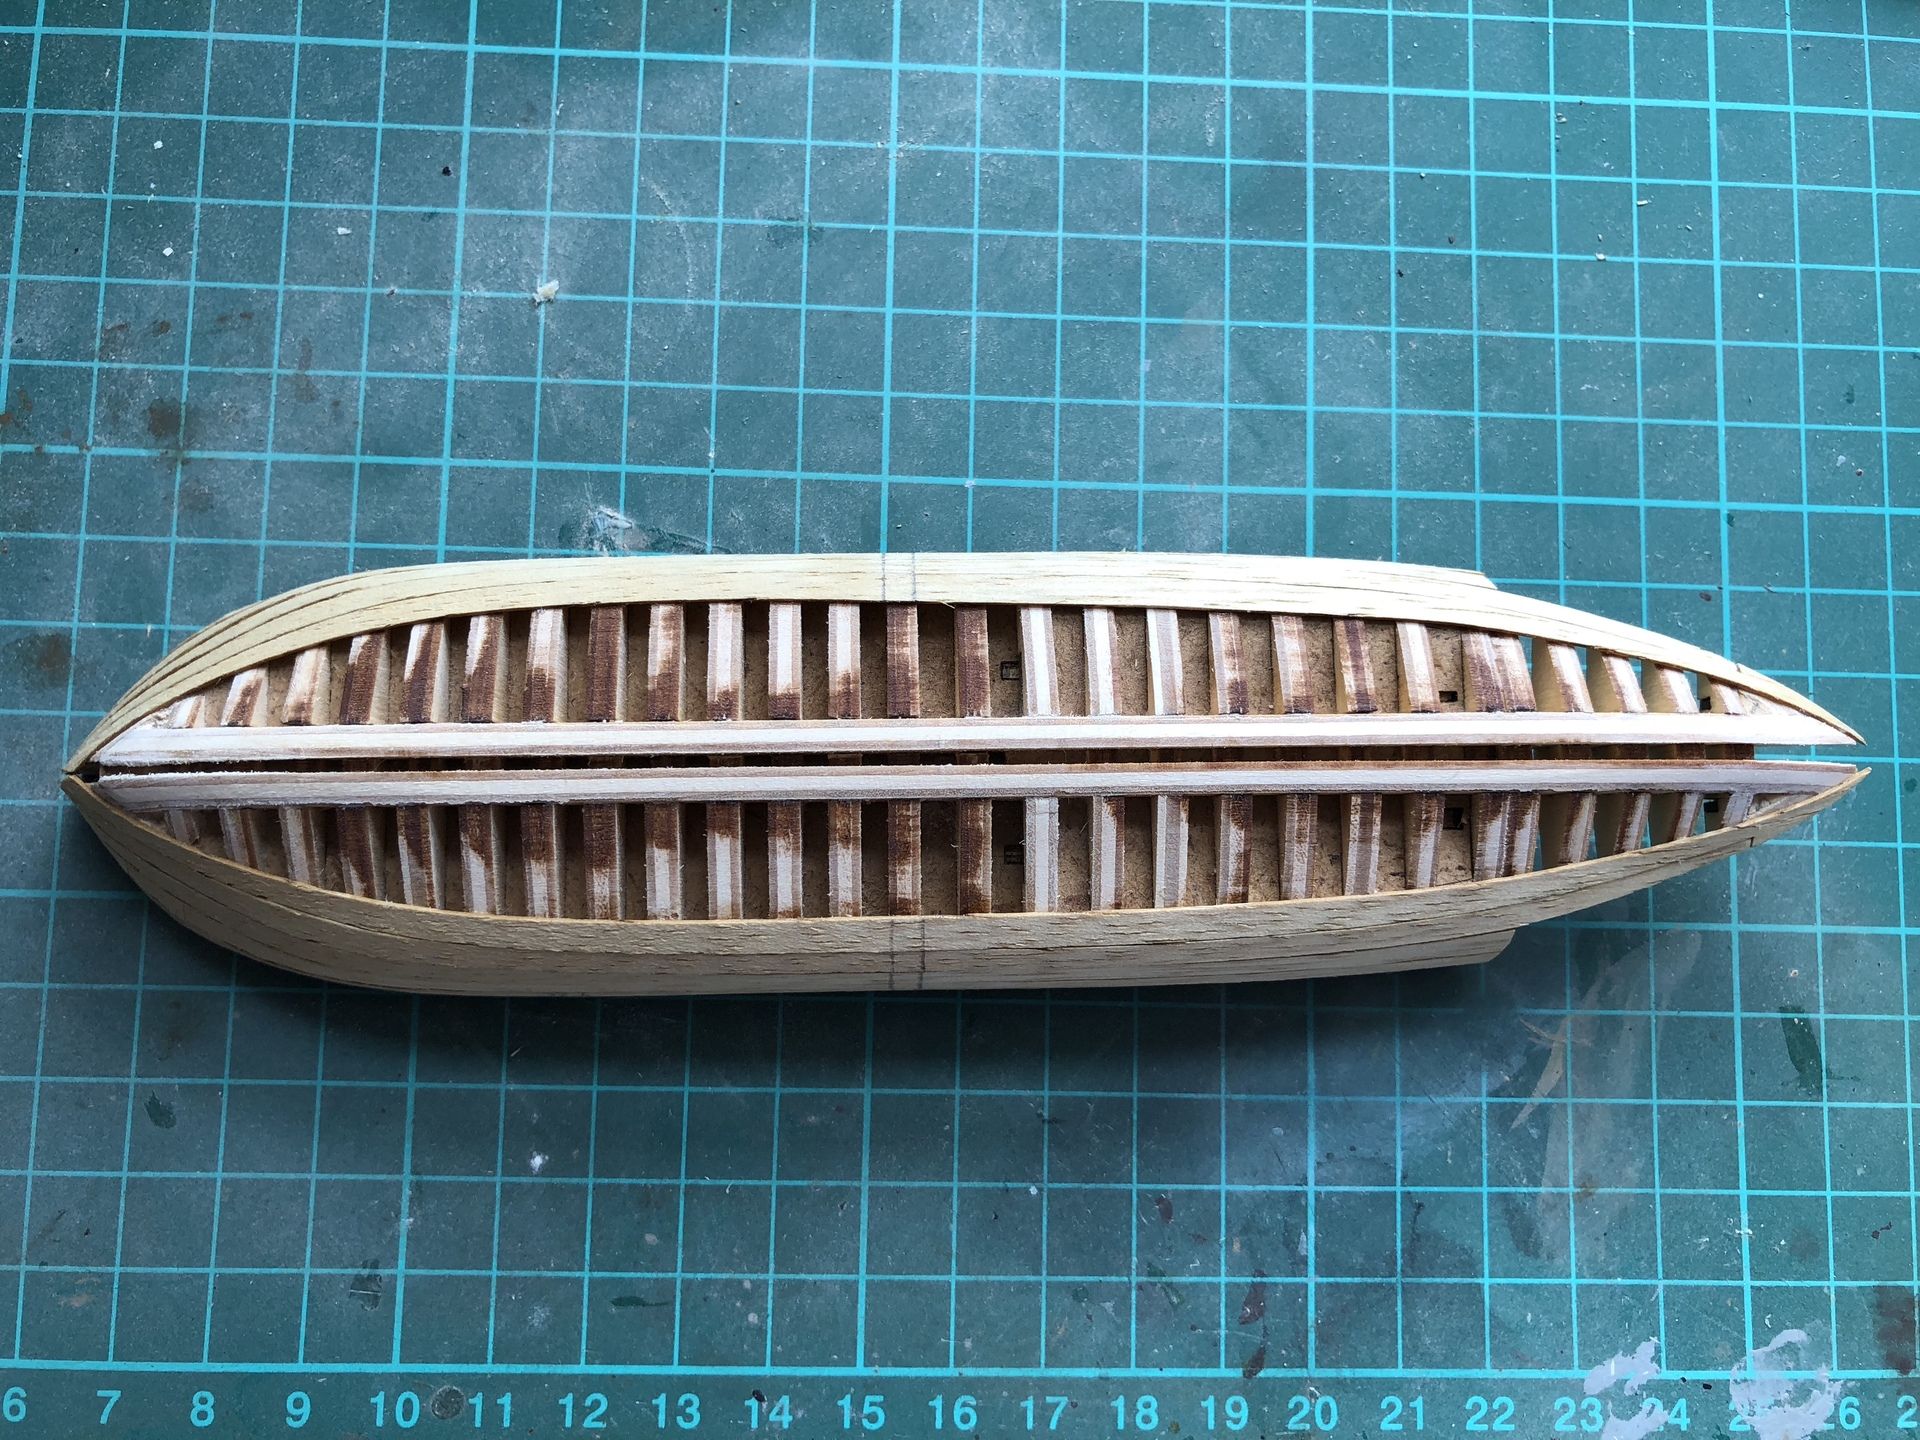
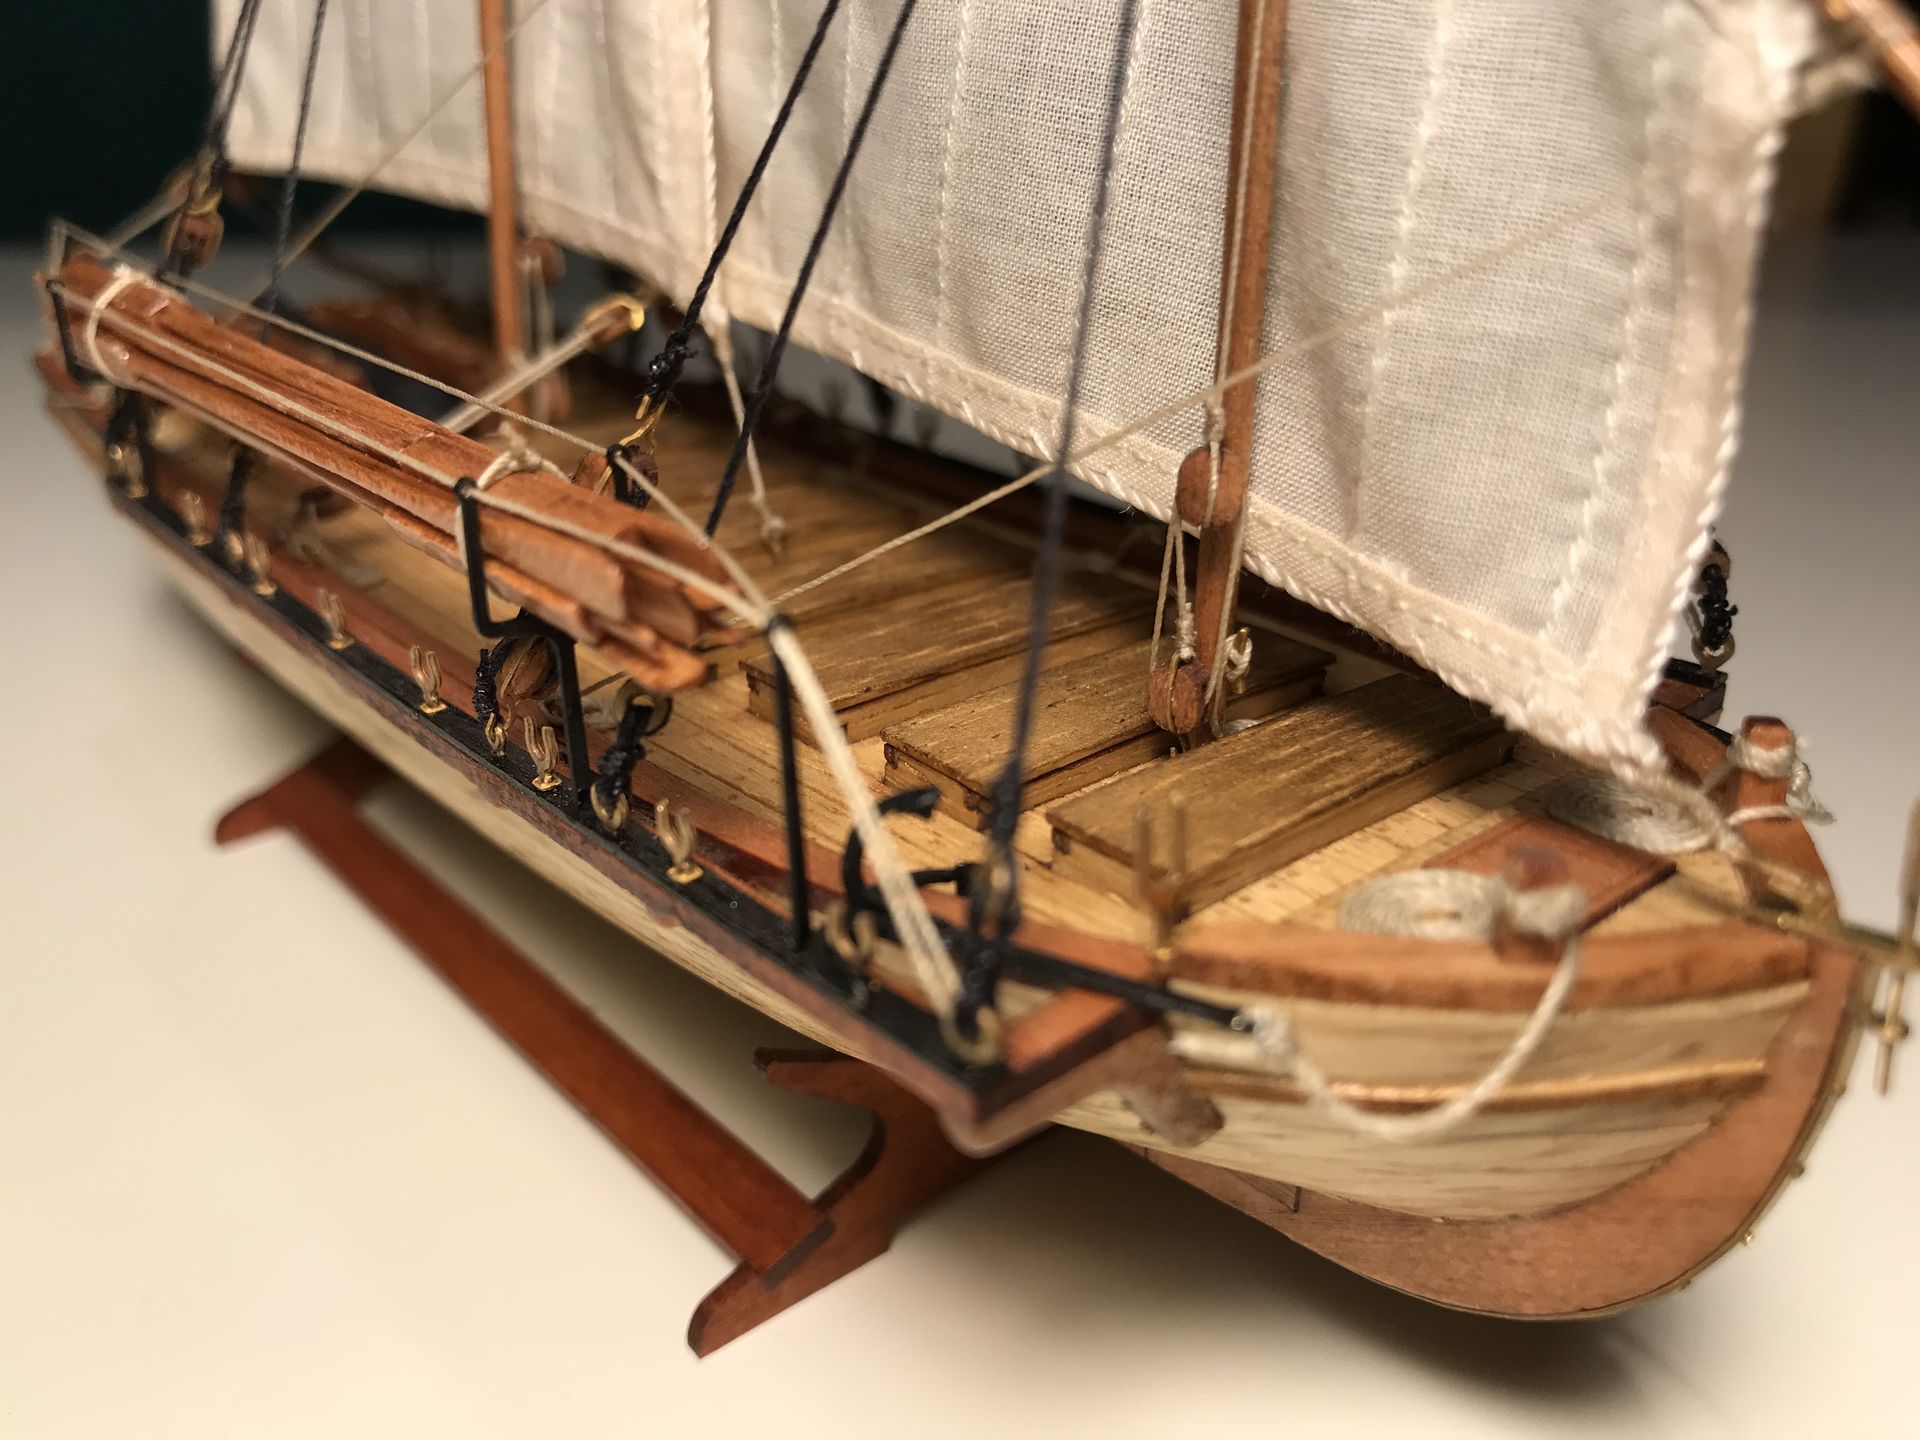
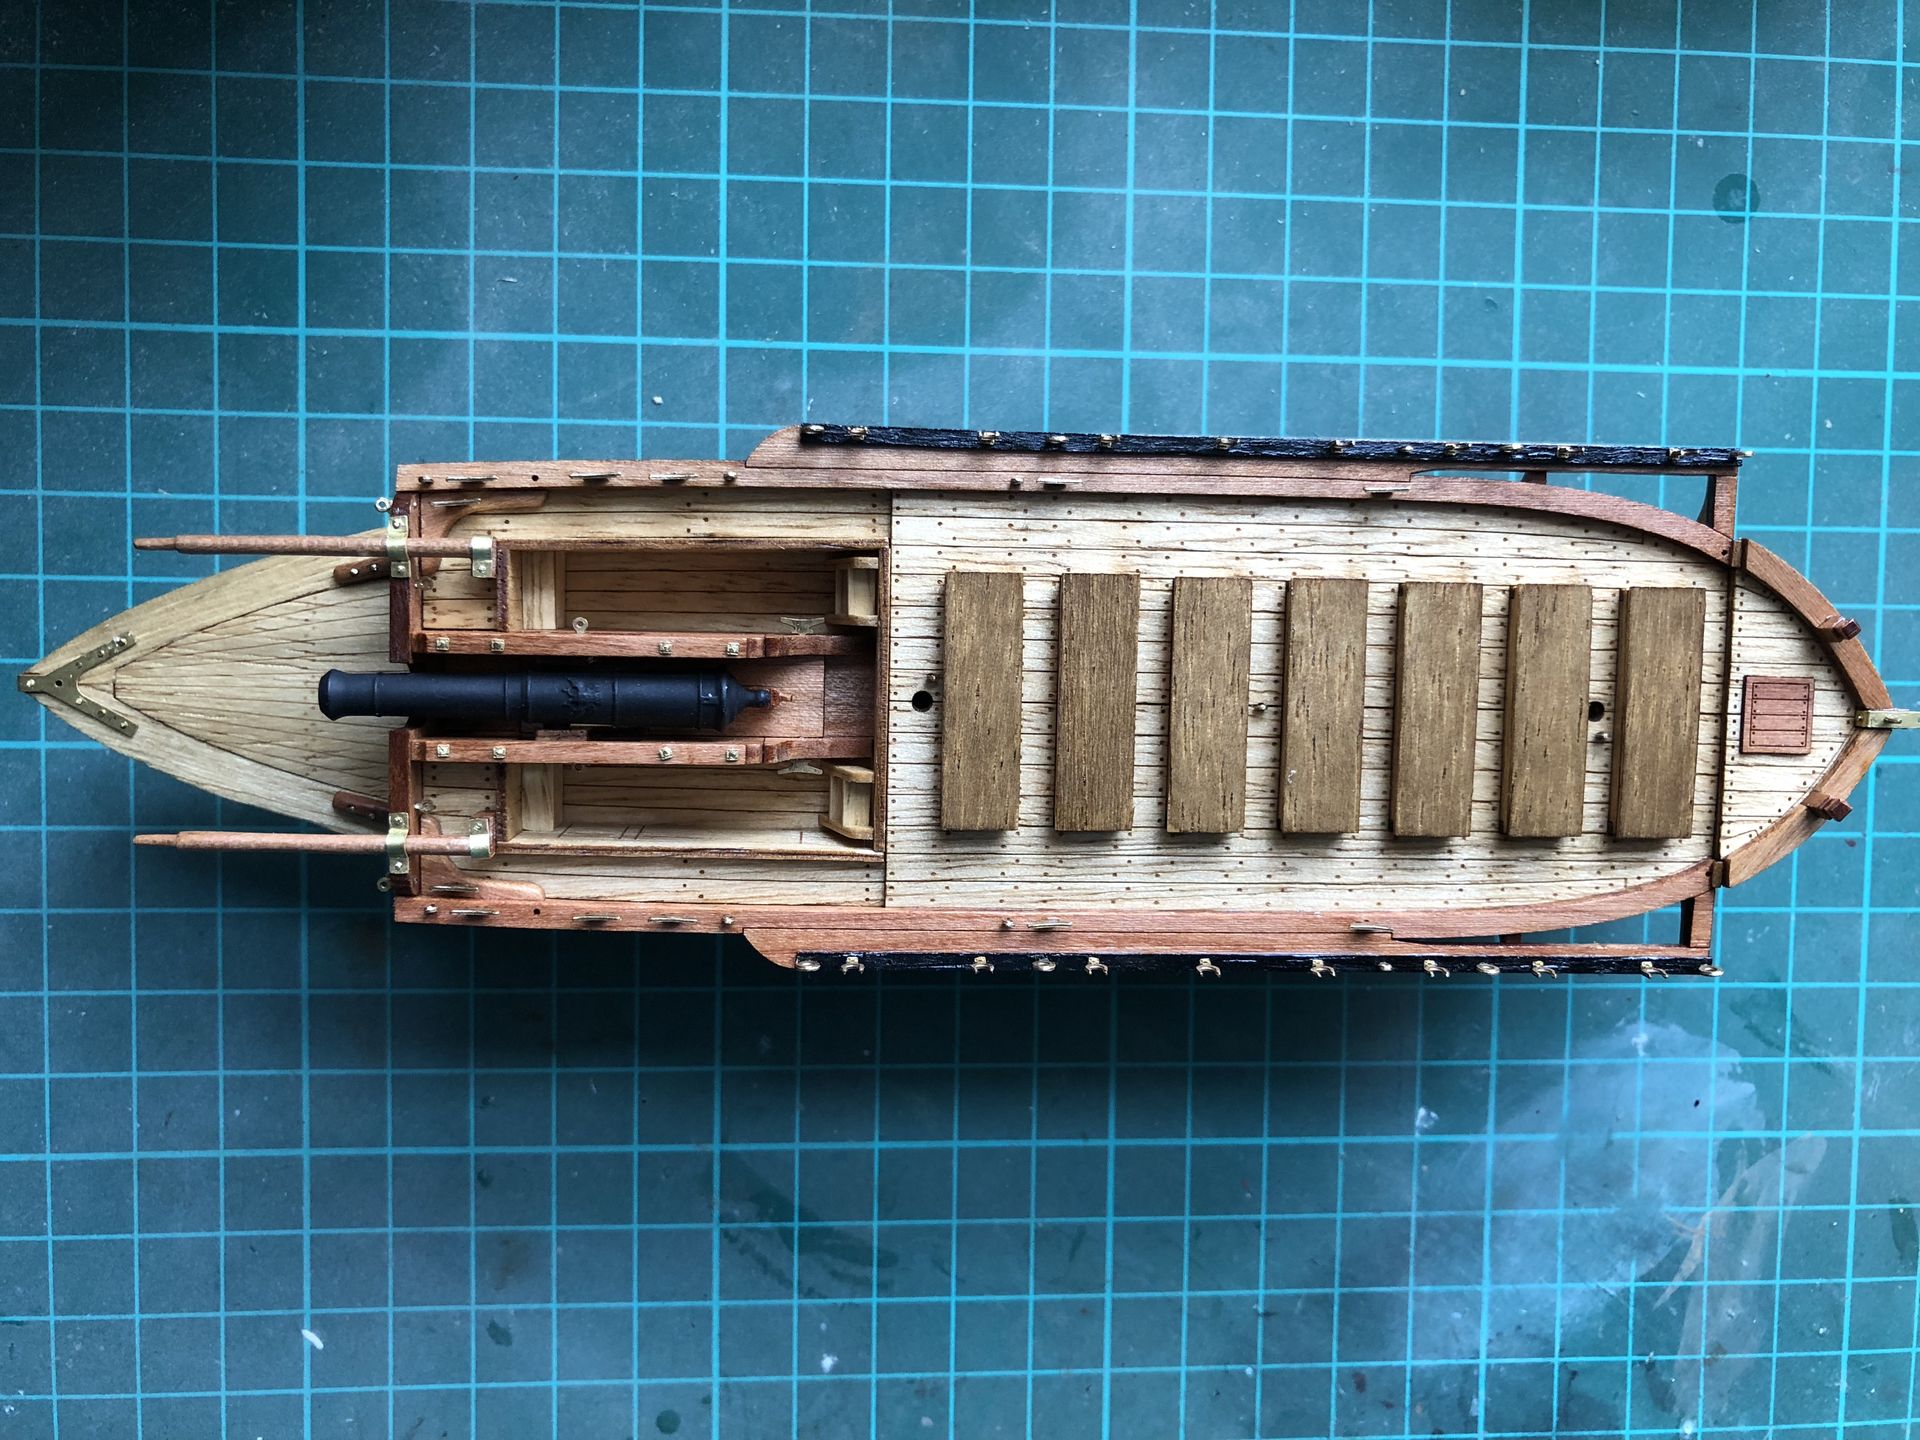
It took me two evenings to complete planking even on this small (215mm length) ship.
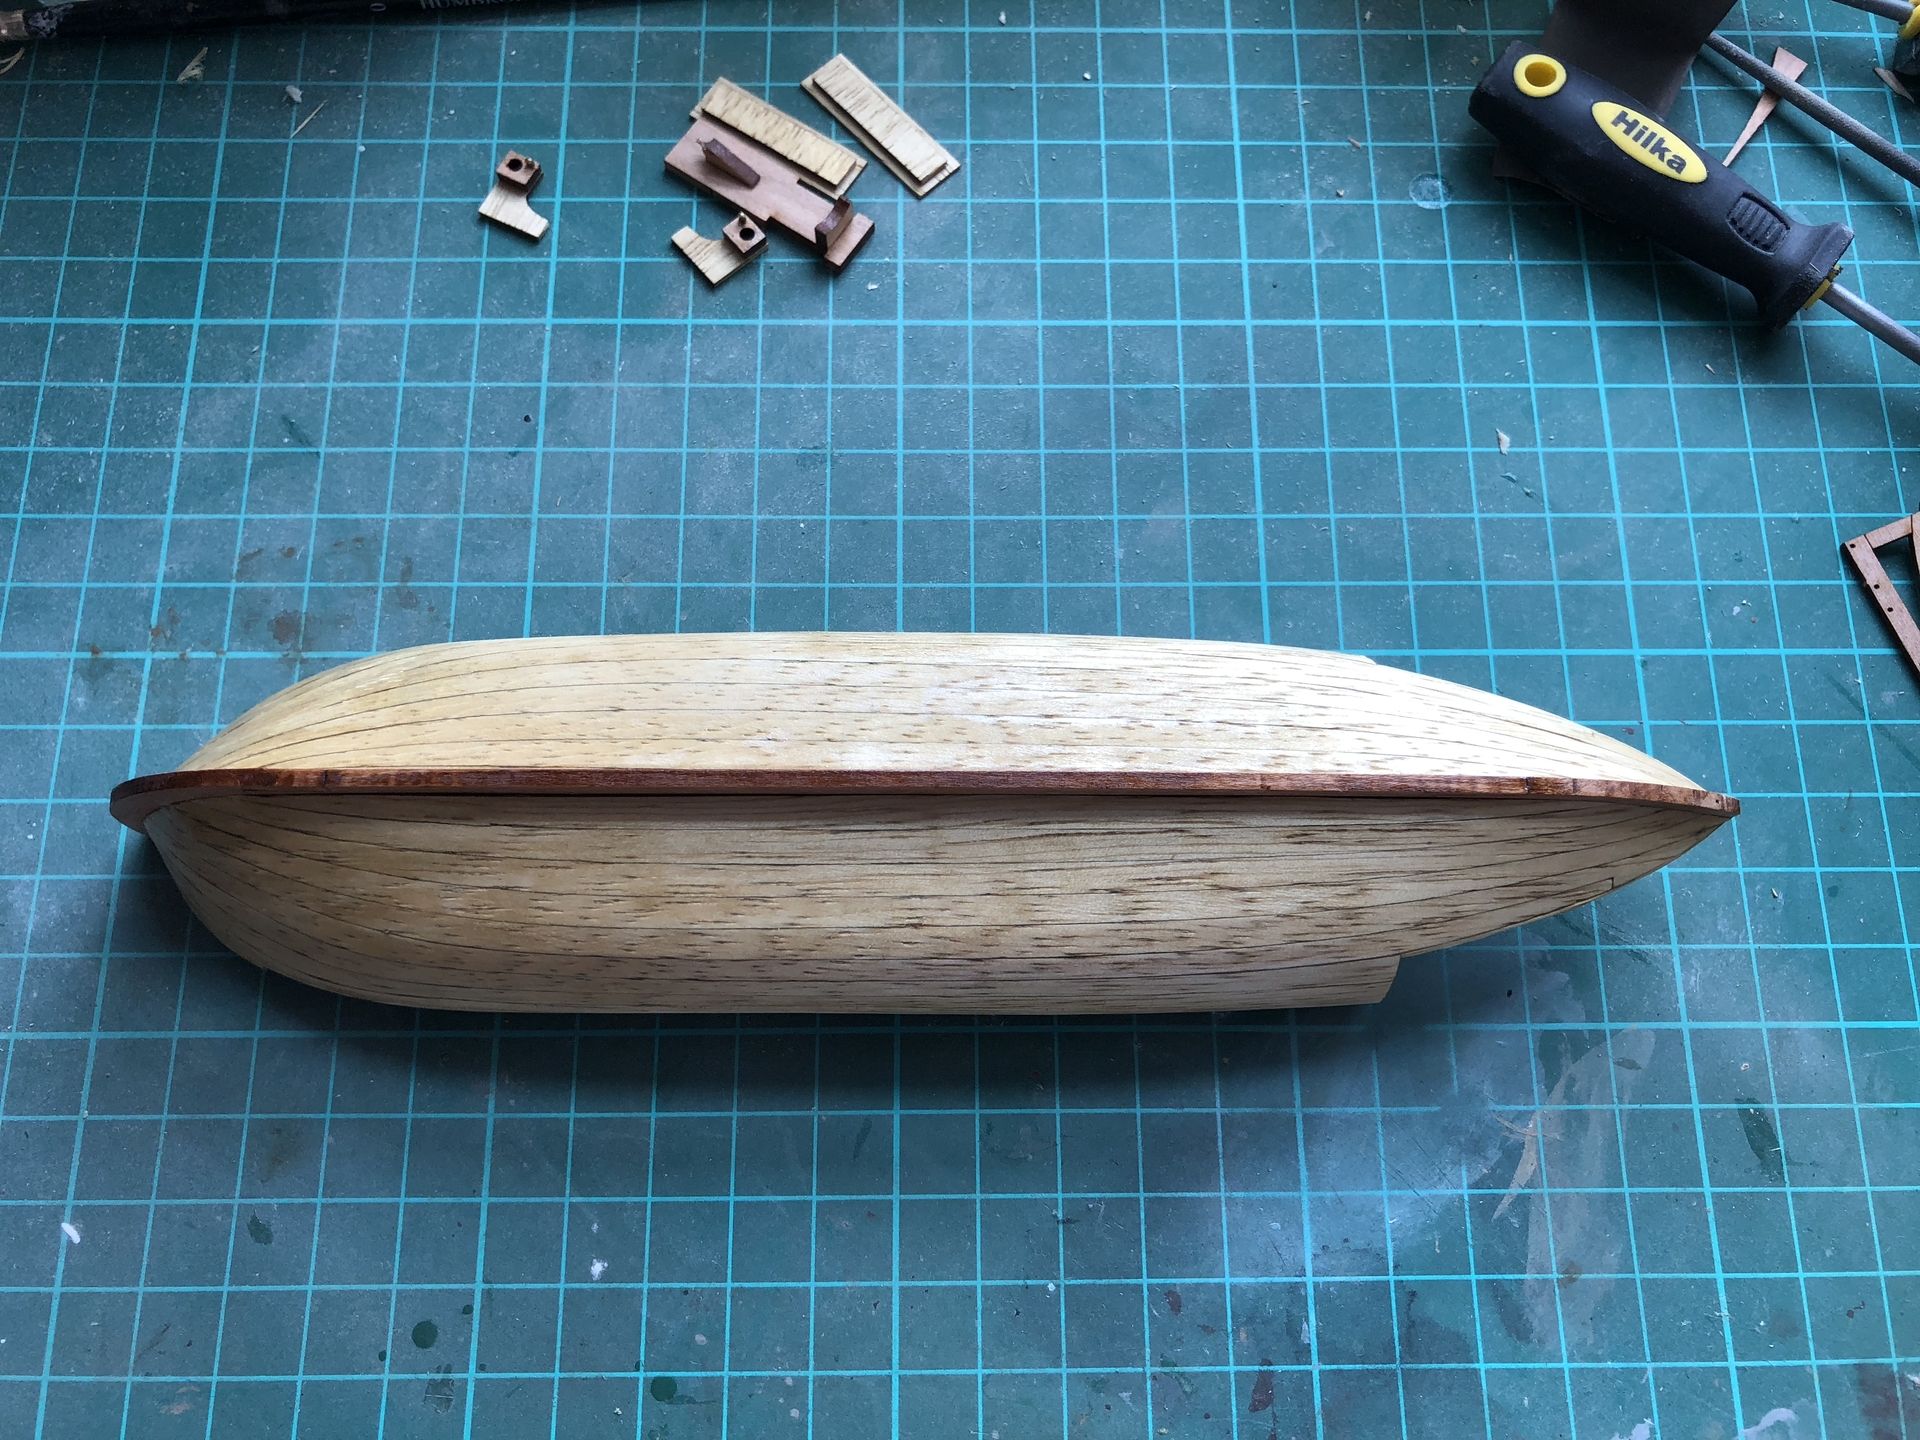
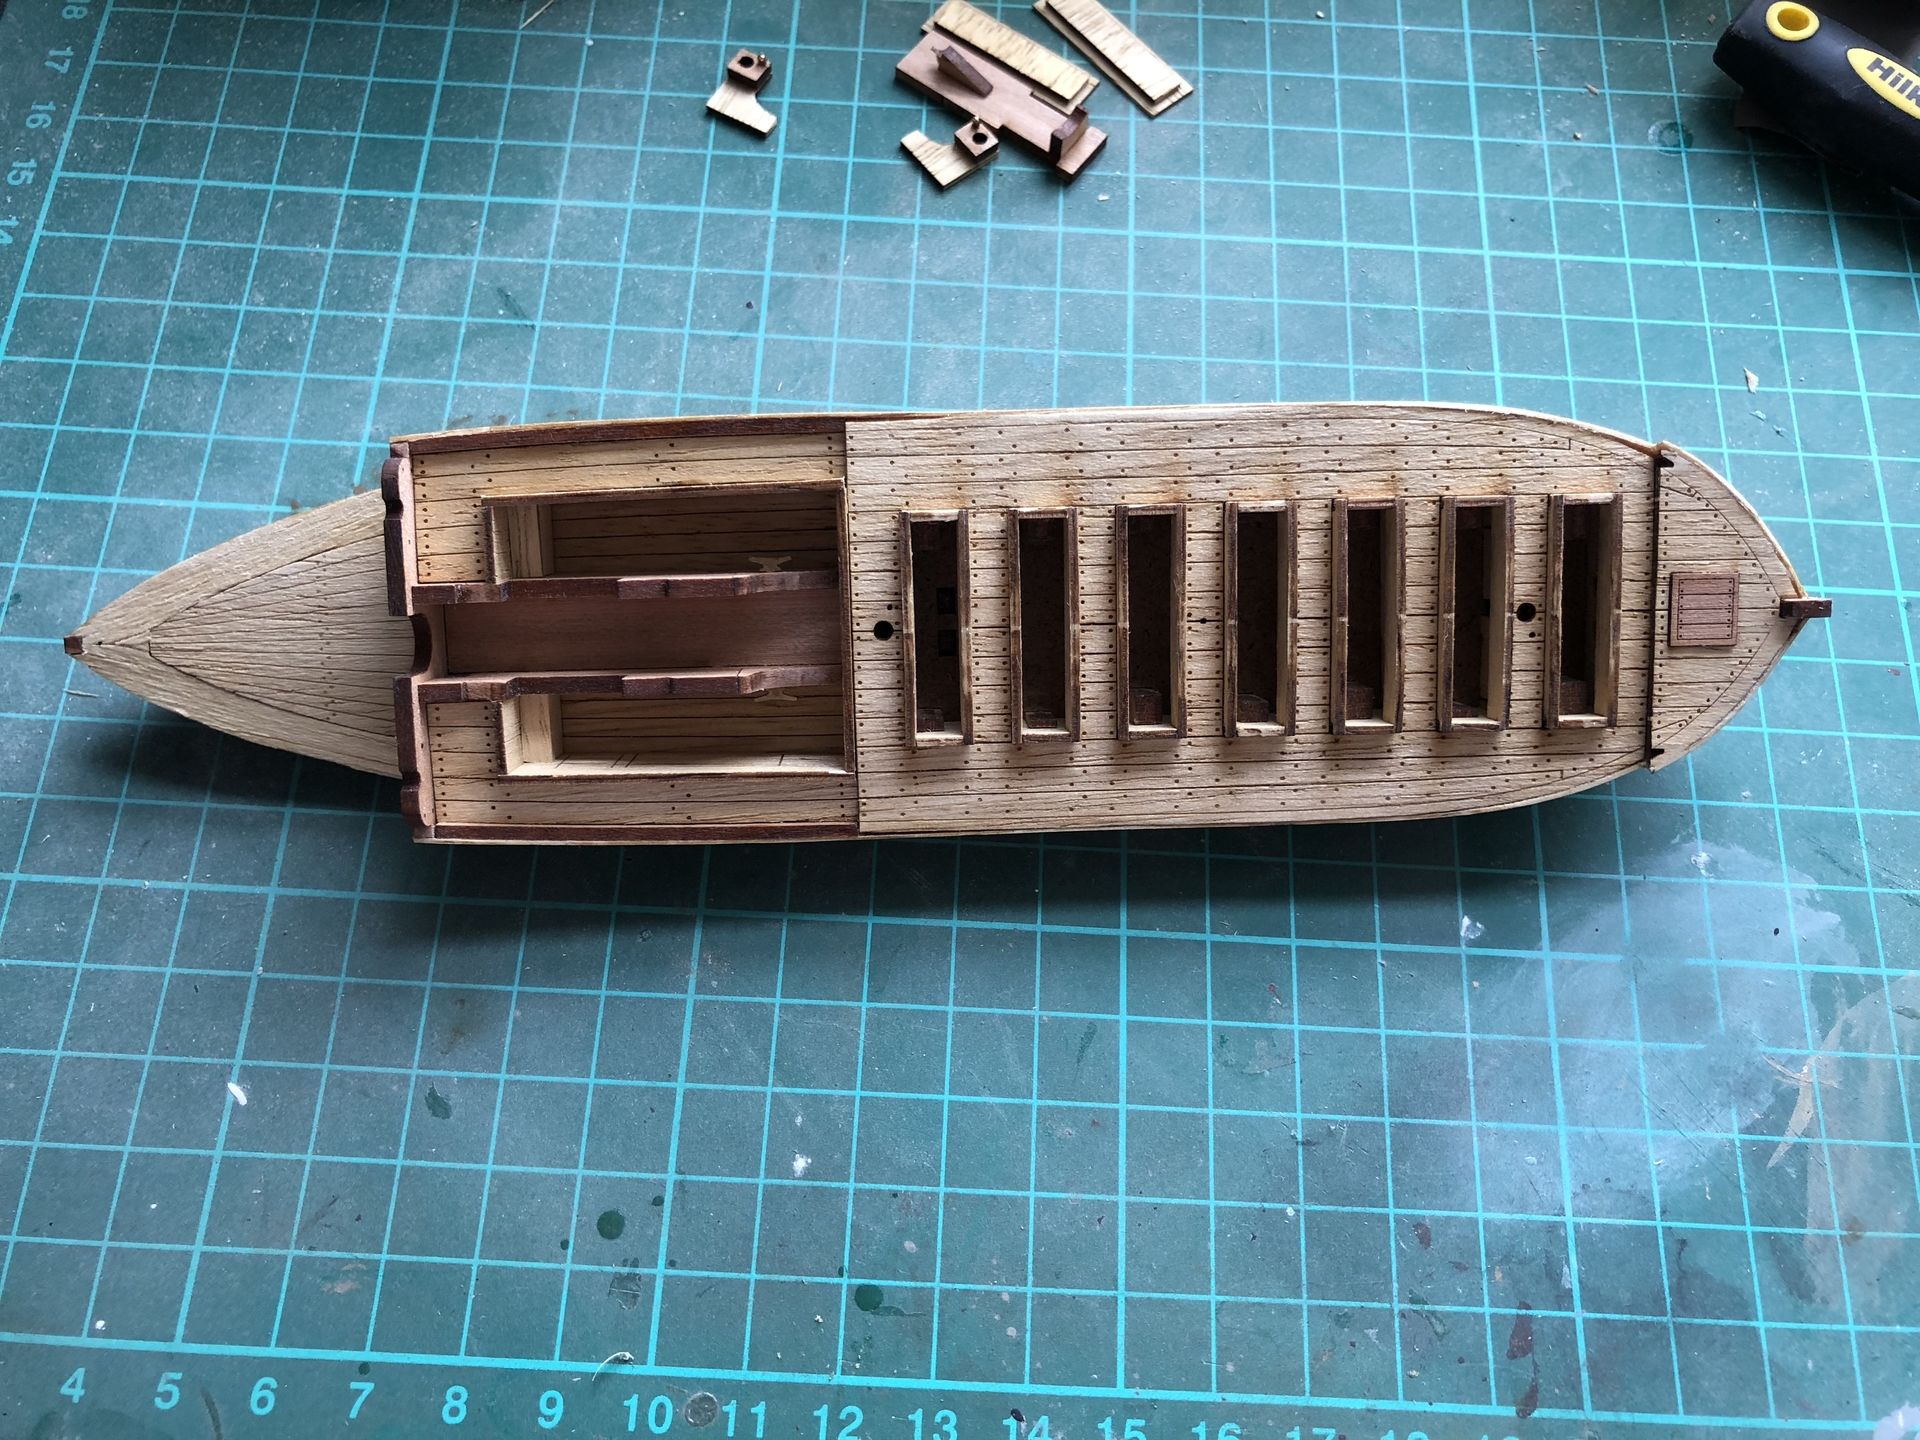
Then I glued all deck pieces, and at this point most of the hull works were done.
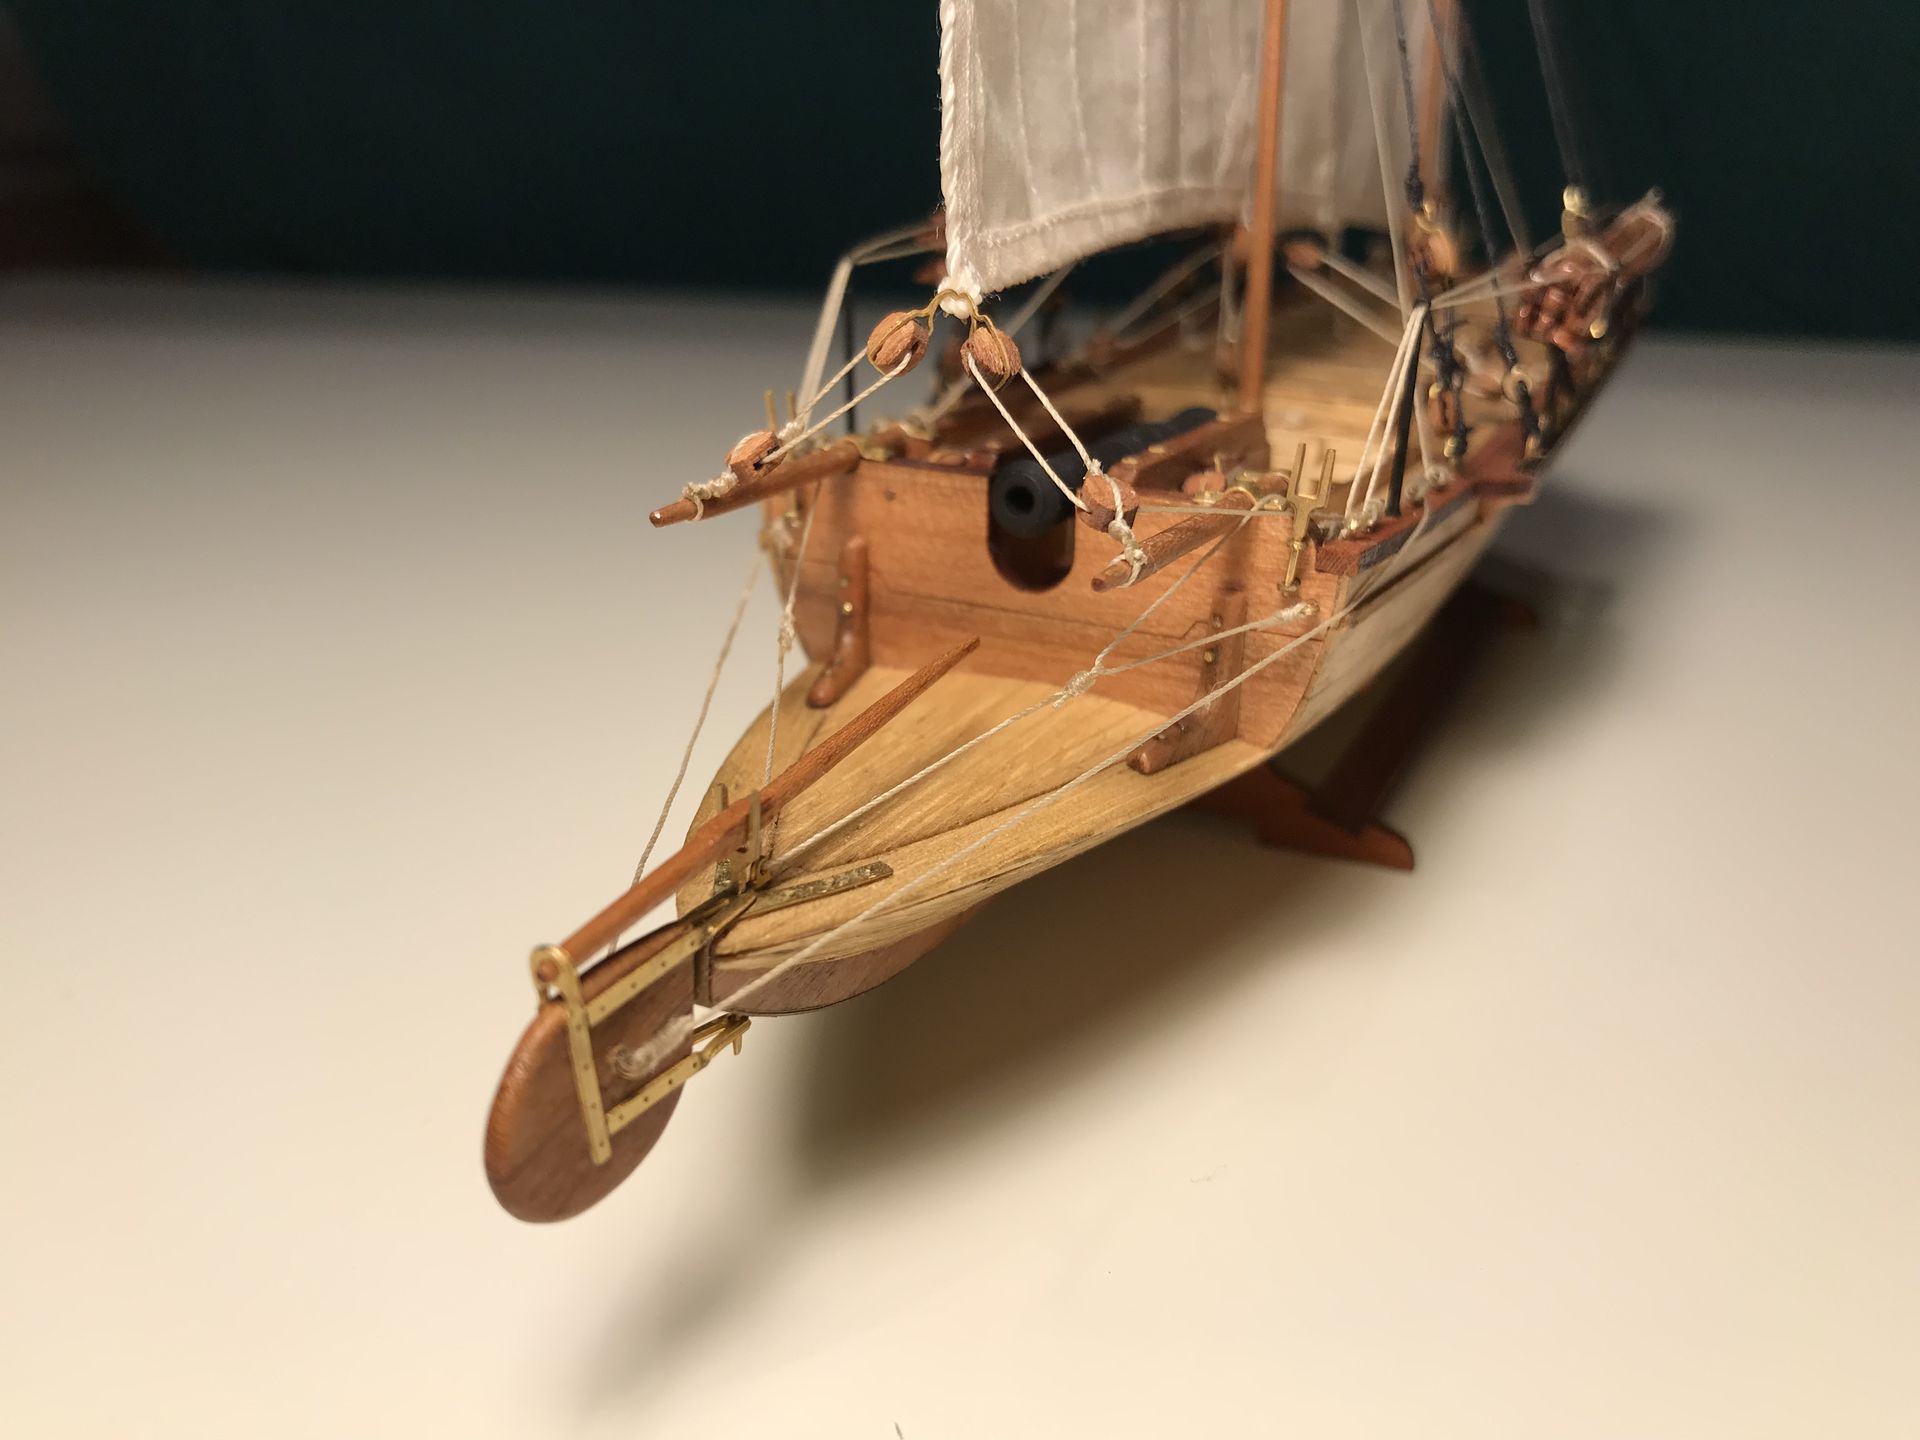
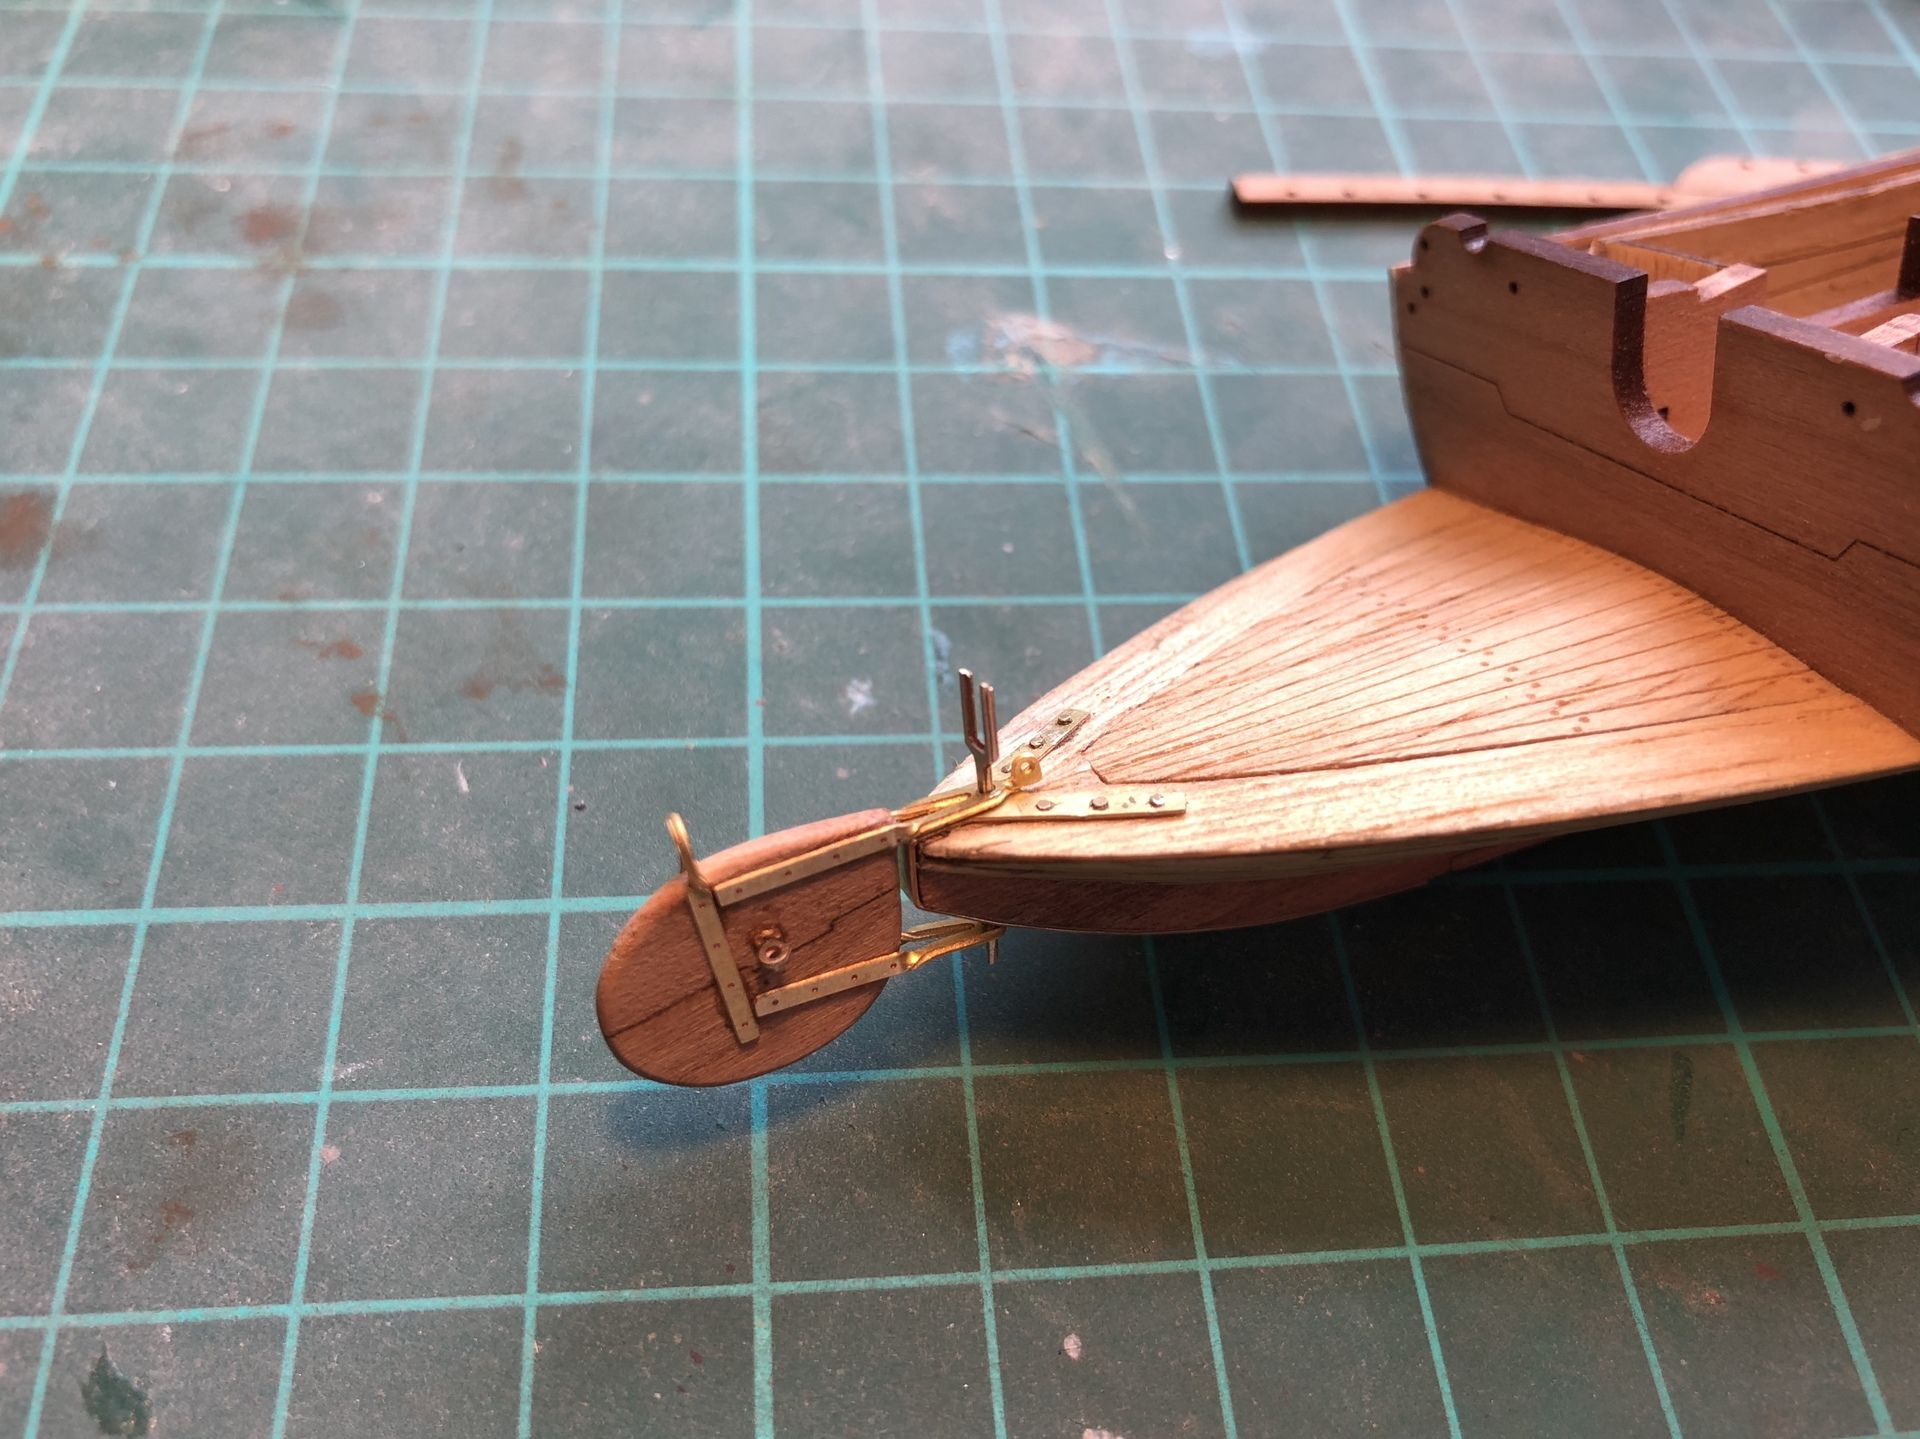
Working with PhotoEtch was the first part of a build process I already had experience with, so from now on I was much more confident. Here is the most complicated PE part - rudder. The only new thing here for me was making of tiny ’nails’ from a metal wire, and I have to admit that it’s kind of cool to nail PE parts down to the wood.
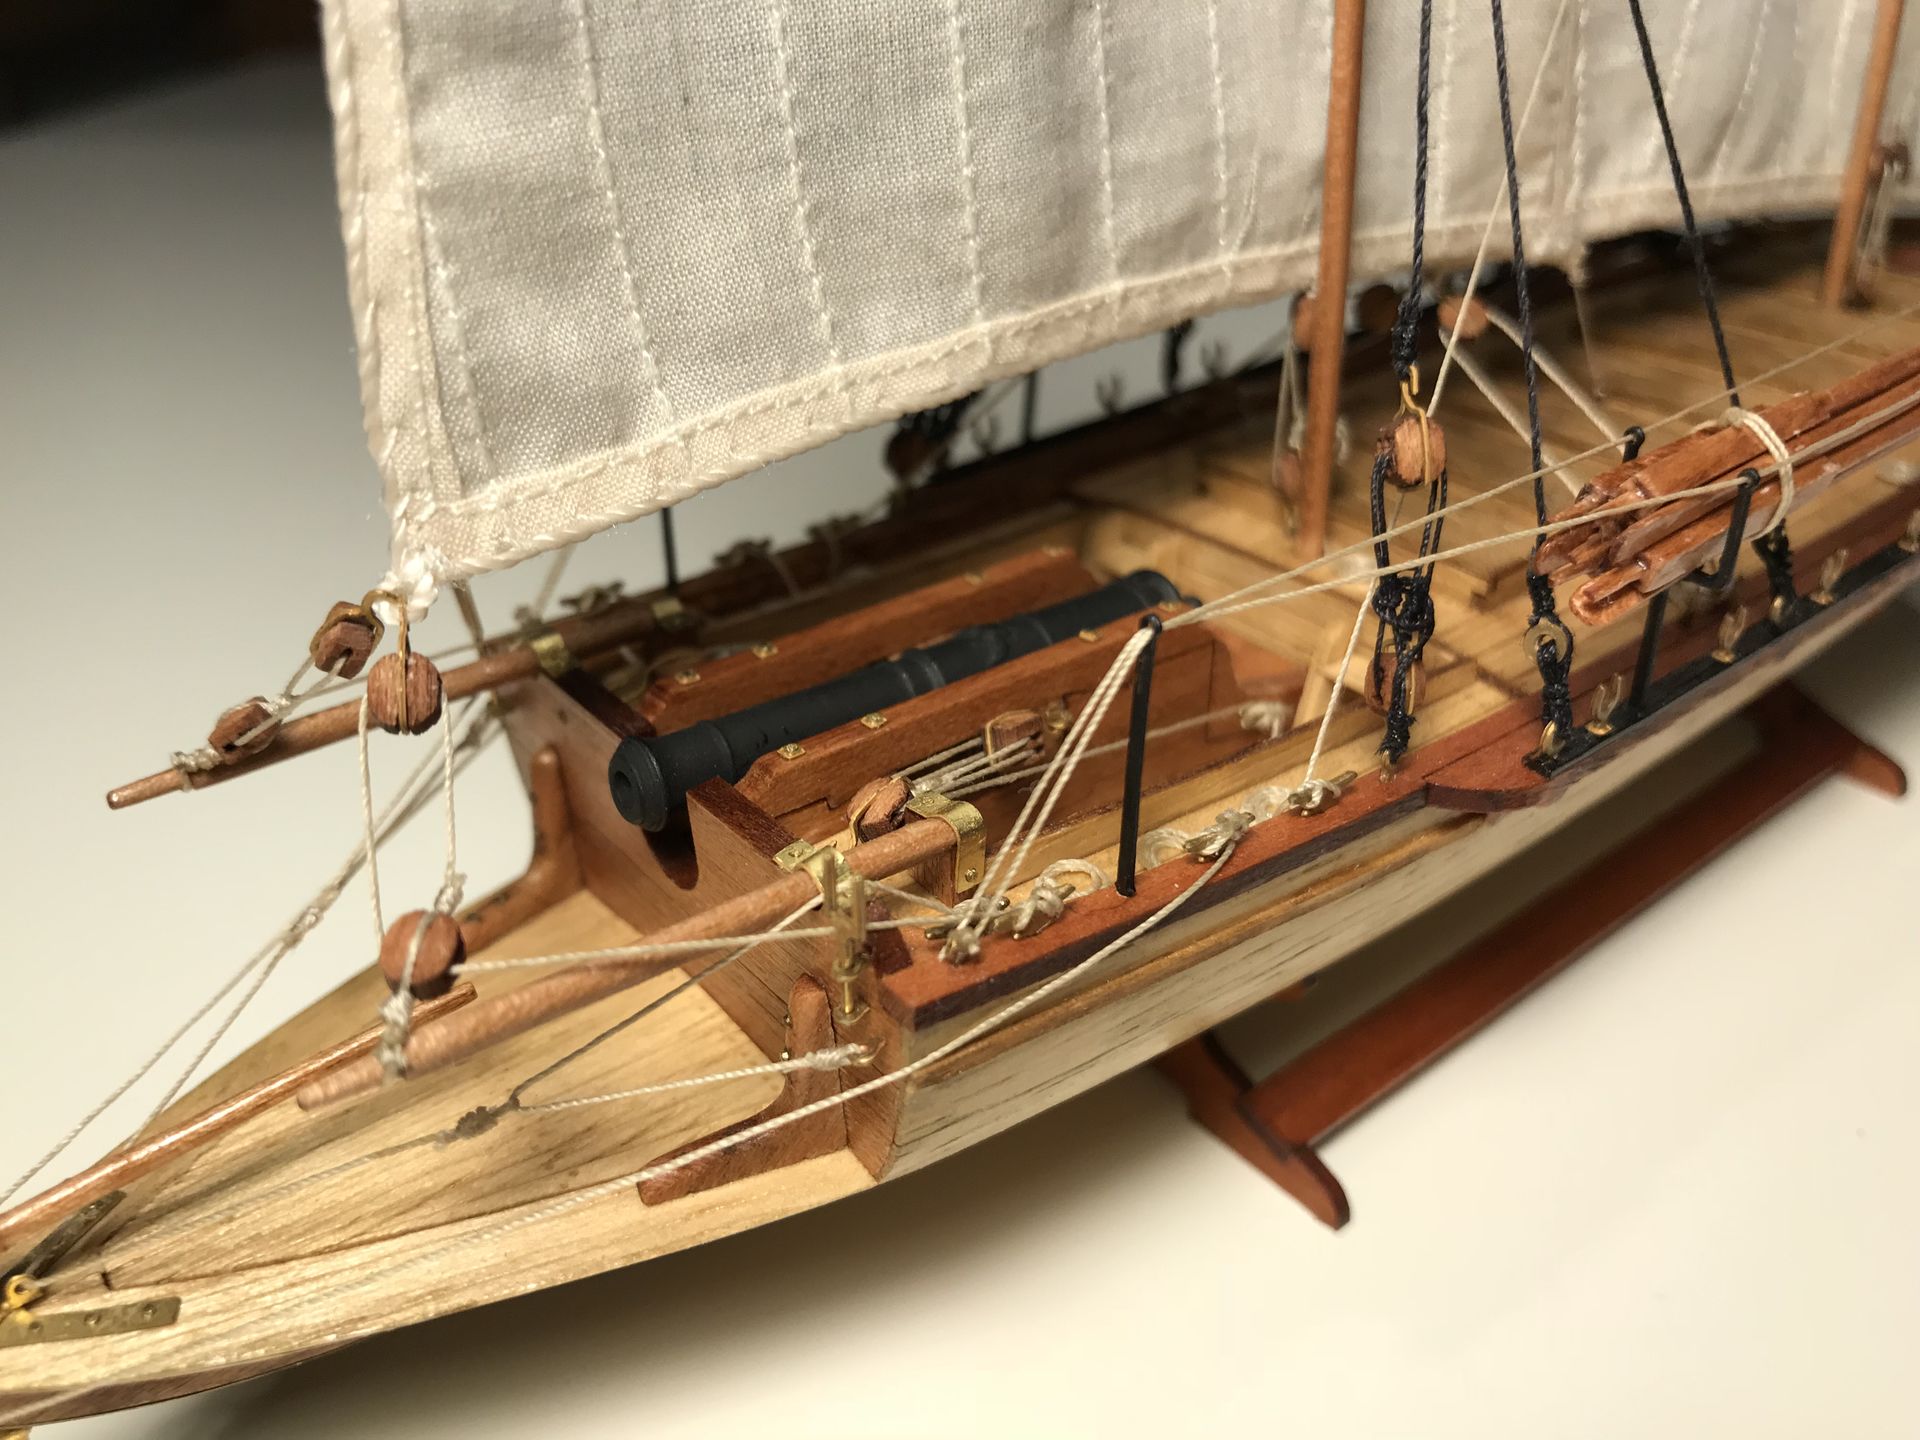
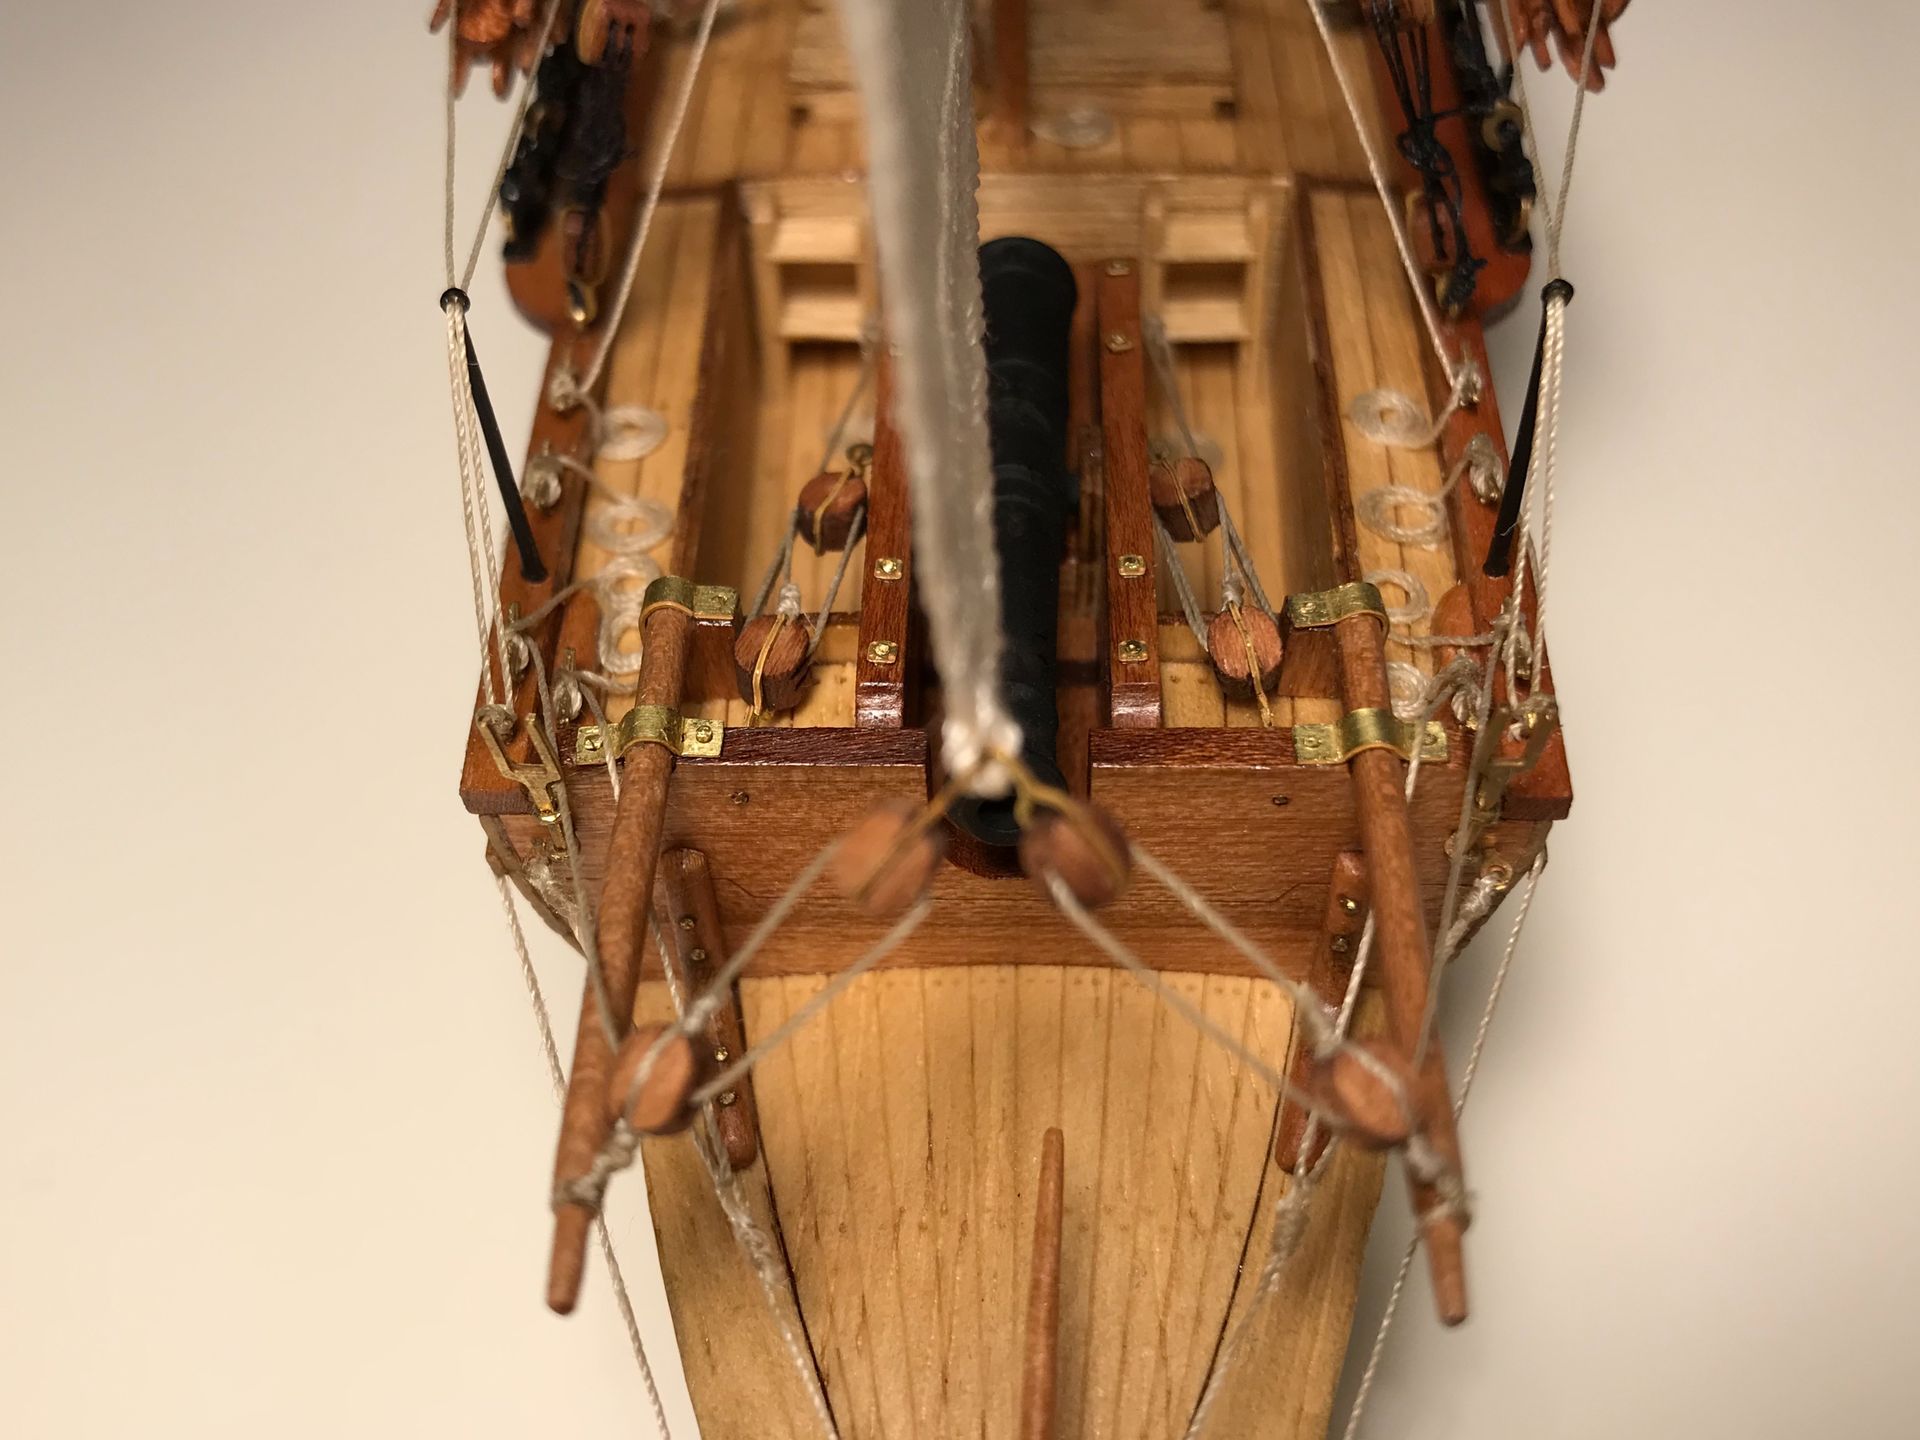
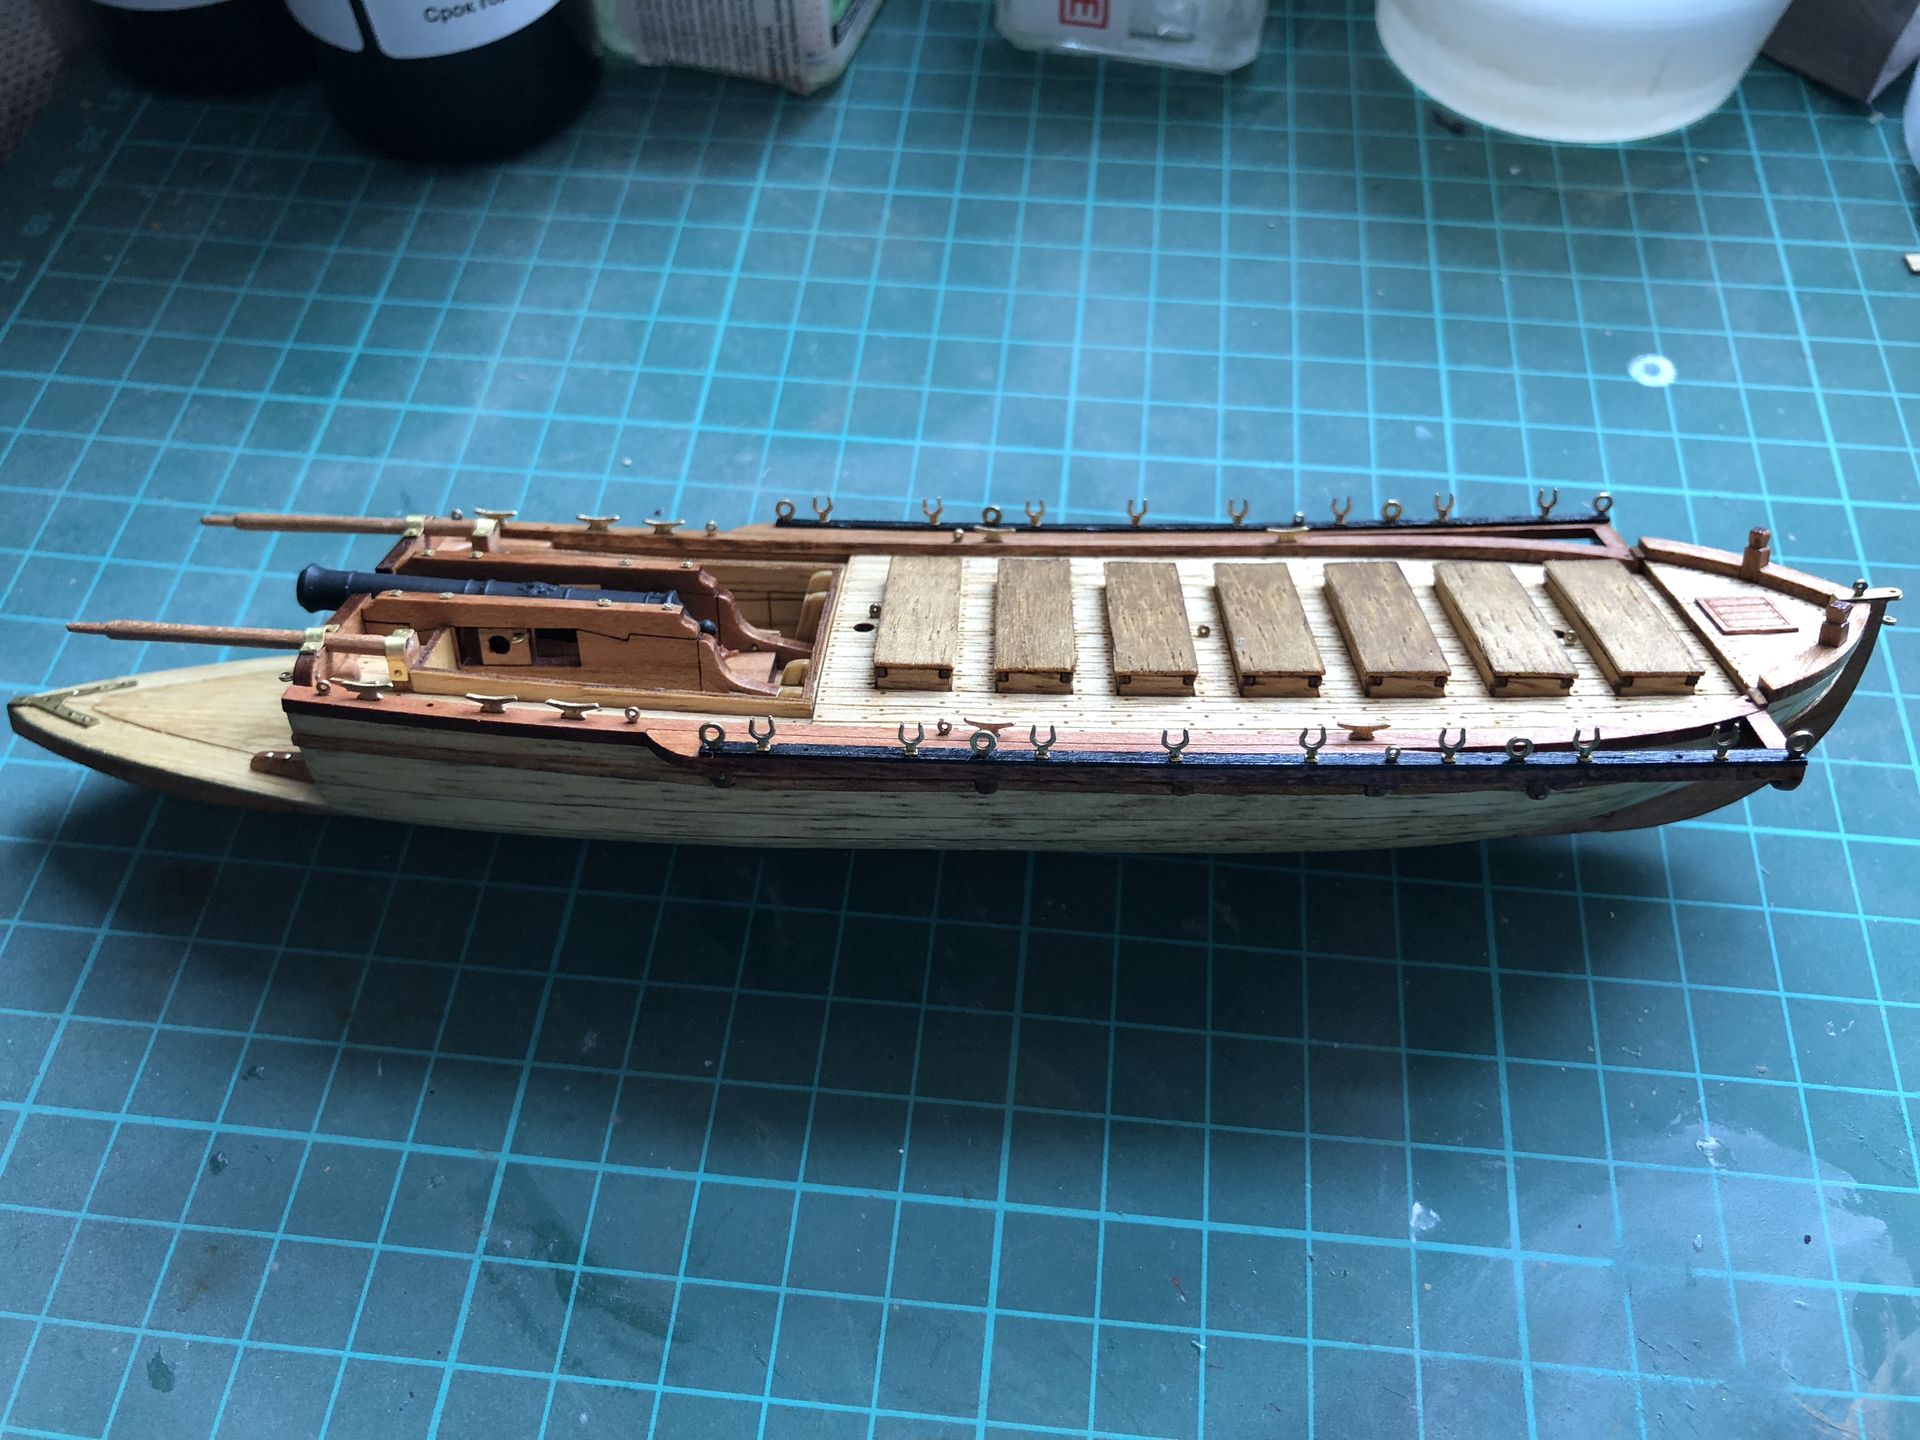
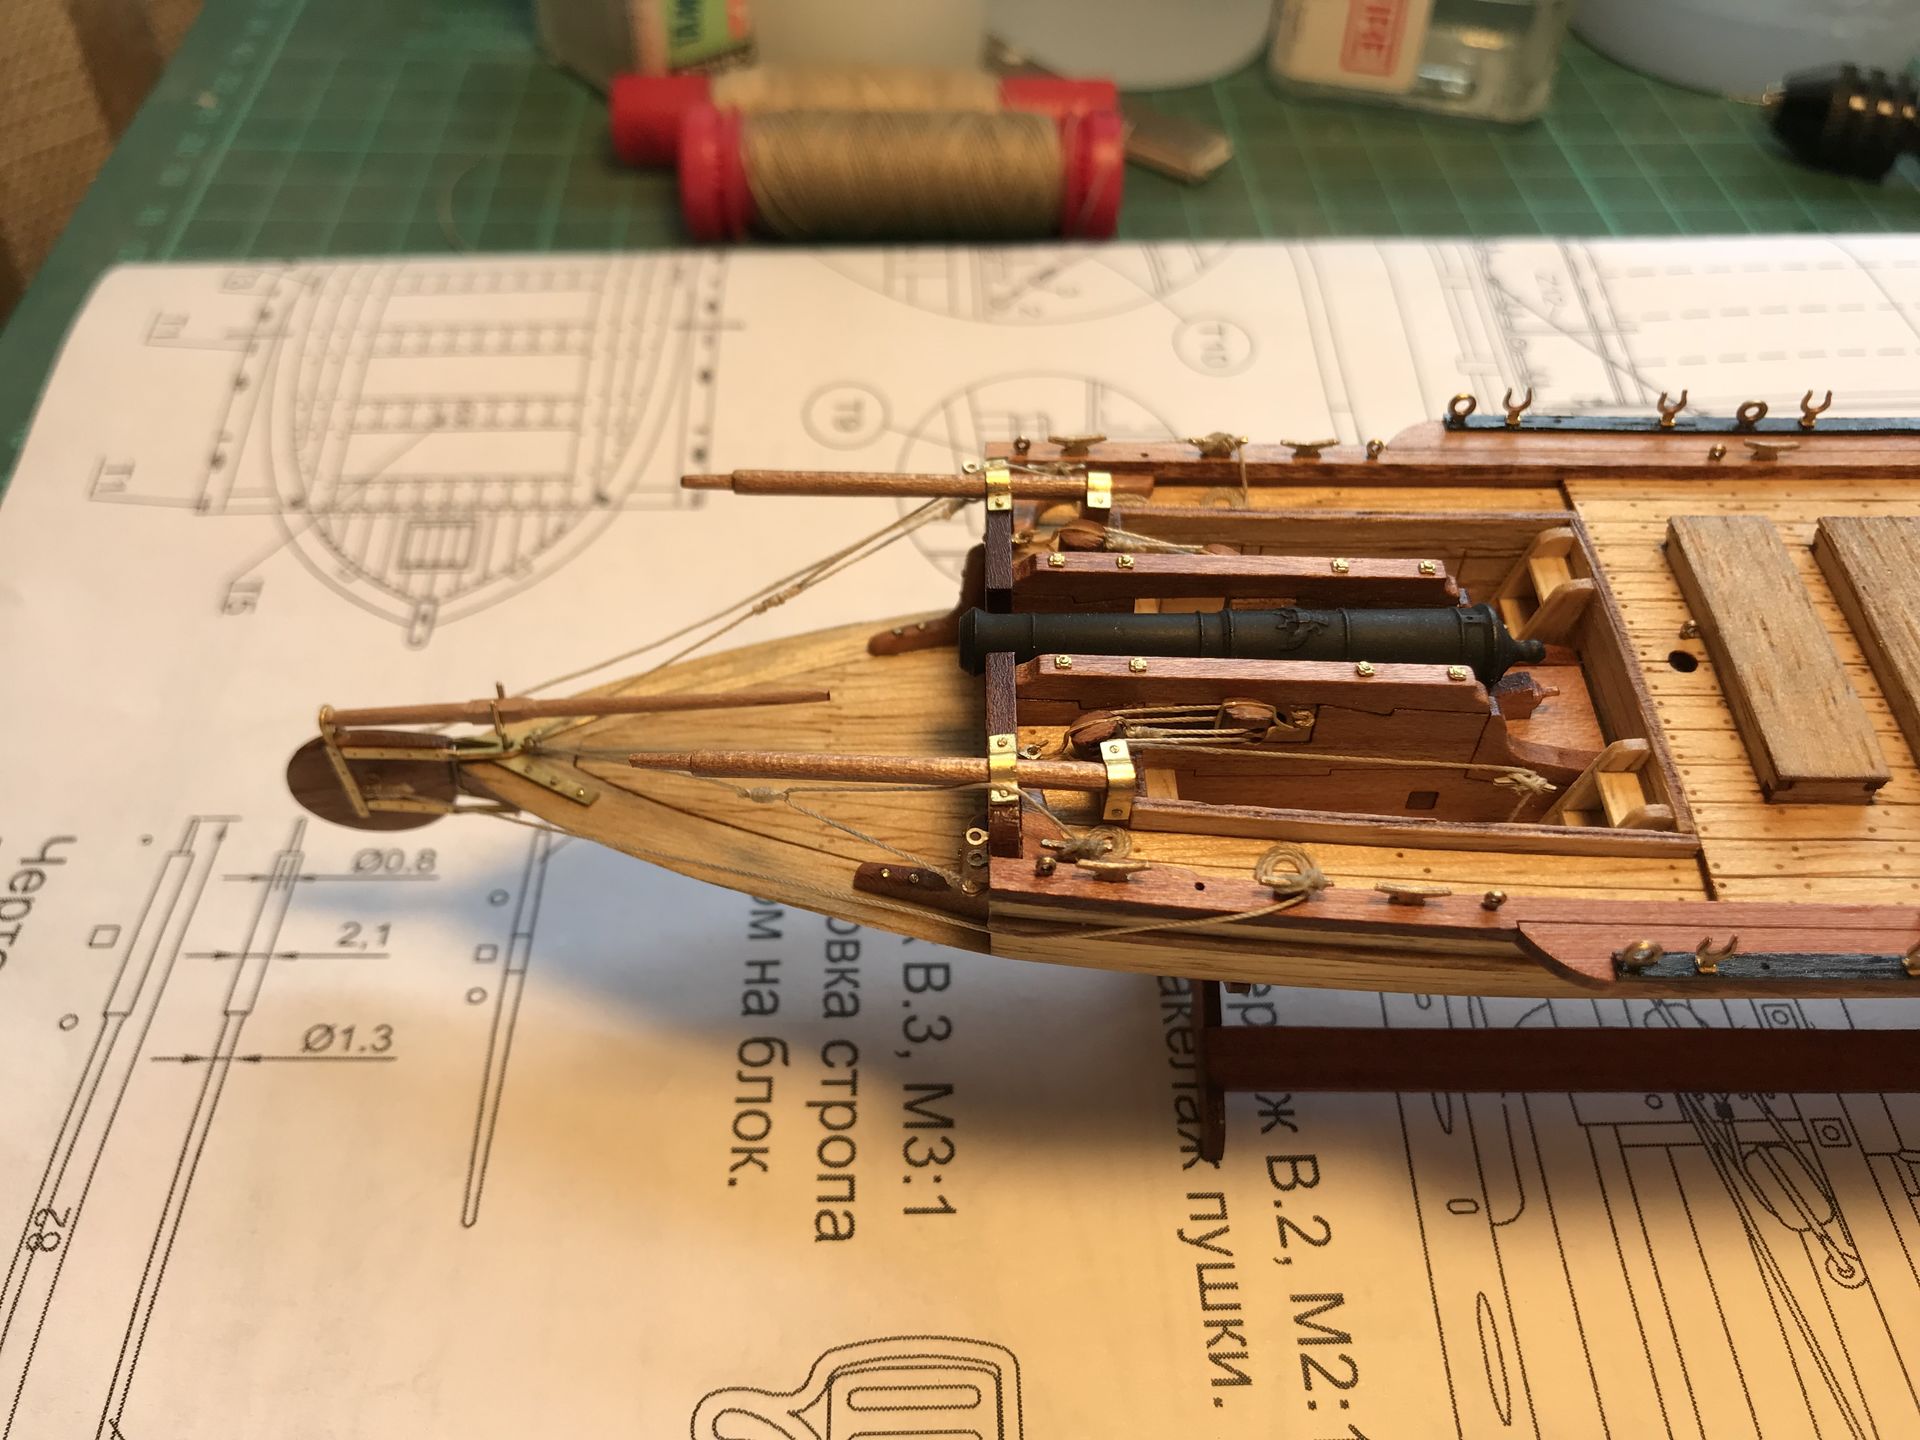
Finished working with hull, stained some parts to improve the look. Installed the gun, everything is ready for rigging.
Unfortunately kit’s producer decided to save like 2 Euros on threads, so the kit comes with synthetic threads of following colours: golden (?!), brown and metallic white (all very shiny).
It’s even funnier to think of because illustrated manual clearly shows that you’ll need black (which is absent from the box), brown and white. After a quick research on this subject I’ve learned that real ropes were tared to protect them, so were different shades of beige, brown and black.
Anyway, even the brown one that I tried to use is too shiny, so I ordered some proper threads by Amati.
While I was waiting for new threads I practiced doing seizing and rope coils, so when they’ve arrived I was at least in some way prepared. But even after this little practice doing rigging proved to be just as time consuming and hard as I’ve expected.
For example, attaching these lines to rudder took me around 3.5 hours with coiling.
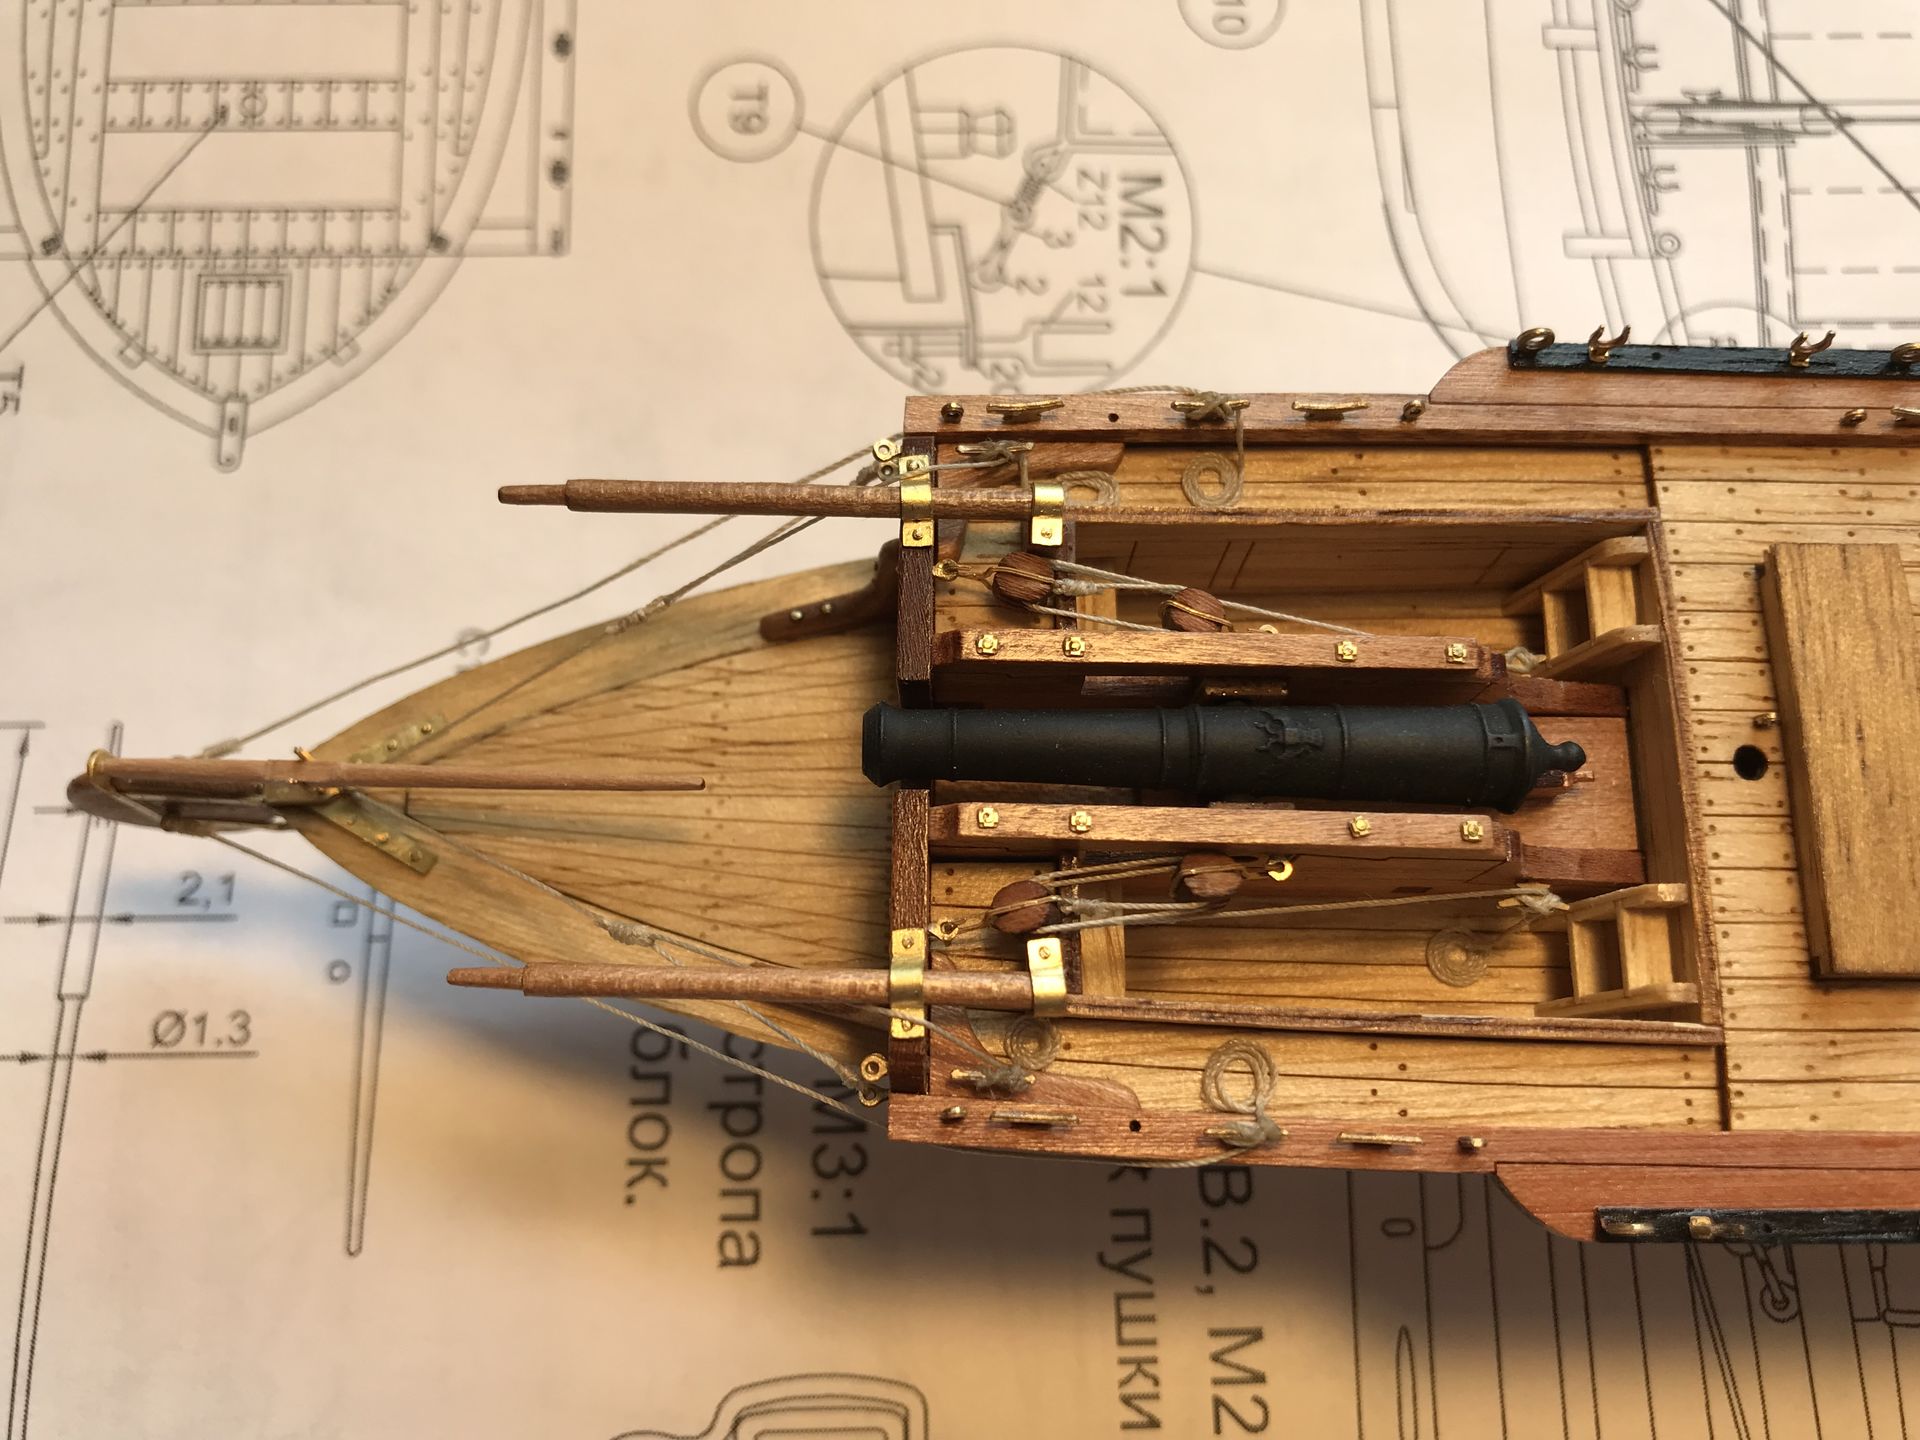
Overall I’d say that rigging took me about the time I spent on everything else, and it was definitely the most challenging part.
Conclusion
I’m really happy with the result, especially given that it’s my first wooden kit. I enjoyed working with wood, and as the kit is very modern and highly detailed I can’t say it’s by any means less rich in details or accurate than plastic models.
Gallery